Toshiba Satellite A65-S126 Optical Drive Replacement

No estimate
Moderate
Introduction
Go to step 1This guide provides step by step instructions of how to replace a faulty optical drive.
What you need


-
-
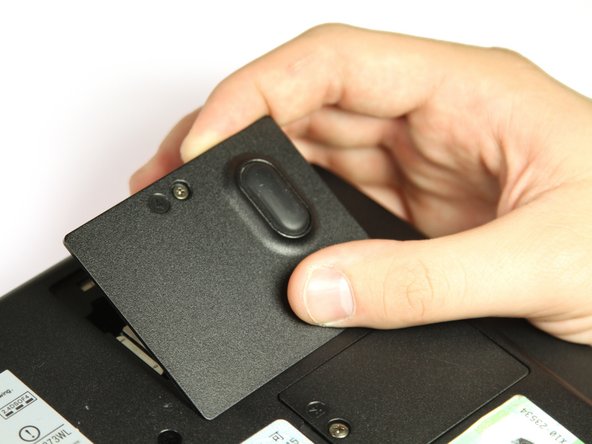
Flip the laptop over so the bottom is facing up.
-
Slide each of the three tabs on the bottom half of the assembly into the unlocked position.
-
-
-
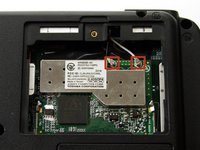
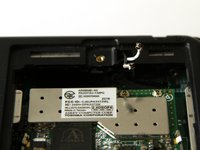
Remove the single 3mm Phillips #00 screw that secures the wireless card cover.
-
-
-
Remove the twelve 8mm button head Phillips #00 B8 screws.
-
Remove the two 14 mm button head Phillips #00 B14 screws.
-
Remove the two 10 mm Phillips #00 battery compartment screws.
-
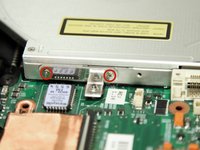
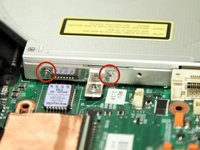
Remove the two 8 mm Phillips #00 screws.
-
-
-
Remove the seven 4mm flat Phillips #00 screws.
-
Remove the seven 20mm button head Phillips #00 screws.
-
-
-
Slide the optical drive out of the laptop through the opening on the left side of the bottom assembly.
-