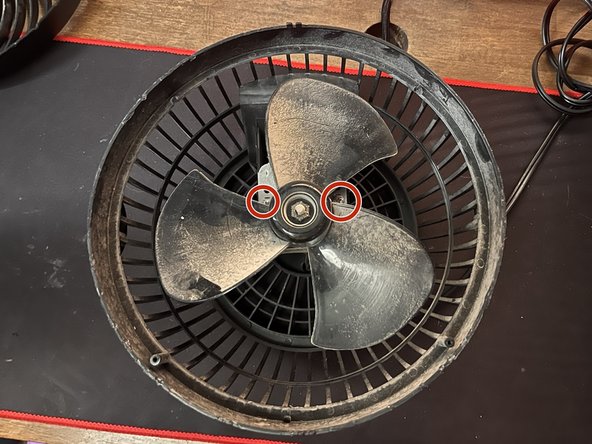
UTILITECH #HVT-8H Motor Replacement

What you need

  1. UTILITECH #HVT-8H Motor Replacement, Motor: step 1, image 1 of 1
    • Use a spudger to remove the screw covers.

    • Pry gently to avoid breaking the clips.

  2. UTILITECH #HVT-8H Motor Replacement: step 2, image 1 of 3 UTILITECH #HVT-8H Motor Replacement: step 2, image 2 of 3 UTILITECH #HVT-8H Motor Replacement: step 2, image 3 of 3
    • Use your Phillips #0 screwdriver to remove the 8 mm screw that attaches the fan to its stand.

    • Repeat step 1 and 2 on the other side of the fan.

  3. UTILITECH #HVT-8H Motor Replacement: step 3, image 1 of 2 UTILITECH #HVT-8H Motor Replacement: step 3, image 2 of 2
    • Use a spudger to remove the silver screw cover from the front of the fan.

    • Do not try to force the piece off as it could break. Instead, gently pry around the entire fan until it pops loose.

  4. UTILITECH #HVT-8H Motor Replacement: step 4, image 1 of 2 UTILITECH #HVT-8H Motor Replacement: step 4, image 2 of 2
    • Use a Phillips #00 screwdriver to remove the four 6 mm screws that hold the fan cover in place.

  5. UTILITECH #HVT-8H Motor Replacement: step 5, image 1 of 3 UTILITECH #HVT-8H Motor Replacement: step 5, image 2 of 3 UTILITECH #HVT-8H Motor Replacement: step 5, image 3 of 3
    • Use a Phillips #0 screwdriver to remove the two 8 mm screws that attach the motor assembly to the base of the fan.

  6. UTILITECH #HVT-8H Motor Replacement: step 6, image 1 of 3 UTILITECH #HVT-8H Motor Replacement: step 6, image 2 of 3 UTILITECH #HVT-8H Motor Replacement: step 6, image 3 of 3
    • Remove the power control knob by pulling on the knob backward.

    • Use a 10 mm socket wrench to remove the 10 mm nut that holds the power control piece in place.

  7. UTILITECH #HVT-8H Motor Replacement: step 7, image 1 of 2 UTILITECH #HVT-8H Motor Replacement: step 7, image 2 of 2
    • Use a Phillips #0 screwdriver to remove the two 8 mm screws that fasten the power plug to the base.

  8. UTILITECH #HVT-8H Motor Replacement: step 8, image 1 of 3 UTILITECH #HVT-8H Motor Replacement: step 8, image 2 of 3 UTILITECH #HVT-8H Motor Replacement: step 8, image 3 of 3
    • Cut the two black cables to release them from the motor assembly.

    • Be sure to cut as closely as you can to the base of the cables so you don't lose a lot of length.

  9. UTILITECH #HVT-8H Motor Replacement: step 9, image 1 of 2 UTILITECH #HVT-8H Motor Replacement: step 9, image 2 of 2
    • Use a wire stripper on the black wires to expose the metal underneath the rubber.

    • Strip about 13 mm from the end of both wires.

  10. UTILITECH #HVT-8H Motor Replacement: step 10, image 1 of 2 UTILITECH #HVT-8H Motor Replacement: step 10, image 2 of 2
    • Connect the exposed power plug wires to the new motor assembly by twisting the two exposed wires together.

    • Wrap electrical tape around the newly connected wires.

Conclusion

To reassemble your device, follow these instructions in reverse order.

Joseph Pemberton

Member since: 02/26/24

181 Reputation

1 Guide authored

0 Comments

Add Comment

View Statistics:

Past 24 Hours: 0

Past 7 Days: 3

Past 30 Days: 37

All Time: 82