Wireless Charging Coil and Loudspeaker Removal
Introduction
Go to step 1Prerequisite step for removing both the wireless charging coil and the loudspeaker. The can be removed separately, but this is to avoid having to separate the adhesive holding them together.
What you need
Tools
Show more…
-
-
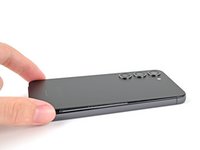
Heat an iOpener and apply it to the right edge of the back cover for two minutes to soften the adhesive.
-
-
-
Apply a suction handle to the back cover, as close to the center of the right edge as possible.
-
Pull up on the suction handle with strong, steady force to create a gap between the cover and the frame.
-
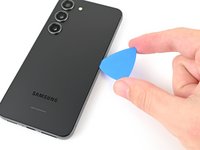
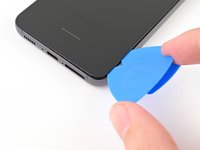
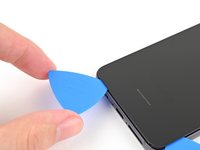
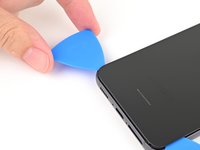
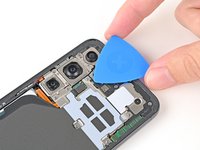
Insert an opening pick into the gap.
-
-
-
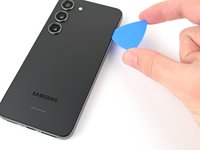
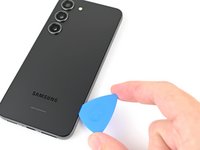
Slide the pick back and forth along the right edge to separate the adhesive.
-
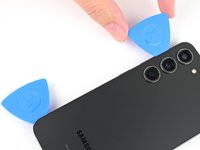
Leave the pick inserted near the bottom right corner to prevent the adhesive from resealing.
-
-
-
Apply a heated iOpener to the bottom edge of the back cover for two minutes.
-
-
-
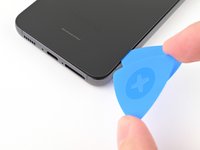
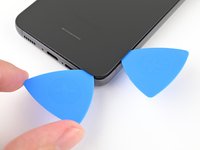
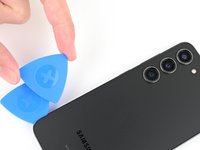
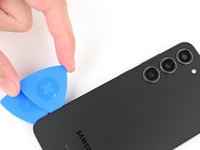
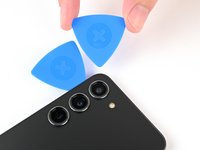
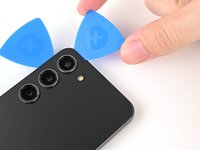
Insert a second opening pick at the bottom right corner.
-
Rotate it around the bottom right corner to separate the adhesive.
-
-
-
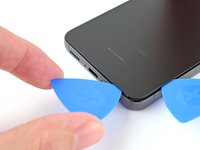
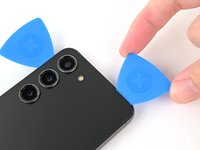
Slide your opening pick to the bottom left corner to separate the adhesive.
-
Leave the pick in the bottom left corner to prevent the adhesive from resealing.
-
-
-
Apply a heated iOpener to the left edge of the back cover for two minutes.
-
-
-
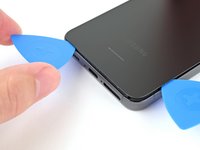
Rotate the opening pick around the bottom left corner to separate the adhesive.
-
-
-
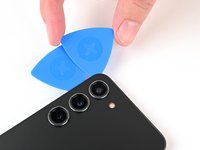
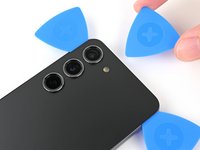
Insert a third opening pick at the bottom left corner.
-
Slide your pick toward the top left corner to separate the adhesive.
-
Leave the pick in the top left corner to prevent the adhesive from resealing.
-
-
-
Heat an iOpener and apply it to the top edge of the back cover for two minutes.
-
-
-
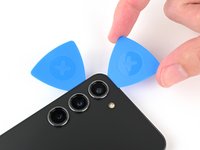
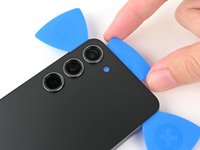
Insert a fourth opening pick at the top left corner.
-
Rotate it around the top left corner to separate the adhesive.
-
-
-
Slide your opening pick to the top right corner to separate the adhesive.
-
Leave the pick in the top right corner to prevent the adhesive from resealing.
-
-
-
Line up the tip of an opening pick with the flash cutout.
-
Slide the opening pick under the top of the back cover until you feel it start to snag on the adhesive.
-
Keep sliding the pick toward the bottom of the phone until you feel the adhesive completely separate from the back cover.
-
-
-
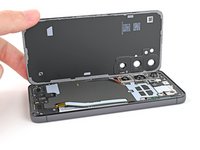
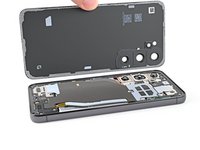
Grab and remove the back cover.
-
Remove any adhesive chunks with a pair of tweezers or your fingers. Apply heat and isopropyl alcohol (90% or greater) if you're having trouble removing the adhesive.
-
If you're using custom-cut adhesives, follow this guide.
-
If you're using double-sided tape, follow this guide.
-
-
-
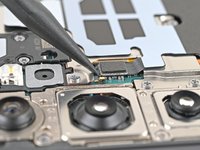
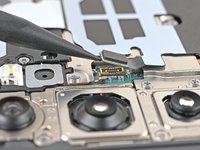
Use the point of your spudger to pry up and disconnect the wireless charging coil press connector from the motherboard.
-
-
-
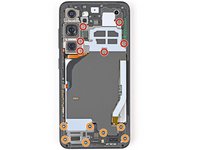
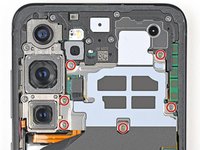
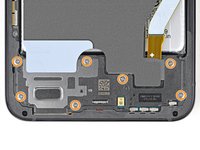
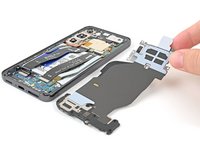
Use a Phillips screwdriver to remove the thirteen 3.5 mm‑long screws securing the wireless charging coil and the loudspeaker:
-
Six screws securing the wireless charging coil
-
Seven screws securing the loudspeaker
-
-
-
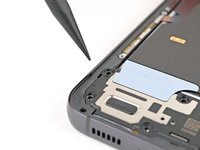
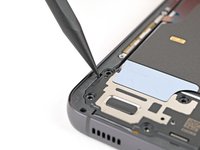
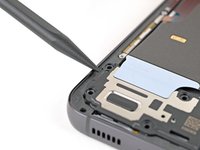
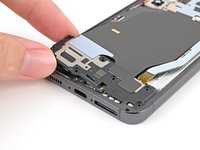
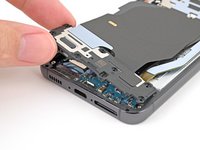
Insert the point of your spudger in the notch at the top left corner of the loudspeaker.
-
Pry up to unclip the loudspeaker from the frame.
-
To reassemble your device, follow these instructions in reverse order.
To reassemble your device, follow these instructions in reverse order.


