Xbox Series S Plastic Case Replacement

Introduction
Go to step 1Follow this guide to remove and replace the plastic case of the Xbox Series S. You might do this to replace a broken case or install a custom version.
What you need
Parts


Tools


Show more…
-
Tool used on this step:Tweezers$4.99
-
Use tweezers to peel off the two white screw covers located on the bottom corners of the back panel.
-
-
Tool used on this step:Magnetic Project Mat$19.95
-
Use a T8 Torx driver to remove the two 10 mm-long screws securing the back panel to the bottom panel.
-
-
-
Slide the bottom panel horizontally toward the back of the console until it comes to a stop.
-
Lift straight up and remove the bottom panel from the plastic case.
-
-
-
Use a T10 Torx driver to remove the seven 51 mm-long screws securing the chassis to the plastic case.
-
-
-
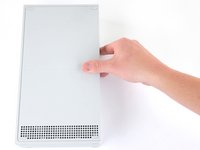
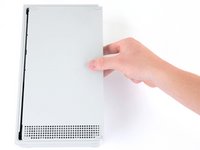
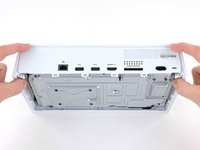
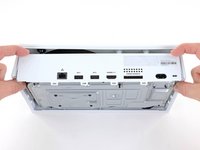
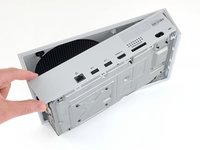
With the bottom of the Xbox facing you, pull the two bottom-rear corners of the plastic case away from each other.
-
As you pull the corners apart, slide the back panel towards the bottom of the device. This releases the back panel from the plastic case.
-
-
-
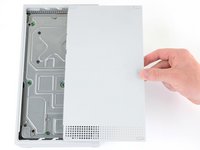
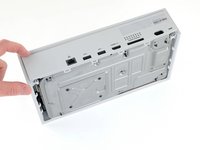
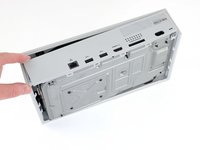
Pull the bottom-left corner away from the chassis while swinging the chassis away from the plastic case.
-
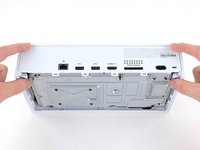
Remove the plastic case from the chassis.
-