Introduction
This guide provides step-by-step instructions to replace the speaker in the Yamaha GA-10 guitar amplifier. Issues such as distorted sound, intermittent audio, or complete loss of sound might be fixed by replacing the speaker.
Make sure that your speaker is not plugged into any power source while attempting this replacement to prevent an electrical hazard.
What you need
-
-
Turn the amp so the back is facing you.
-
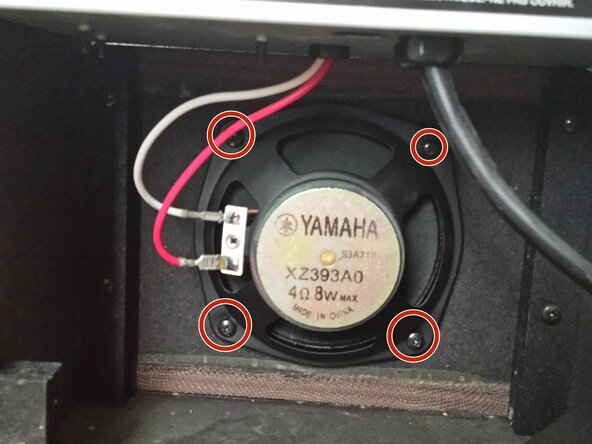
Using the Phillips #0 screwdriver, remove the two screws found at the back-bottom of the amp.
-
Remove the panel that partially covers the speaker.
-
-


To reassemble your device, follow these instructions in reverse order.
Team

University of Advancing Technology, Team S1-G3, Beam Summer 2019 Member of University of Advancing Technology, Team S1-G3, Beam Summer 2019
UAT-BEAM-SU19S1G3
2 Members
1 Guide authored