ZTE ZFive G LTE Front-Facing Camera  Replacement

ZTE ZFive G LTE Front-Facing Camera Replacement

Julian Mendoza

Julian Mendoza and 4 other contributors

Last updated on May 16, 2024

15 minutes
Moderate

Introduction

Go to step 1

This guide provides the steps necessary to replace the front-facing camera on the ZTE ZFive G LTE.

What you need

Tools

Show more…

  1. ZTE ZFive G LTE Front-Facing Camera  Replacement, Front-Facing Camera: step 1, image 1 of 3 ZTE ZFive G LTE Front-Facing Camera  Replacement, Front-Facing Camera: step 1, image 2 of 3 ZTE ZFive G LTE Front-Facing Camera  Replacement, Front-Facing Camera: step 1, image 3 of 3
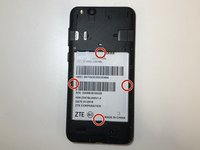
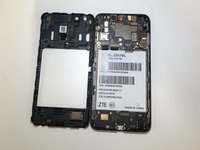
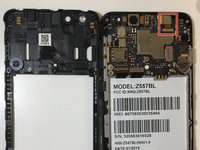
    • Using the opening tool, pry open the rear cover from the crease at the bottom left corner.
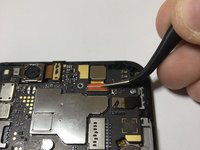
  2. ZTE ZFive G LTE Front-Facing Camera  Replacement: step 2, image 1 of 3 ZTE ZFive G LTE Front-Facing Camera  Replacement: step 2, image 2 of 3 ZTE ZFive G LTE Front-Facing Camera  Replacement: step 2, image 3 of 3
    • Remove the battery with an opening tool or fingernail.

  3. ZTE ZFive G LTE Front-Facing Camera  Replacement: step 3, image 1 of 1
    • Unscrew all 16 screws from the mid-frame J000 screwdriver.

    • Set the screws aside.

  4. ZTE ZFive G LTE Front-Facing Camera  Replacement: step 4, image 1 of 2 ZTE ZFive G LTE Front-Facing Camera  Replacement: step 4, image 2 of 2
    • Gently pull up the device body from the inside.

    • Make sure to pull on all four sides as shown here.

  5. ZTE ZFive G LTE Front-Facing Camera  Replacement: step 5, image 1 of 2 ZTE ZFive G LTE Front-Facing Camera  Replacement: step 5, image 2 of 2
    • Once the body is removed, you will see the front facing camera at the top right corner of the device.

    • Using an opening tool, lift up the protective clip on top of the camera's ribbon wire.

  6. ZTE ZFive G LTE Front-Facing Camera  Replacement: step 6, image 1 of 2 ZTE ZFive G LTE Front-Facing Camera  Replacement: step 6, image 2 of 2
    Tool used on this step:
    Tweezers
    $3.99
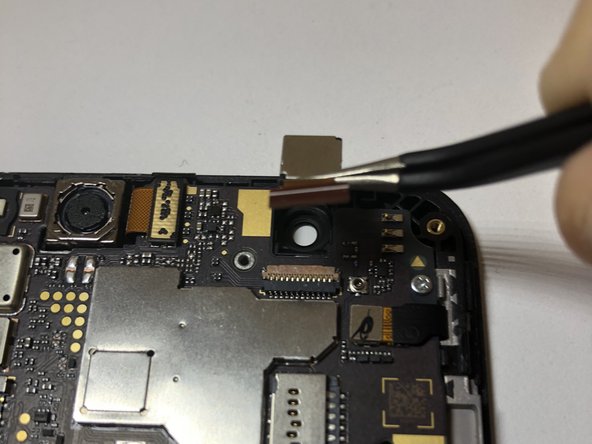
    • Using angled tweezers, gently pull the ribbon wire up from the body.

    • With the ribbon wire out, you should be able to remove the camera.

    • If there is adhesive on the camera backing, it may require more force to pull the camera out.

Conclusion

To reassemble your device, follow these instructions in reverse order.

One other person completed this guide.

0 Comments

Add Comment

View Statistics:

Past 24 Hours: 0

Past 7 Days: 1

Past 30 Days: 1

All Time: 369