eufy Clean RoboVac G32 Pro Motherboard Replacement

What you need

  1. eufy Clean RoboVac G32 Pro Motherboard Replacement, Battery: step 1, image 1 of 1
    • Make sure your device is turned off.

    • Flip the device upside down on a flat surface.

  2. eufy Clean RoboVac G32 Pro Motherboard Replacement: step 2, image 1 of 1
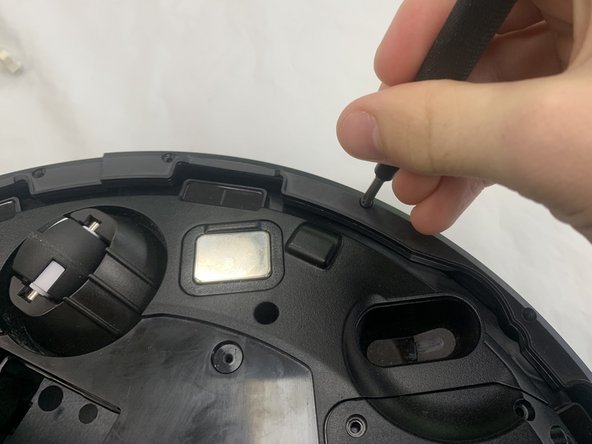
    • Remove two 10 mm screws using a Phillips #1 screwdriver.

  3. eufy Clean RoboVac G32 Pro Motherboard Replacement: step 3, image 1 of 1
    • Lift the cover of the battery.

  4. eufy Clean RoboVac G32 Pro Motherboard Replacement: step 4, image 1 of 1
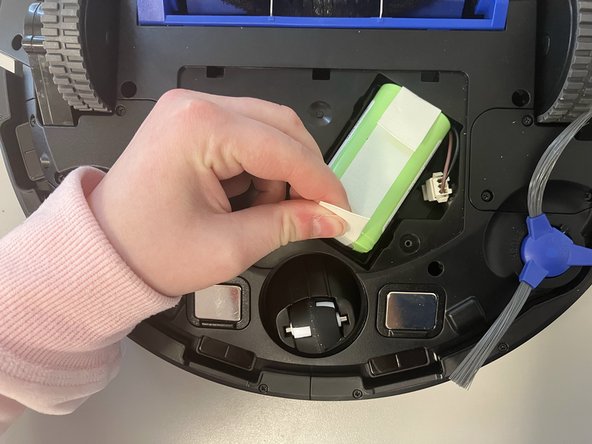
    • Lift up the battery using the white straps on the side.

  5. eufy Clean RoboVac G32 Pro Motherboard Replacement: step 5, image 1 of 2 eufy Clean RoboVac G32 Pro Motherboard Replacement: step 5, image 2 of 2
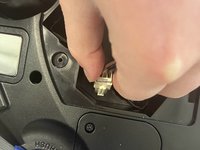
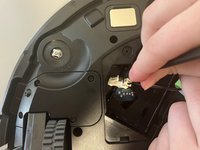
    • While holding the battery, pinch the clips on the side of the white connector.

    • Using a spudger, push the part of the connector inside of the Robovac away from the white connector on the battery.

    • Pinch the clips hard; they may be a little stiff.

    • Remove the battery from the device.

  6. eufy Clean RoboVac G32 Pro Motherboard Replacement, Rolling Brush: step 6, image 1 of 1
    • Make sure your device is turned off.

    • Flip the device upside down on a flat surface.

  7. eufy Clean RoboVac G32 Pro Motherboard Replacement: step 7, image 1 of 1
    • Press the clips at the bottom of the device that are indicated by the downward facing arrows.

    • Take off the rolling brush cover.

  8. eufy Clean RoboVac G32 Pro Motherboard Replacement: step 8, image 1 of 1
    • Pull the rolling brush up on the right side. Remove the rolling brush.

  9. eufy Clean RoboVac G32 Pro Motherboard Replacement, Wheel: step 9, image 1 of 1
    • Make sure your device is turned off.

    • Flip the device upside down on a flat surface.

  10. eufy Clean RoboVac G32 Pro Motherboard Replacement: step 10, image 1 of 1
    • Remove four 10 mm screws using a Phillips #1 screwdriver.

  11. eufy Clean RoboVac G32 Pro Motherboard Replacement: step 11, image 1 of 1
    • Lift up the wheel.

    • Lift firmly but gently as the wheel's connection to the motherboard is delicate.

  12. eufy Clean RoboVac G32 Pro Motherboard Replacement: step 12, image 1 of 1
    • Disconnect the spring from the wheel.

  13. eufy Clean RoboVac G32 Pro Motherboard Replacement: step 13, image 1 of 1
    • Remove the motherboard wiring from the wheel.

    • Pinch the white cable connecting the wheel to the wiring and pull.

    • Remove the wheel from the device.

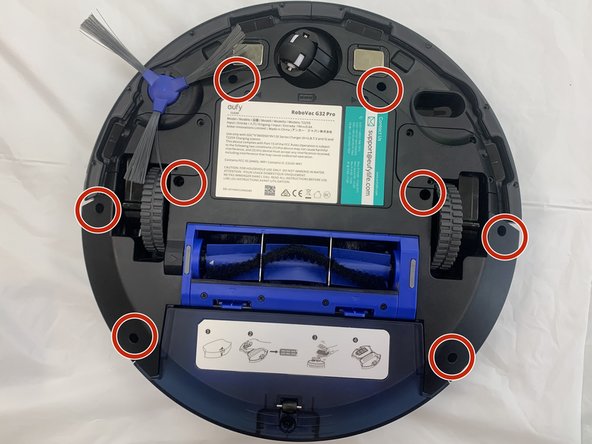
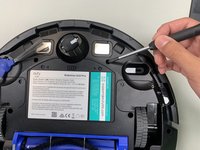
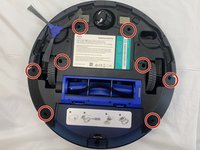
  14. eufy Clean RoboVac G32 Pro Motherboard Replacement, Bump Sensor: step 14, image 1 of 3 eufy Clean RoboVac G32 Pro Motherboard Replacement, Bump Sensor: step 14, image 2 of 3 eufy Clean RoboVac G32 Pro Motherboard Replacement, Bump Sensor: step 14, image 3 of 3
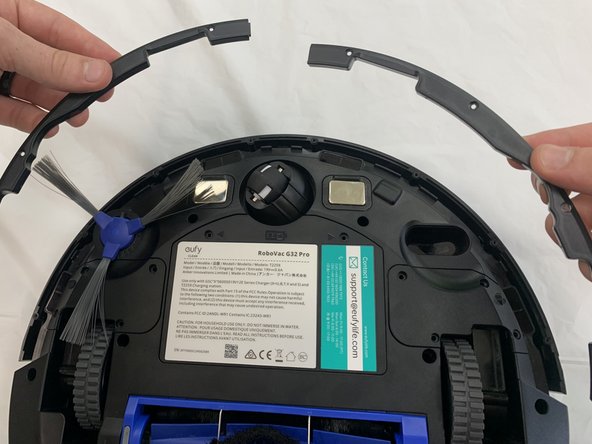
    • Orient the device so the underside is facing up.

    • Remove the eight 9.3 mm screws securing the bumper brackets using a Phillips #1 screwdriver.

    • Remove the bumper brackets.

  15. eufy Clean RoboVac G32 Pro Motherboard Replacement: step 15, image 1 of 2 eufy Clean RoboVac G32 Pro Motherboard Replacement: step 15, image 2 of 2
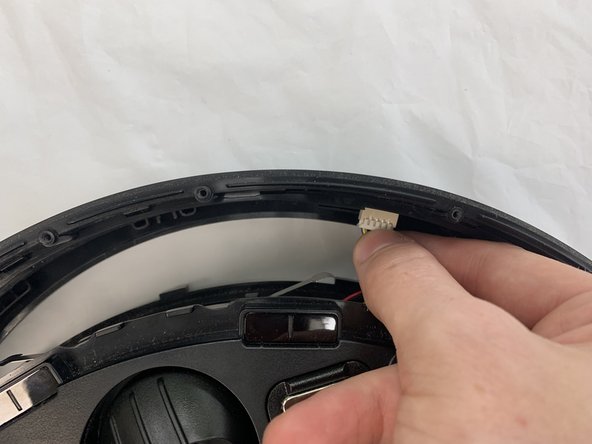
    • Lift the bumper off of the device gently.

    • Use your fingers to disconnect the 8 pin connector.

  16. eufy Clean RoboVac G32 Pro Motherboard Replacement: step 16, image 1 of 2 eufy Clean RoboVac G32 Pro Motherboard Replacement: step 16, image 2 of 2
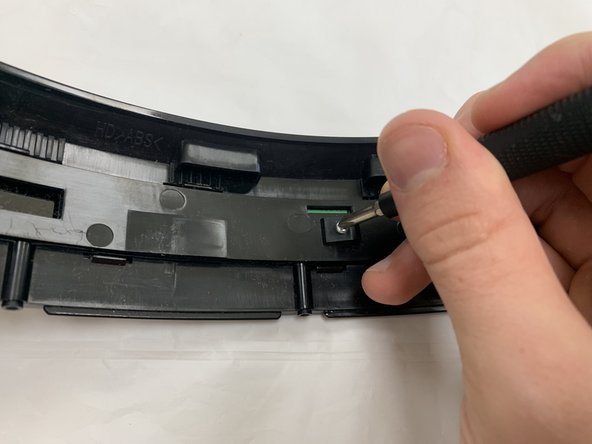
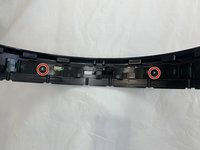
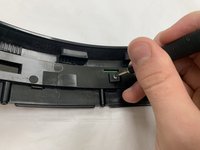
    • Remove the two 10 mm screws using a Philips #1 screwdriver.

  17. eufy Clean RoboVac G32 Pro Motherboard Replacement: step 17, image 1 of 1
    • Lift the bump sensor off using your fingers.

  18. eufy Clean RoboVac G32 Pro Motherboard Replacement, Motherboard: step 18, image 1 of 2 eufy Clean RoboVac G32 Pro Motherboard Replacement, Motherboard: step 18, image 2 of 2
    • Remove the eight 14 mm screws with a Phillips #1 screwdriver.

  19. eufy Clean RoboVac G32 Pro Motherboard Replacement: step 19, image 1 of 1
    • Use your hands to separate the two halves by lifting the cover from the end that has the brush, as the cover is still connected.

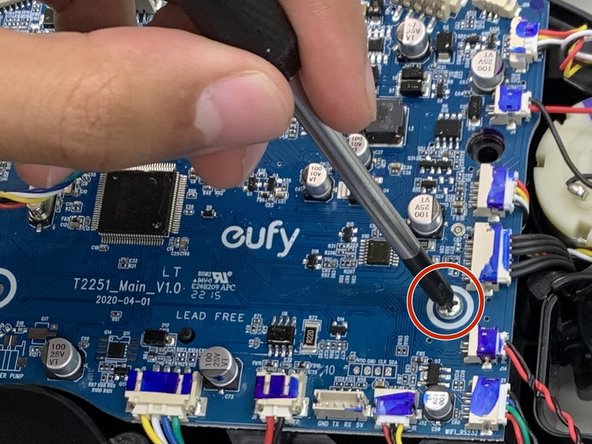
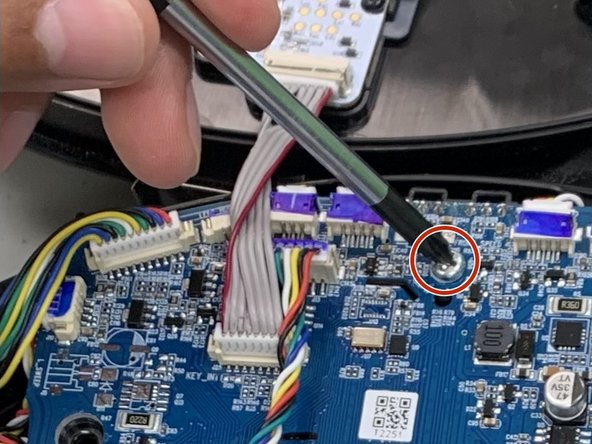
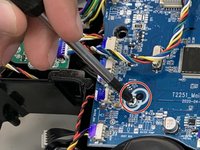
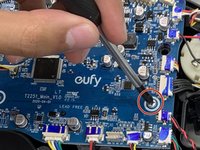
  20. eufy Clean RoboVac G32 Pro Motherboard Replacement: step 20, image 1 of 3 eufy Clean RoboVac G32 Pro Motherboard Replacement: step 20, image 2 of 3 eufy Clean RoboVac G32 Pro Motherboard Replacement: step 20, image 3 of 3
    • Remove the three 9.7 mm screws securing the motherboard with a Phillips #0 screwdriver.

  21. eufy Clean RoboVac G32 Pro Motherboard Replacement: step 21, image 1 of 2 eufy Clean RoboVac G32 Pro Motherboard Replacement: step 21, image 2 of 2
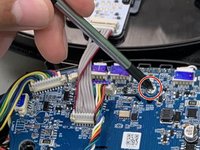
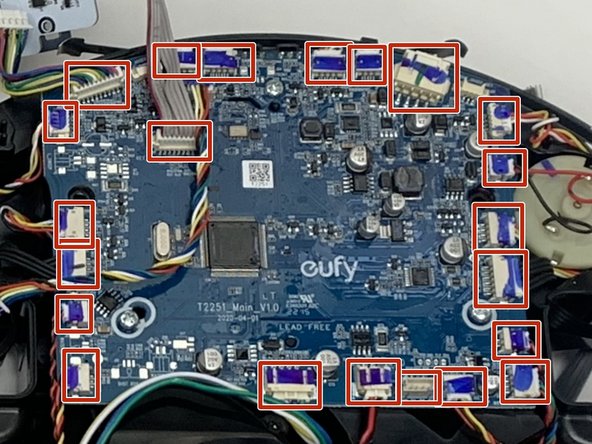
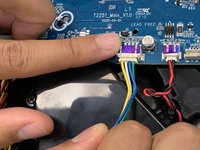
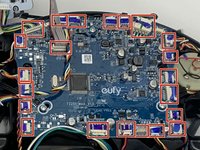
    • Disconnect all connectors attached to motherboard.

    • Using your fingers, pull the connectors away from their ports by the plastic bit of the wire.

    • Pulling from the wires themselves could lead to the wire(s) loosening from the connector.

    • Remove the motherboard.

Conclusion

To reassemble your device, follow these instructions in reverse order.

Manuel Chias

Member since: 09/19/24

109 Reputation

1 Guide authored

0 Comments

Add Comment

View Statistics:

Past 24 Hours: 0

Past 7 Days: 7

Past 30 Days: 14

All Time: 53