Introduction
You can use this guide to replace the buttons if they are broken or sticking. This guide requires you to remove the housing and unscrew a few parts in order to reach the button grouping.
It is best to find a flat, spacious working surface to keep the device level. Also, it helps to place the screws on a magnetic mat upon removal to keep them from rolling away.
What you need
-
-
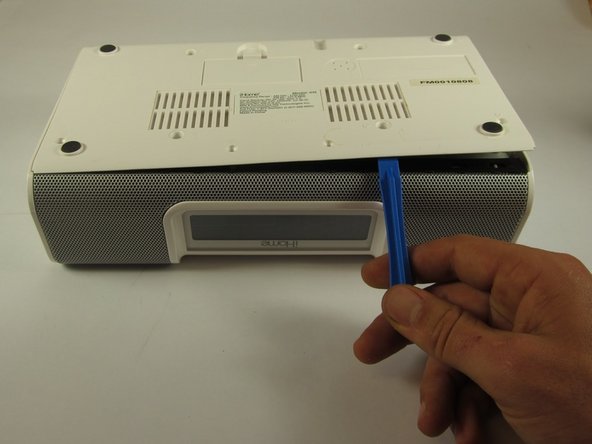
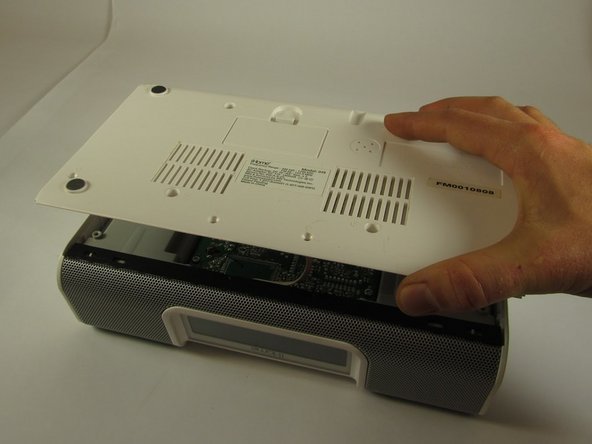
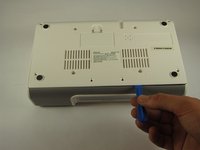
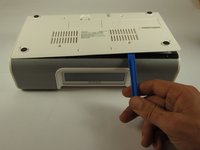
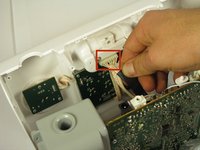
Pull the tab towards you and lift up to remove the battery cover.
-
Remove the two AA batteries.
-
-
-
Unscrew the four 8mm Phillips #2 screws.
-
Unscrew the six 25mm Phillips #2 screws.
-
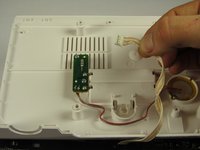
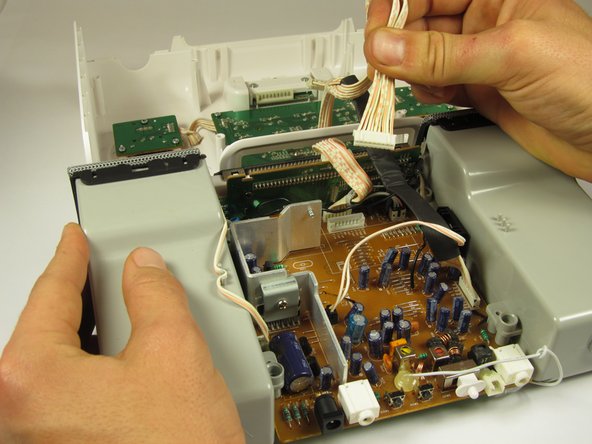
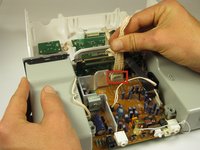
Reinstall the backup battery cover so it is out of the way.
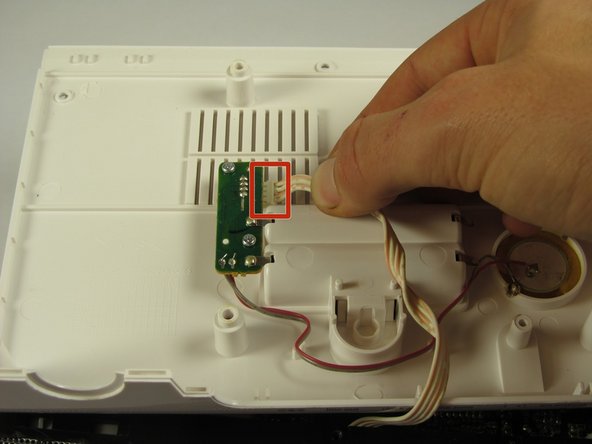
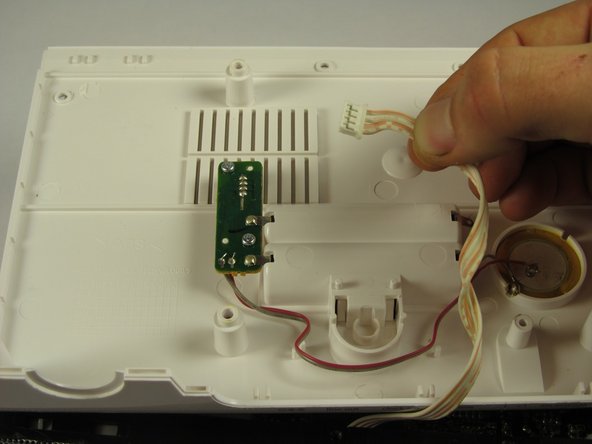
-
-
-
-
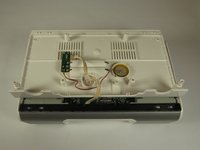
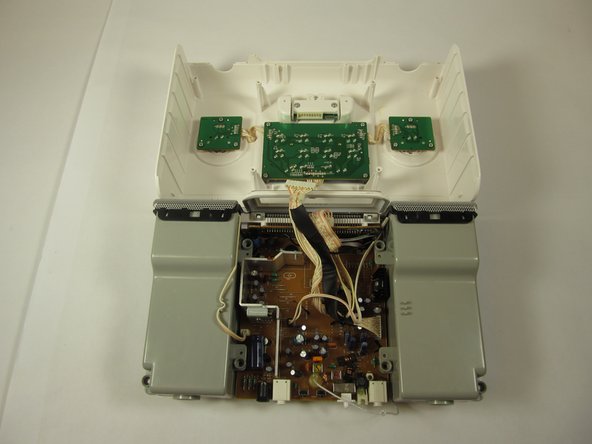
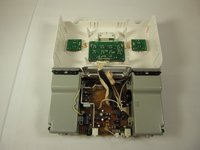
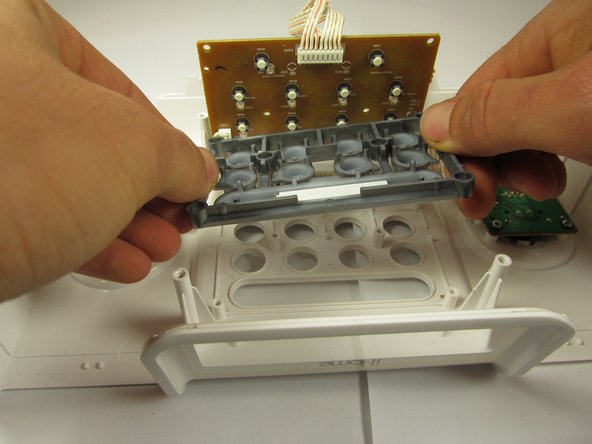
Turn the top cover plate upside-down and place it so the buttons are face down.
-
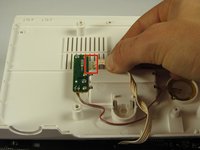
Remove the four 8mm Phillips #0 screws at the corners of the circuit board.
-


To reassemble your device, follow these instructions in reverse order.
Team

Cal Poly, Team 8-39, Amido Winter 2015 Member of Cal Poly, Team 8-39, Amido Winter 2015
CPSU-AMIDO-W15S8G39
4 Members
8 Guides authored