Introduction
このガイドでは、2017年製のiMac 4Kに搭載されたロジックボードを取り出してRAMを交換/取り外す手順を扱っています。
ガイド中の画像には、2015年製のiMacを使用しているため、ビジュアルの違いが若干あります。しかし、このような違いは修理の手順には影響しません。
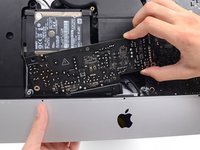
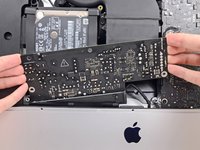
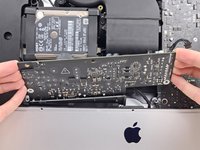
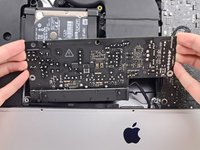
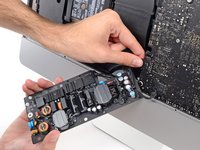
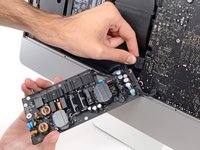
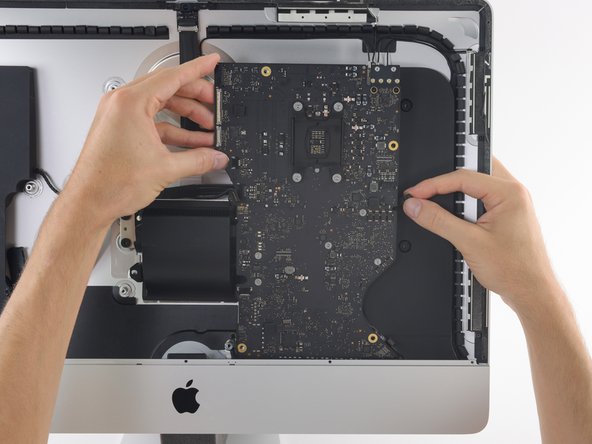
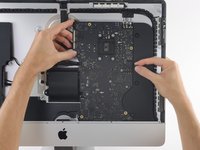
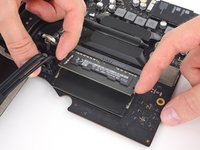
このガイドは潜在的な危険性があると記しています。なぜなら大きなコンデンサを含む電源装置を扱わないといけないからです。コンデンサを放電するためにiMacのプラグを抜き、最低でも10秒間電源を押したままにしてください。ボードを持つときは端を持ち、表面のコンポーネントには絶対に触らないでください。
What you need
-
-
-
ディスプレイをフレームから持ち上げて、iMacから外します。
-
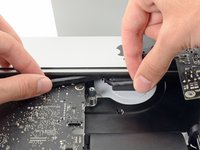
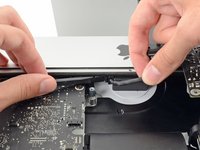
片一方をゆっくりと持ち上げて、接着剤を剥がしながら外してください。
-
再組み立ての際は、古い接着剤の残りを綺麗に拭き取り、接着ストリップの使用方法を参照してください。iMac Intel 21.5インチ EMC 2544 の接着ストリップの交換ガイドです。
-
-
-
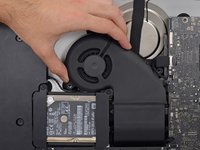
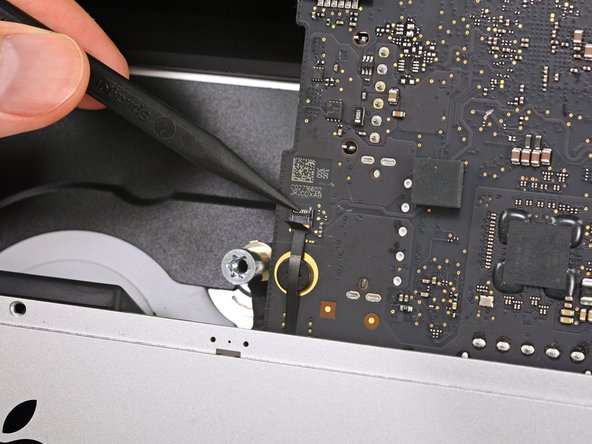
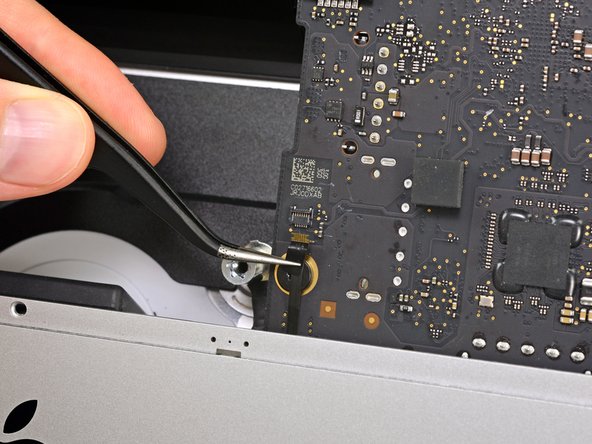
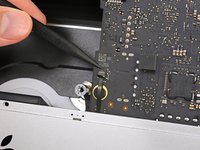
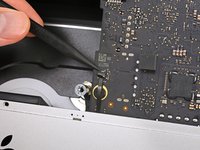
iMacにハードドライブブラケットを固定しているT10トルクスネジを外します。
-
21 mm ネジー2本
-
9 mmネジー1本
-
27 mmネジー1本
-


iMacを組み立て直すには、これらの手順と逆の順序に従ってください。
iMacを組み立て直すには、これらの手順と逆の順序に従ってください。
Cancel: I did not complete this guide.
155 other people completed this guide.
Special thanks to these translators:
100%


These translators are helping us fix the world! Want to contribute?
Start translating ›

80 Comments
An excellent guide - many thanks. The logic board was tricksy to get out - the card reader was jamming on the casing, but it came out with care. It's easy to trap the microphone cable and the power button cables when re-assembling, so they're worth looking out for. Successfully replaced the RAM and installed an SSD at the same time - many thanks.
Can a SSD or fusion drive be put in the place where the normal hard drive was?
An ssd can yes - that's what I did at the same time as upgrading the ram. As long as it's a 2.5" ssd it should be fine. The Samsung ssd I used was a but thinner than the hard drive that came out but that doesn't affect anything really. You'll need to either have a bootable clone of your drive, or install Sierra from a USB stick you've already prepared (which is what I did).
A Fusion drive is the terminology used by Apple when the use a board soldered 120ish Gb storage and a standard 1Tb 2.5 inch drive, and bind them together, if you throw in a 1Tb SSD in place of the existing standard hard drive you end up with 2 drives when you begin installation, you can find the instructions to merge the onboard and the new SSD back together again, and boy does it transform these machines, absolute pig with a factory fusion setup.
I also upgraded my hard-drive to a 512 GB Samsung SSD successfully along with installing the 32 GB of RAM. The guide was great, but I have a two comments.
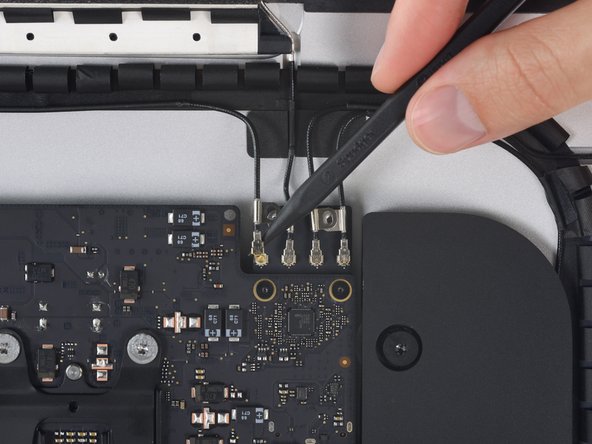
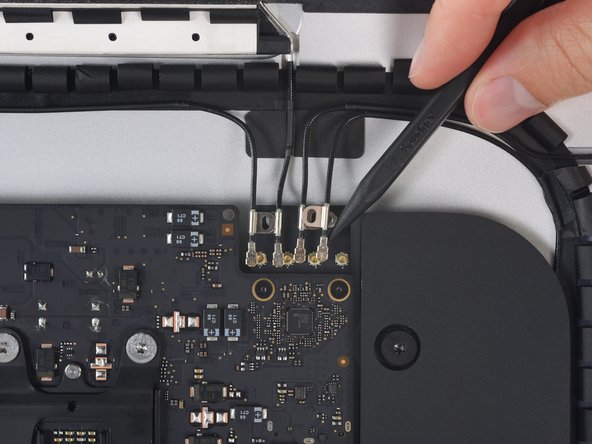
1) The screws that hold the antenna connectors (Step 52) are were very tightly screwed into the board, and it is easy to strip the head of the screw. I stripped one of the screws… Luckily, it was easy to just pull up on the bluetooth/AirPort card and slide it out from its slot on the main board. Thus, an option to removing all the antenna wires, is to just pull the bluetooth/Airport card out. It was quite easy to slip back into the correct spot when reassembling as well.
2) It was only after I completed the repair that I realized that the top of the nice screwdriver provided in the repair kit contained more hidden bits!