Introduction
Note: this is a complete guide for replacing a plain front panel. If you have a Front Panel Assembly replacement part, stop before removing the home button from your old front panel, and reverse the steps to install your new front panel assembly.
What you need
-
-
Fill a pot or pan with enough water to fully submerge an iOpener.
-
Heat the water to a boil. Turn off the heat.
-
Place an iOpener into the hot water for 2-3 minutes. Make sure the iOpener is fully submerged in the water.
-
Use tongs to extract the heated iOpener from the hot water.
-
Thoroughly dry the iOpener with a towel.
-
Your iOpener is ready for use! If you need to reheat the iOpener, heat the water to a boil, turn off the heat, and place the iOpener in the water for 2-3 minutes.
-
-
-
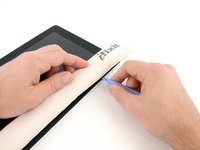
If your display glass is cracked, keep further breakage contained and prevent bodily harm during your repair by taping the glass.
-
Lay overlapping strips of clear packing tape over the iPad's display until the whole face is covered.
-
Do your best to follow the rest of the guide as described. However, once the glass is broken, it will likely continue to crack as you work, and you may need to use a metal prying tool to scoop the glass out.
-
-
-
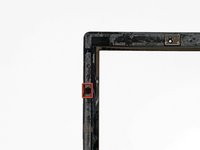
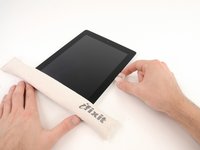
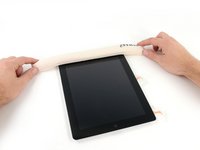
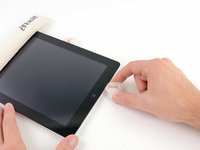
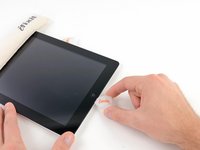
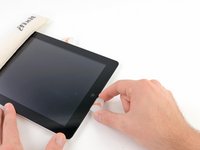
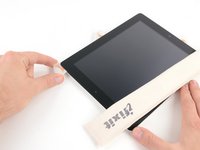
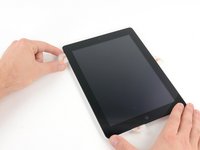
There is a small gap in the iPad's adhesive ring in the upper right corner of the iPad, approximately 2.0 inches (~5 cm) from the top of the iPad. You are going to exploit this weakness.
-
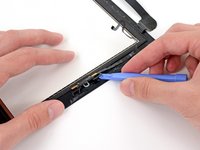
Align the tool with the mute button. Insert the tip of a plastic opening tool into the gap between the front glass and the plastic bezel. Just insert the very tip of the opening tool, just enough to widen the crack.
-
-
-
-
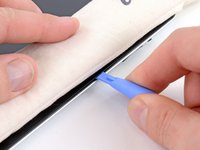
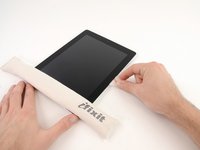
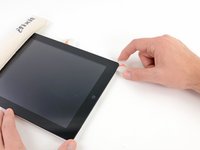
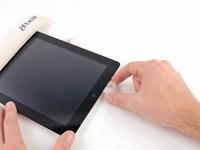
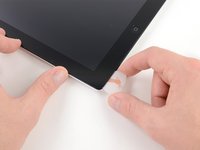
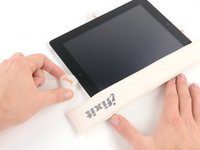
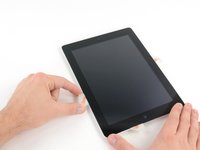
Once you have moved past the Wi-FI antenna (approximately 3" (75 mm) from the right edge, or right next to the home button) re-insert the opening pick to its full depth.
-
Slide the pick to the right, releasing the adhesive securing the Wi-Fi antenna to the front glass.
-
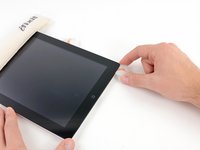
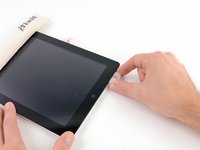
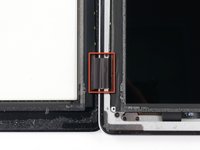
The antenna is attached to the bottom of the iPad via screws and a cable. This step detaches the antenna from the front panel, ensuring that when you remove the panel, the antenna will not be damaged.
-
-
-
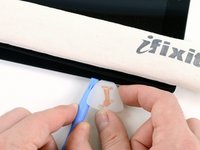
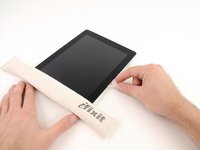
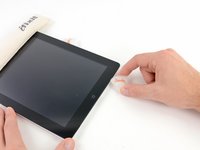
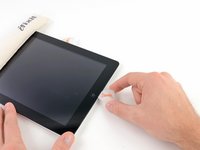
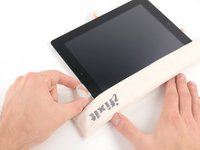
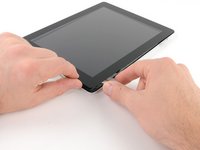
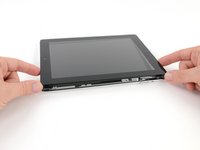
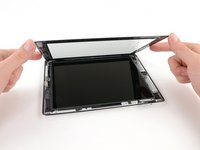
Slide the opening pick along the top edge of the iPad, pulling it out slightly to go around the front-facing camera bracket.
-
The adhesive along this section is very thick, and a fair amount of force may be required. Work carefully and slowly, making sure to not slip and damage yourself or your iPad.
-
-
-
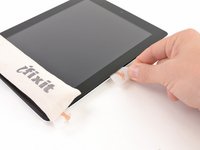
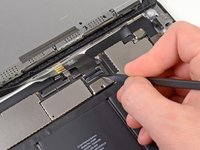
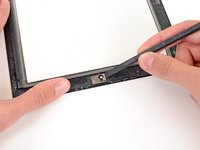
Remove the four 2 mm Phillips #00 screws securing the LCD to the aluminum frame.
-
-
-
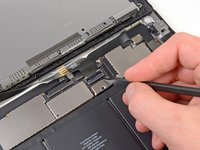
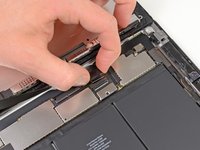
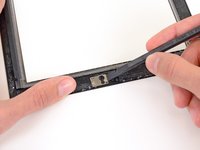
Using the tip of a spudger, peel back the piece of tape covering the LCD ribbon cable connector.
-
-
-
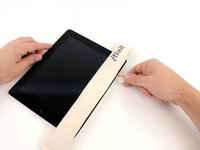
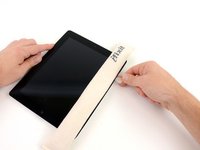
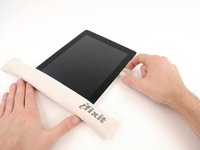
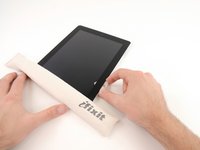
Place the iOpener in the microwave and microwave it for one minute on the highest power setting (or just thirty seconds if you're using the newer gel-filled iOpener).
-
Place the iOpener over the home button on the front edge of the display.
-
-
-
Follow the iOpener heating instructions described in the iOpener heating section at the beginning of this guide.
-


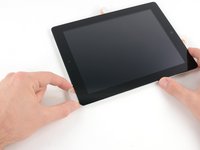


To reassemble your device, follow these directions in reverse and use our iPad 4 GSM Front Panel Adhesive strips guide to reattach the front panel.
Cancel: I did not complete this guide.
84 other people completed this guide.

5 Guide Comments
This process may be hard with an intact screen but a shattered screen makes it insane to attempt. Granted, this was my first time cracking open an iPad, or any iOS device for that matter, but this was tough. Definitely cover the screen in packing tape if it's shattered and use eye protection. The screen will continue to break and tiny gorilla shards can fly at your face. Took 80 mins just to remove the front panel. I didn't realize that the home button and camera bracket were included with the replacement screen from iFixit so I didn't need to do the last few steps.
Pro tip: Test the iPad just before removing the protective front/back covers and adhesive strips on the replacement screen. I was lucky with the ribbon cables working first time in, but I could imagine someone not having one seated just right, and they close it all up, seal it, then have to tear it back apart to fix a cable. :-/
Also found a guy at the local mall that would have fixed it with a new screen for $80. Rolling this way next time!
Oh...and it would have done me good to read the comments on each steps above. Totally missed those and would have saved me some pain!
Definitely test the touch before putting the adhesive into play. The last thing you want is to go to all that work only to find that the new digitizer isn’t functioning. The hardest part is getting the broken screen off. Everything else is a cake walk.
I agree to test the screen before closing it up! I read this and was so glad I did, even though everything worked fine on mine. The hardest part was getting my screen off because it was pretty shattered and I ended up breaking it (albeit carefully) in order to get it off. Took like 3 hours to get the screen off because I was trying not to snap any ribbons. I recommend having a vacuum cleaner to clean up any glass as you work, and you can use an eyeglass microfiber cloth to get the fingerprints off the LCD before you close it up. All in all, I would recommend also getting the additional adhesive strips. I didn’t, and my seal isn’t completely the best, but it’ll work with a nice case. This was difficult, but if you have a lot of patience and time you can do it.
I bought the whole kit, I made the replacement following all the points, being careful not to ruin anything (it is not the first iPad to which I replace the screen), the work was perfect, precise and clean.
The digitizer still doesn't work, just like before.
So much work for nothing.
What can it be, the motherboard?