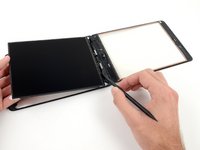
What you need
-
-
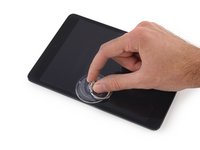
Fill a pot or pan with enough water to fully submerge an iOpener.
-
Heat the water to a boil. Turn off the heat.
-
Place an iOpener into the hot water for 2-3 minutes. Make sure the iOpener is fully submerged in the water.
-
Use tongs to extract the heated iOpener from the hot water.
-
Thoroughly dry the iOpener with a towel.
-
Your iOpener is ready for use! If you need to reheat the iOpener, heat the water to a boil, turn off the heat, and place the iOpener in the water for 2-3 minutes.
-
-
-
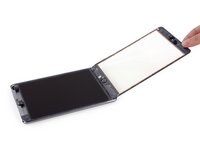
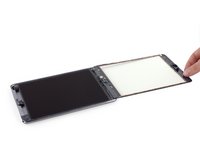
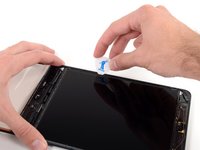
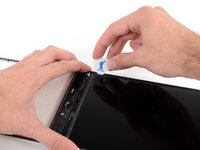
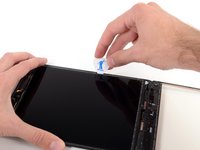
If your display glass is cracked, keep further breakage contained and prevent bodily harm during your repair by taping the glass.
-
Lay overlapping strips of clear packing tape over the iPad's display until the whole face is covered.
-
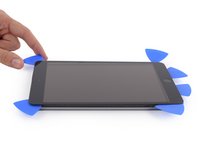
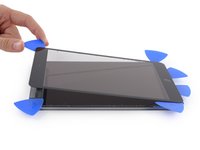
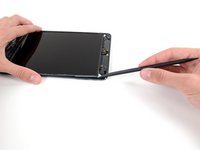
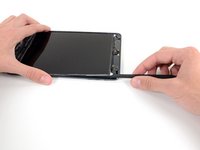
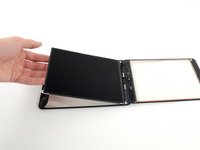
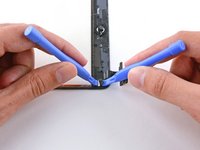
Do your best to follow the rest of the guide as described. However, once the glass is broken, it will likely continue to crack as you work, and you may need to use a metal prying tool to scoop the glass out.
-
-
-
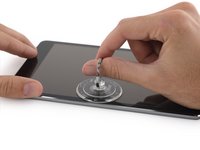
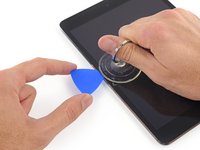
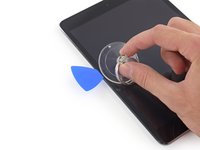
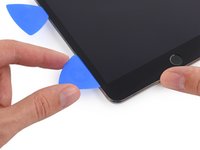
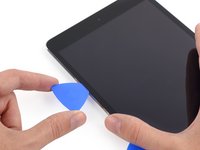
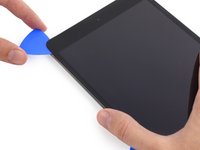
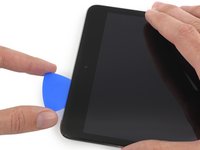
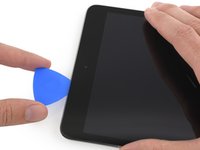
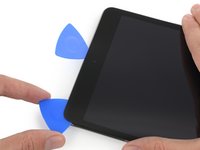
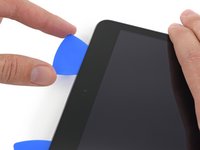
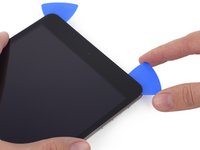
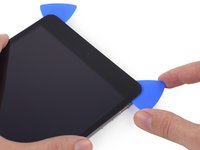
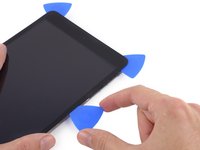
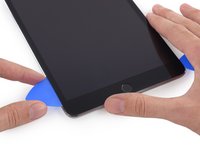
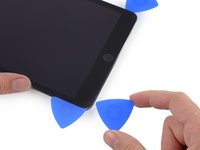
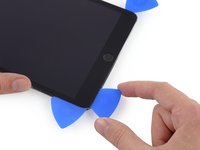
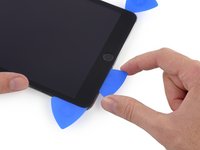
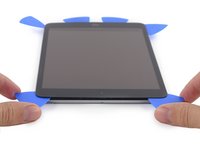
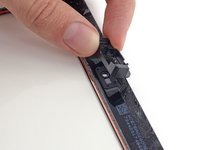
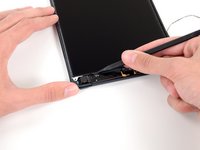
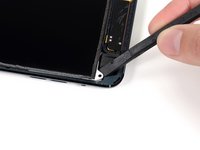
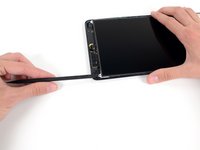
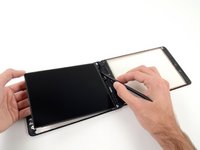
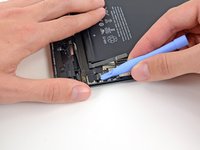
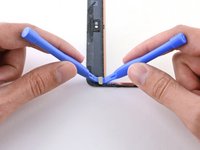
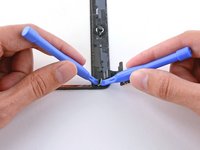
Take the first pick you inserted and slide it up toward the top corner of the iPad.
-
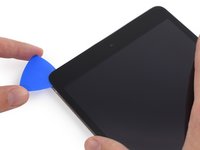
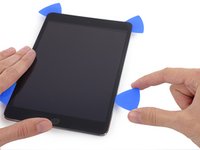
If you can see the tip of the opening pick through the front glass, don't panic—just pull the pick out a little bit. Most likely, everything will be fine, but try to avoid this as it may deposit adhesive on the front of the LCD that is difficult to clean off.
-
-
-
-
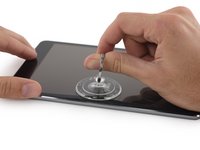
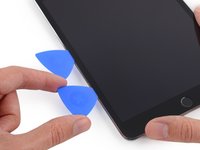
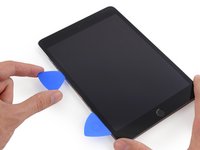
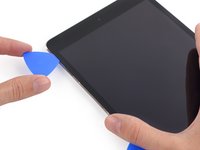
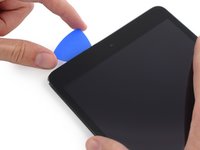
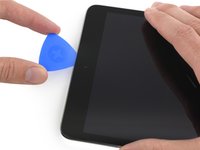
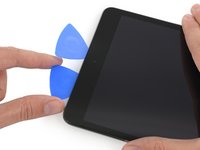
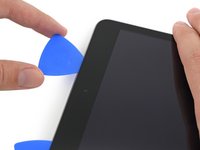
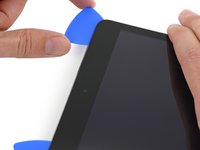
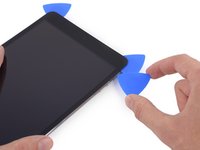
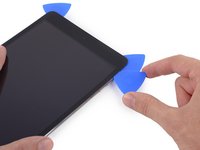
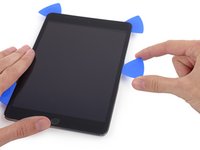
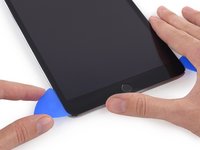
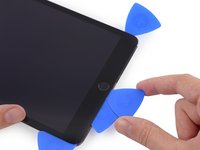
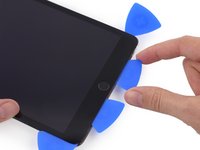
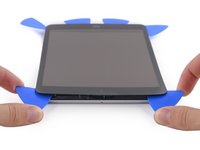
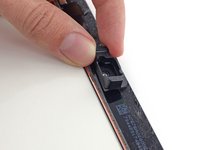
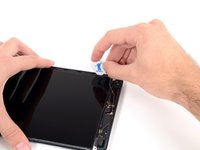
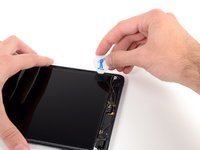
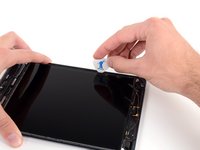
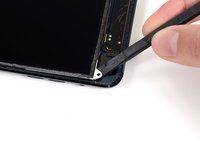
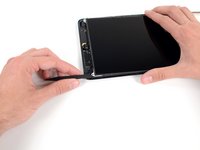
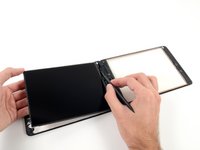
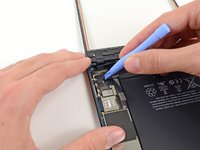
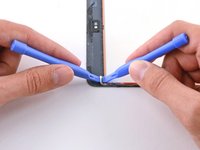
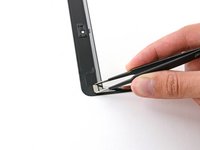
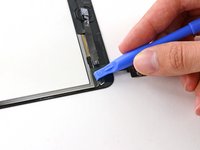
Slide the lower left pick to the lower left corner to cut the adhesive on that corner.
-
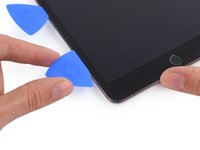
Leave the pick at the corner. Do not pry any farther, and do not remove the pick from the iPad.
-
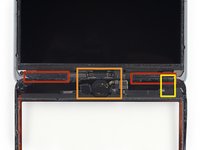
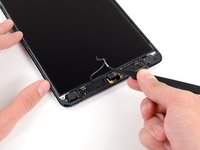
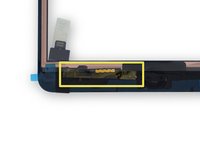
Antennas
-
Home button cavity
-
Digitizer cable
-
The following steps will direct you where to pry to avoid damage to these components. Only apply heat and pry where directed.
-
-
-
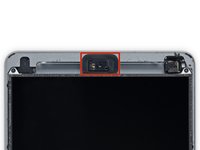
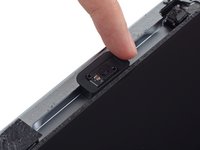
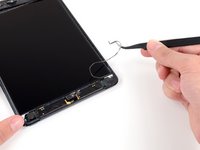
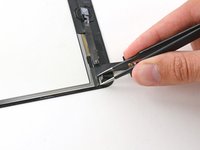
The front-facing camera housing may stick to the front panel; peel up the housing and place it back over the camera to protect it.
-
Rock the camera housing up on one edge to free it from the adhesive and remove it from the front panel.
-
Return the front-facing camera housing to its recess in the rear case.
-
-
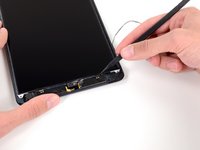
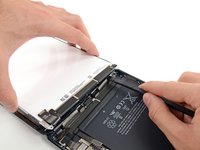
Tool used on this step:Tweezers$4.99
-
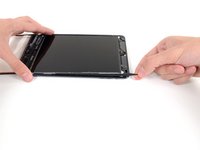
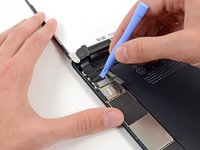
Use tweezers to peel up and remove the rectangular piece of foam tape covering the top right LCD screw.
-
Remove the triangular tape covering the lower right LCD screw.
-
-
-
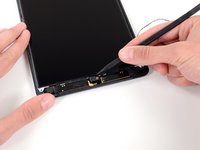
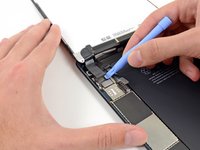
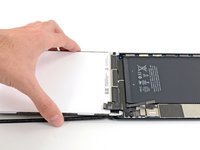
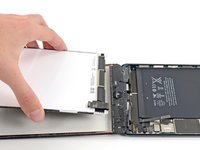
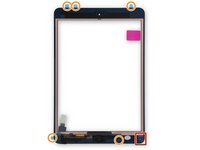
Remove the following screws securing the LCD shield plate to the rear case of the iPad:
-
Two 2.6 mm Phillips #00
-
Thirteen 1.7 mm Phillips #00
-
One additional 1.7 mm Phillips #00 on some devices.
-
-
-
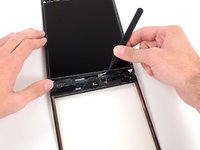
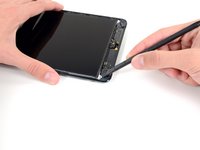
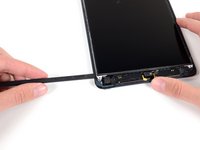
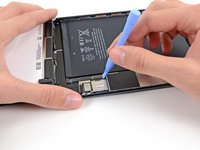
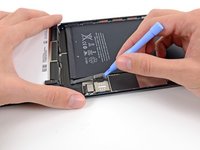
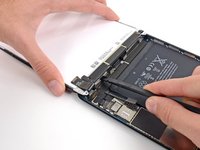
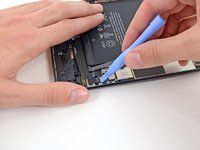
Remove the three 1.3 mm Phillips #00 screws securing the connector shield to the logic board.
-
-
-
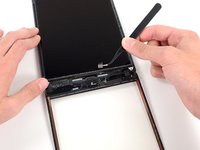
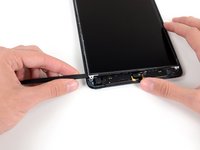
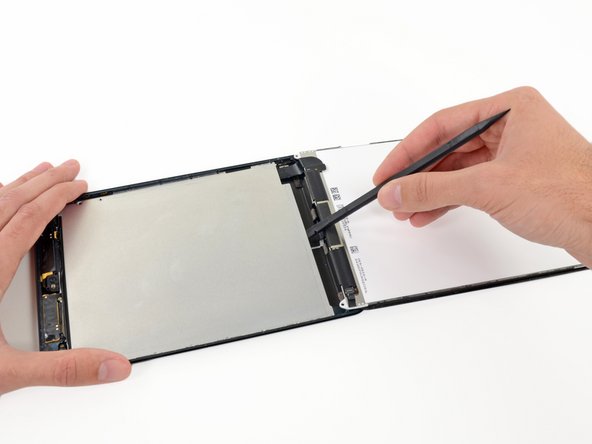
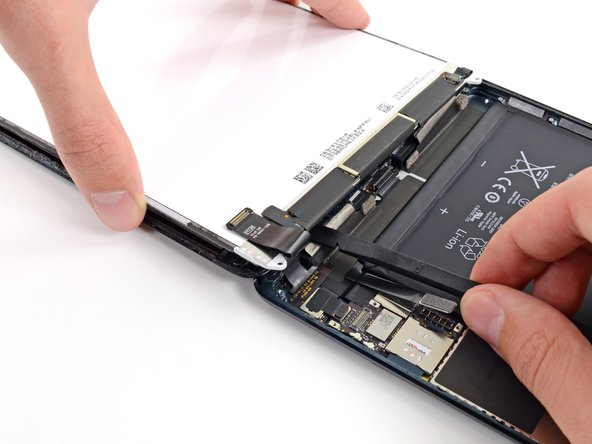
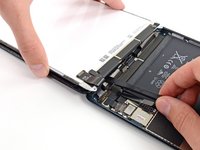
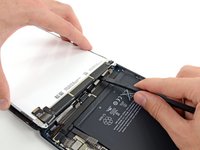
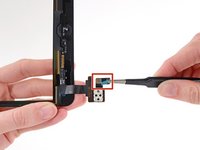
Use a plastic opening tool to pry the LCD connector from its socket on the logic board.
-
-
-
To minimize stress on the socket, try prying under the short edge of the connector, rather than the long edge which is shown in these images.
-
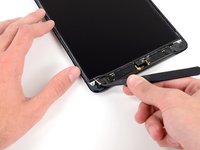
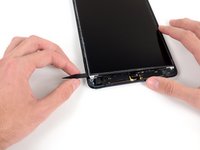
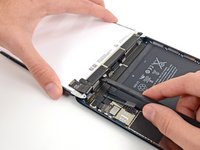
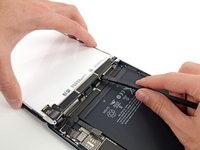
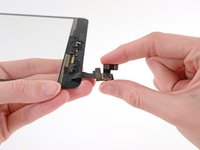
Gently pry the digitizer connector up from its socket on the logic board.
-
-
-
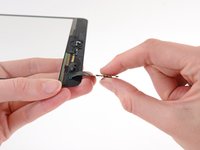
On the replacement front panel, remove the small piece of adhesive backing from the digitizer cable.
-
Fold the digitizer cable back over onto itself and press firmly to secure the adhesive.
-
-
-
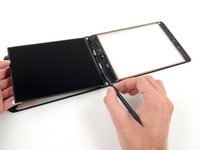
Peel the large clear plastic liner off of the inside of the glass.
-
Peel any blue plastic backings covering the adhesive around the perimeter of the front panel assembly.
-
Don't remove any copper coverings from the outlined region, such as yellow kapton tape or black electrical tape.
-
Ensure the glass panel is free of fingerprints and grime before installing it on your device.
-
-
-
Place the edge of a plastic opening tool on each side of the magnet near the top left corner of the front panel assembly.
-
Carefully wedge the edge of the right plastic opening tool underneath the magnet.
-
Wedge the left plastic opening tool underneath the magnet and simultaneously pry and push it towards the right plastic opening tool.
-


To reassemble your device, follow these instructions in reverse order.
Cancel: I did not complete this guide.
88 other people completed this guide.

12 Guide Comments
I broke my LCD while doing this repair - be extremely careful when prying off broken digitizer, I got the pick a little too far in and lifted, putting pressure on the LCD. I didnt know the LCD was broken until powering on the device. Total bummer. Replacing LCD now. The stickers are garbage. Use an adhesive instead, dont even waste your time with the stickers.
i love this website but with the ipad mini, it would really be beneficial to have a reassembly guide because of the level of difficulty. There is a lot left up to chance. LIke the yellow tape that comes around the ribbon cable. Do we remove it or not? Some say do...the guide doesnt mention it at all because it just covers removal, not reassembly. Plus there are a few metal contacts that come covered that are not covered in the replacement digitizer.
A reverse order would be great as noted above. Otherwise, i have it together and powered on and it works. I have books sitting on i pad hoping adhesive will adhere. I may use the iOpener on it to warm up adhesive and let it cool again. Thank you..