Introduction
Follow the steps in this guide to replace your iPad mini 4 display assembly, including the fused LCD and digitizer glass.
This procedure involves removing the screen then transferring the home button to your new assembly. In order to maintain Touch ID functionality you must transfer your original home button to the new screen.
Depending on your replacement part, you may also need to transfer the sleep/wake sensor for Smart Cover use, this portion of the procedure requires desoldering a cable.
Parts of this guide were shot with a Wi-Fi model and as such the internals may look slightly different from the LTE model. The procedure is the same for both models except where noted.
What you need
-
Tool used on this step:Safety Glasses$3.19
-
If your display glass is cracked, keep further breakage contained and prevent bodily harm during your repair by taping the glass.
-
Lay overlapping strips of clear packing tape over the iPad's display until the whole face is covered. For particularly bad breaks, you may need to lay down two layers.
-
Do your best to follow the rest of the guide as described. However, once the glass is broken, it will likely continue to crack as you work, and you may need to use a metal prying tool to scoop the glass out.
-
-
-
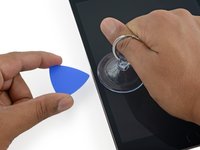
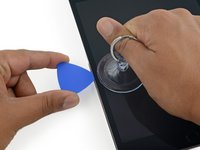
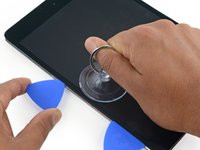
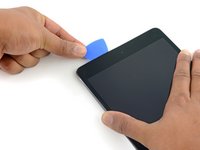
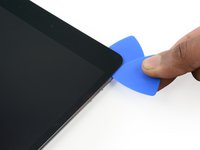
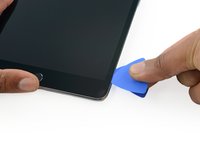
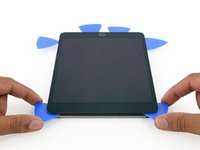
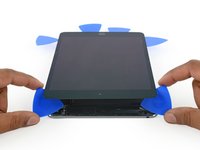
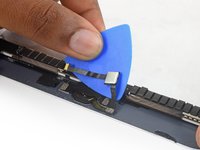
Leave the opening pick in the iPad slightly past the front-facing camera.
-
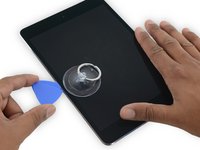
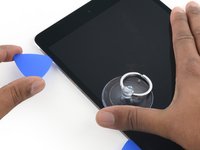
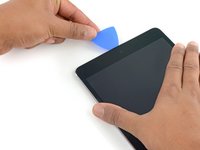
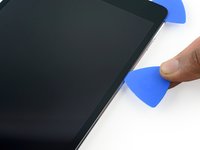
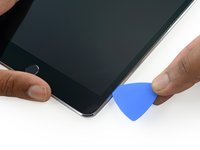
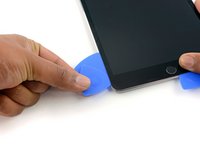
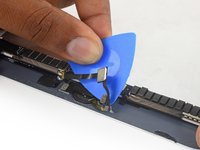
Take a second pick and insert it to the left of the camera, where the first pick just was. Slide it back to the corner to completely cut any remaining adhesive.
-
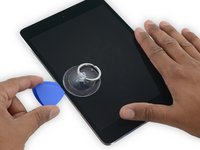
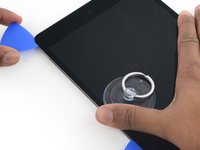
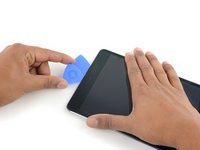
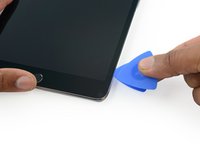
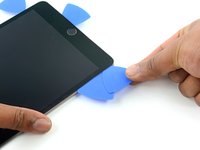
Leave the second pick in place to prevent the corner adhesive from re-sealing as it cools.
-
-
-
-
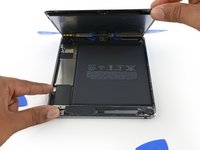
Remove the four 1.2 mm Phillips screws over the battery/display connector bracket.
-
-
-
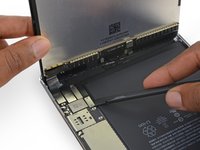
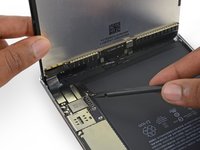
Use the pointed end of a spudger to disconnect the display data connector from its socket on the logic board.
-
Use the pointed end of a spudger to disconnect the digitizer cable connector from its socket on the logic board.
-
-
-
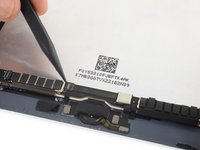
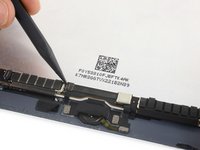
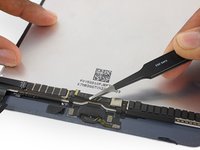
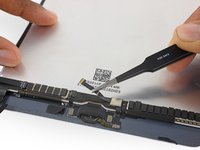
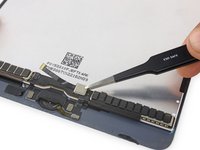
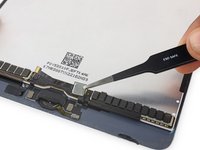
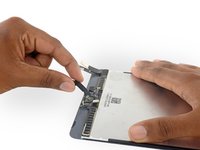
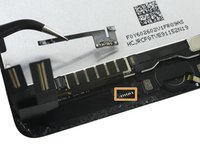
Use the pointed tip of a spudger to flip up the retaining flap on the home button ZIF socket.
-
-
-
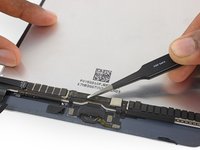
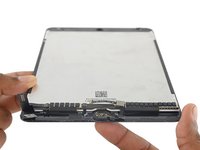
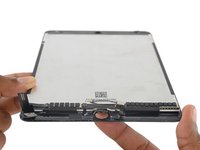
Examine your replacement part, and your original display carefully to be sure they match.
-
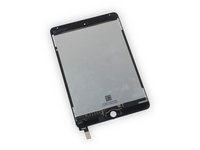
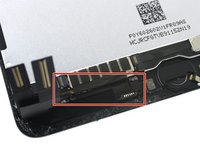
Your replacement screen may be missing the sleep/wake sensor that is necessary for Smart Cover use. If you want to maintain functionality you will need to transfer the component.
-
Desolder the six solder pads from the lower left of the display to remove the sensor assembly cable.
-


To reassemble your device, follow these instructions in reverse order.
To reassemble your device, follow these instructions in reverse order.
Cancel: I did not complete this guide.
43 other people completed this guide.

3 Comments
Please post a caution about the home button ribbon cable. I was removing it from an extremely damaged screen and I accidentally slightly ripped it. Now I’m not sure what to do :( If I had known about the problems associated with changing a touch ID home button I would have been 100x more cautious but I’ve only ever had to fix my Mini 2 before so this wasn’t an issue.
I have an iFixit replacement screen (C-stock) that has some existing adhesive already on it, but there are a few parts of the adhesive that are folded over on itself. I also have replacement adhesive. Two questions:
Should I replace the existing, possibly-worn adhesive with new adhesive, or is it better to stay with the already-applied adhesive?
Should I warm up the adhesive when I’m applying the screen back onto the body? Or should I keep it room-temperature?
Just want to say Thank you for for the guide and what i can only describe as the perfect pctures to go along! Nice1