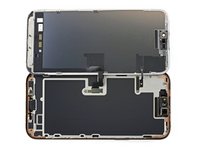
iPhone 16 Pro Max Screen Removal

Prerequisite Only
This guide is only intended to be used as a prerequisite for other guides. It's incomplete by itself.

What you need

  1. iPhone 16 Pro Max Screen Removal, Create a gap with a suction handle: step 1, image 1 of 1
    Tool used on this step:
    iOpener
    $12.99
    Buy
    • The next two steps show how to create an initial gap using a suction handle.

    • Use a hair dryer or heat gun to heat the bottom edge of the screen until it's hot to the touch.

    • You can also use an iOpener to heat the screen. Follow these instructions to heat and apply the iOpener properly.

  2. iPhone 16 Pro Max Screen Removal: step 2, image 1 of 3 iPhone 16 Pro Max Screen Removal: step 2, image 2 of 3 iPhone 16 Pro Max Screen Removal: step 2, image 3 of 3
    • Apply a suction handle to the bottom edge of the screen.

    • While supporting the frame with one hand, pull up on the handle with a strong, steady force to create a gap between the screen and the frame.

    • If you can't create a gap, apply more heat to the edge and try again.

    • Insert the tip of an opening pick into the gap.

  3. iPhone 16 Pro Max Screen Removal, Screen information: step 3, image 1 of 1
    • As you slice the adhesive securing the screen in the following steps, don't insert your pick deeper than 3 mm to avoid damaging the following areas:

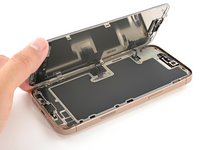
    • Two delicate cables connecting the screen to the iPhone—one just above the Action button and the other about halfway along the left edge of the iPhone

    • Multiple spring contacts around the perimeter of the iPhone

  4. iPhone 16 Pro Max Screen Removal, Slice the bottom edge adhesive: step 4, image 1 of 2 iPhone 16 Pro Max Screen Removal, Slice the bottom edge adhesive: step 4, image 2 of 2
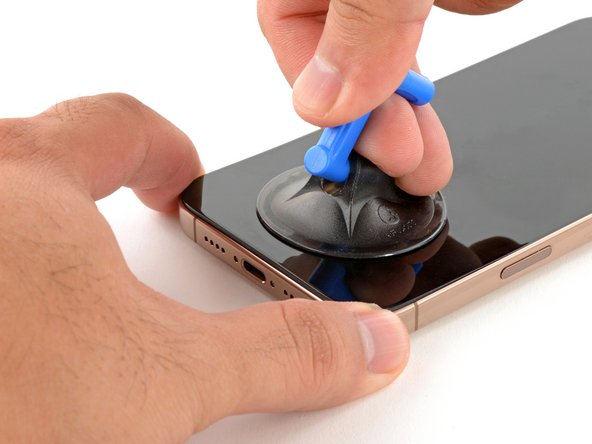
    • Slide the opening pick along the bottom edge to release the adhesive.

    • Don't insert the pick deeper than 3 mm to avoid damaging the spring contacts.

    • If the adhesive feels difficult to slice, reheat the edge for a minute.

    • Leave the opening pick in the bottom-left corner to prevent the adhesive from resealing.

  5. iPhone 16 Pro Max Screen Removal, Heat the left edge: step 5, image 1 of 1
    • Use a hair dryer or heat gun to heat the left edge of the screen until it's hot to the touch.

  6. iPhone 16 Pro Max Screen Removal, Separate the left adhesive: step 6, image 1 of 2 iPhone 16 Pro Max Screen Removal, Separate the left adhesive: step 6, image 2 of 2
    • Don't insert your pick deeper than 3 mm to avoid damaging the spring contacts and cables.

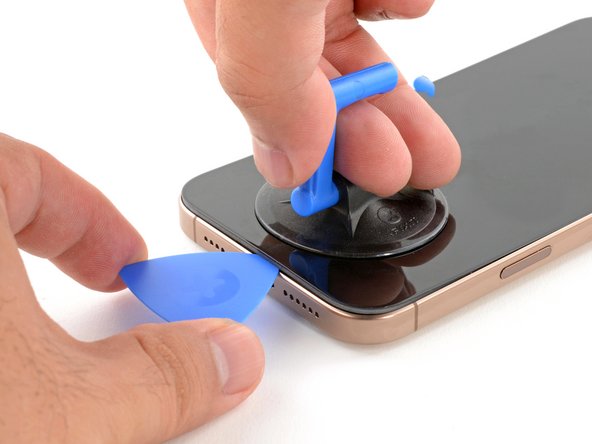
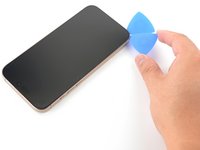
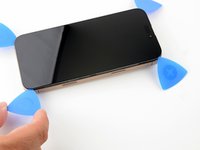
    • Insert a second opening pick in the bottom-left corner, close to the existing pick.

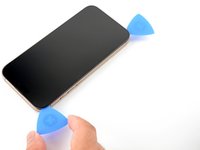
    • Slide the opening pick along the left edge of the screen to separate the adhesive and release the metal clips.

    • You'll hear and feel the metal clips release as you pass them.

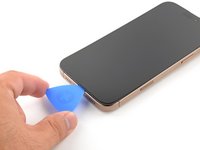
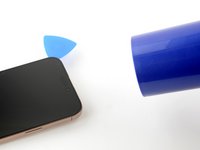
    • Leave the opening pick in the top-left corner to prevent the adhesive from resealing.

  7. iPhone 16 Pro Max Screen Removal, Separate the remaining adhesives: step 7, image 1 of 3 iPhone 16 Pro Max Screen Removal, Separate the remaining adhesives: step 7, image 2 of 3 iPhone 16 Pro Max Screen Removal, Separate the remaining adhesives: step 7, image 3 of 3
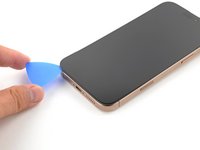
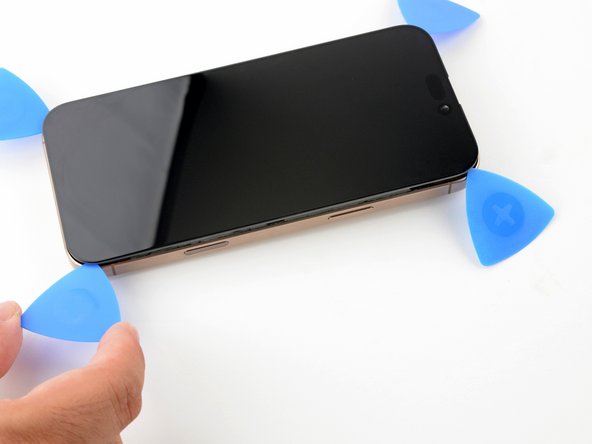
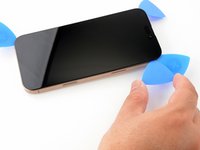
    • Repeat the heating and slicing procedure along the remaining screen edges.

  8. iPhone 16 Pro Max Screen Removal, Swing open the screen: step 8, image 1 of 3 iPhone 16 Pro Max Screen Removal, Swing open the screen: step 8, image 2 of 3 iPhone 16 Pro Max Screen Removal, Swing open the screen: step 8, image 3 of 3
    • At this point, the screen should be free from the frame. If the screen feels stuck, go back around the perimeter with your pick and carefully check for missed sections of adhesive or stuck clips.

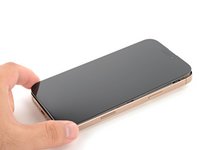
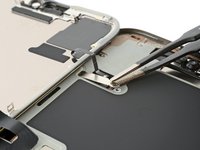
    • Carefully lift the screen upwards until the clips along the long edges clear the frame.

    • Swing open the screen over the left edge of the iPhone and lay it flat on your work surface.

  9. iPhone 16 Pro Max Screen Removal, Remove the connector covers: step 9, image 1 of 1
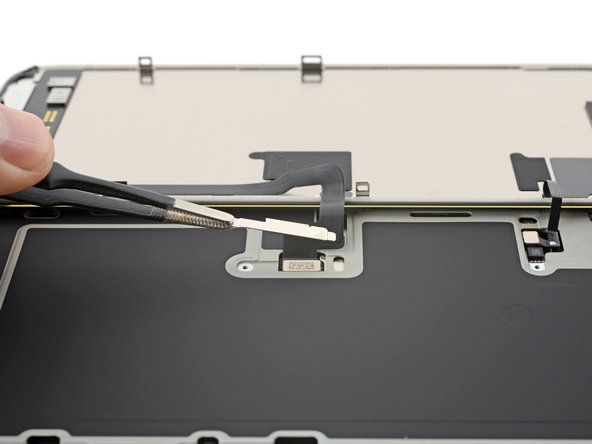
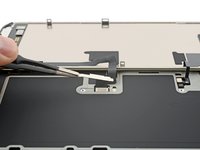
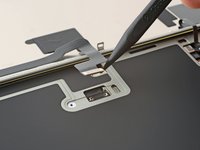
    • Use a tri-point Y000 driver to remove the two 1.3 mm‑long screws securing the front sensor and display connector covers.

  10. iPhone 16 Pro Max Screen Removal: step 10, image 1 of 3 iPhone 16 Pro Max Screen Removal: step 10, image 2 of 3 iPhone 16 Pro Max Screen Removal: step 10, image 3 of 3
    • Use tweezers to grasp the front sensor connector cover near the screw hole.

    • Lift and remove the cover.

    • Repeat the procedure to remove the display connector cover.

  11. iPhone 16 Pro Max Screen Removal, Disconnect the screen: step 11, image 1 of 3 iPhone 16 Pro Max Screen Removal, Disconnect the screen: step 11, image 2 of 3 iPhone 16 Pro Max Screen Removal, Disconnect the screen: step 11, image 3 of 3
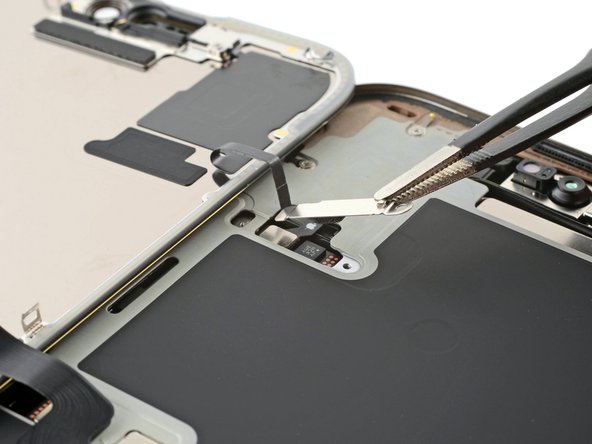
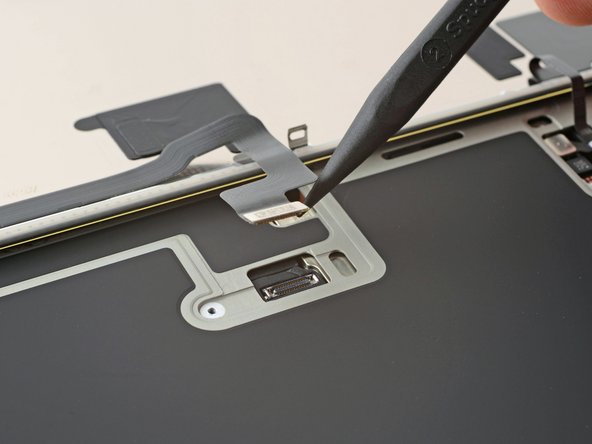
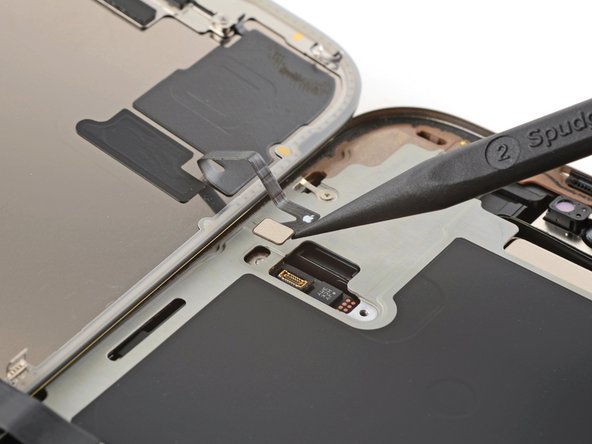
    • Use the tip of a spudger to pry up and disconnect the display press connector.

    • Repeat for the front sensor press connector.

  12. iPhone 16 Pro Max Screen Removal, Remove the screen: step 12, image 1 of 1
    • Lift the screen and remove it.

Finish Line

Arthur Shi

Member since: 01/03/18

281,659 Reputation

584 Guides authored

Team

iFixit Member of iFixit

Staff

118 Members

19,410 Guides authored

0 Comments

Add Comment

View Statistics:

Past 24 Hours: 0

Past 7 Days: 5

Past 30 Days: 12

All Time: 24