Introduction
Use this guide to replace a broken, cracked, or non‑responsive screen in your iPhone 16 Pro Max.
You'll need replacement screen adhesive to complete this repair.
Note: Since you can't disconnect the battery during this repair, be especially careful not to use metal prying tools or touch any exposed contacts in your iPhone.
After your repair, calibrate an authentic screen using Apple's Repair Assistant.
What you need
-
-
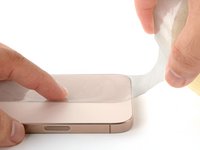
Unplug any cables from your iPhone.
-
Hold the power and either volume buttons, and slide to power off your iPhone.
-
-
-
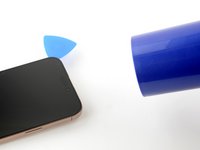
If your screen or back glass is badly cracked, lay overlapping strips of packing tape over the glass to protect yourself and make disassembly easier.
-
-
-
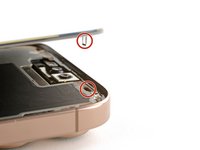
Use a P2 pentalobe driver to remove the two 7.4 mm-long screws on either side of the charge port.
-
-
-
Measure 3 mm from the tip and mark the opening pick with a permanent marker.
Got to step 2 and realized the fix kit doesn't include an opening pick! Looks like a guitar pick, and I have those lying around. Is that expected? Looks like the pick is used in many steps below. There's a little blue crowbar that isn't mentioned in the instructions. Perhaps that replaces the opening pick?
Hi! I can't see which guide you were using when writing this comment. Can you reply here with which guide and fix kit you used?
I see you posted this in Meta. I hope it's resolved soon! In the meantime, a guitar pick may work well enough for your repair.
what fix kit?
My fix kit didn't include an opening pick either
My AliExpress refurbished screen came with a pick that has a coin-like circle that pops out, so no modification was necessary
It's not an Ifixit KIT if it doesn't include everything. You'll need to order the opening pic separately. Or head to Walmart like myself and look for guitar pics. Hopefully, this will work just as well.
No pick in mine as well. It’s really not clear that you have to order this separately when ordering an IPhone SE 202/2022 screen repair kit. Is this the case?
Frustrated, I ordered a compact package where everything was encapsulated. Useless suction tools could not separate the screen. If it is unable to decouple the screen, then why sucking suction tools you have provided.
For my kit the triangle pick was stuck inside the box with the screen not with the other tools maybe it's also there for you
Y’all are getting far, FAR too detailed with some of this stuff…. Measuring and marking the pick that you won’t actually use to open the device?!? lol that’s kinda funny. Just heat it up, grab a spudger, and the back just pops right off! The iFixit tech need to stick to the KISS method more often, you know KEEP IT SIMPLE STUPID!!! Like l, for reals, I’ve been doing this stuff for YEARS and using iFixit guides regularly and this is just ridiculous at this point!
Will the phone still work if the sensor assembly on the back of the screen is damaged?
-
-
Tool used on this step:iOpener$12.99
-
Use a hair dryer or heat gun to heat the bottom edge of the screen until it's hot to the touch.
-
-
-
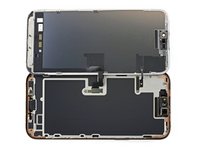
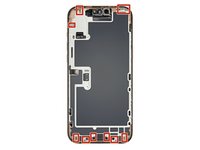
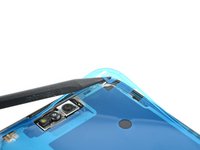
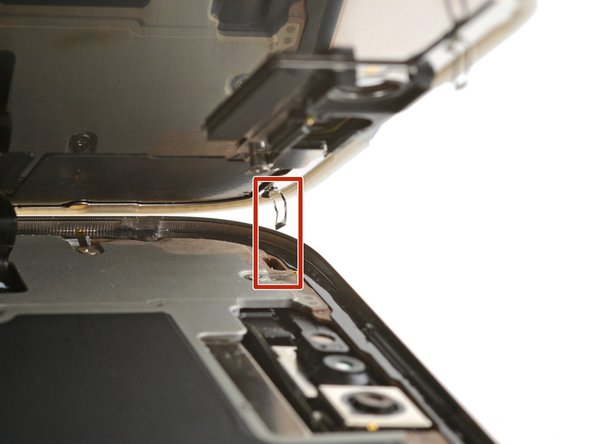
Two delicate cables connecting the screen to the iPhone—one just above the Action button and the other about halfway along the left edge of the iPhone
-
Multiple spring contacts around the perimeter of the iPhone
-
-
-
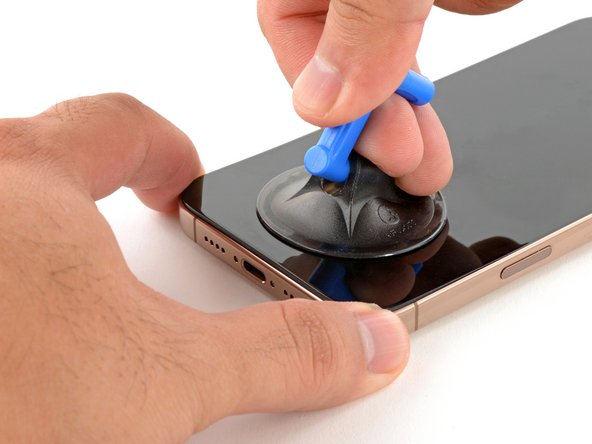
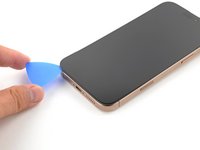
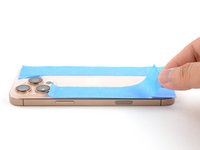
Slide the opening pick along the bottom edge to release the adhesive.
-
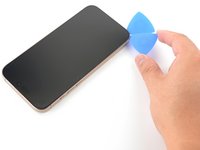
Leave the opening pick in the bottom-left corner to prevent the adhesive from resealing.
-
-
-
Use a hair dryer or heat gun to heat the left edge of the screen until it's hot to the touch.
-
-
-
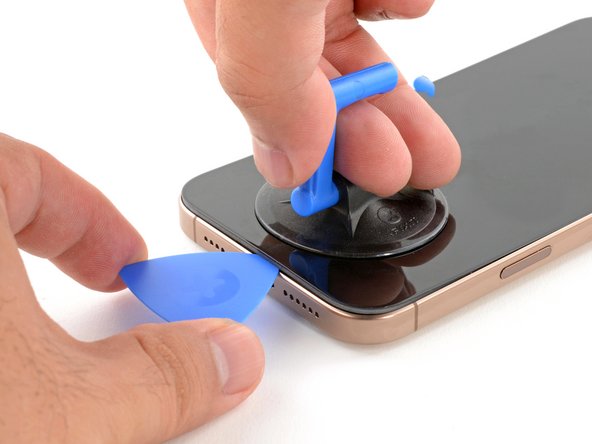
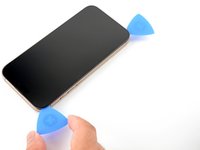
Insert a second opening pick in the bottom-left corner, close to the existing pick.
-
Slide the opening pick along the left edge of the screen to separate the adhesive and release the metal clips.
-
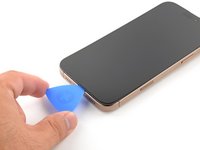
Leave the opening pick in the top-left corner to prevent the adhesive from resealing.
-
-
-
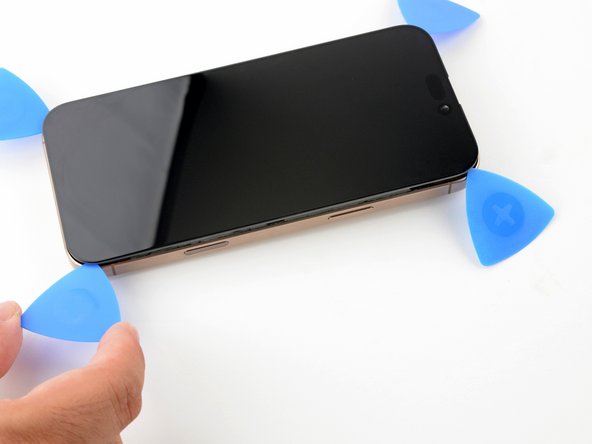
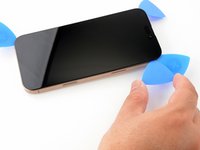
Repeat the heating and slicing procedure along the remaining screen edges.
-
-
-
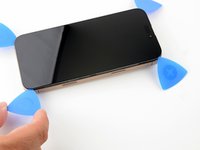
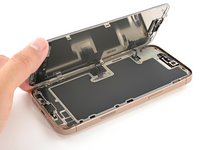
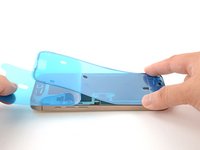
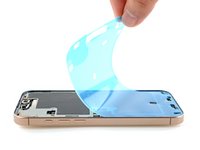
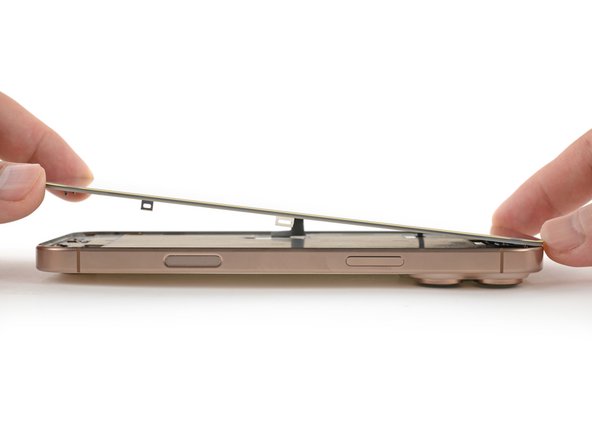
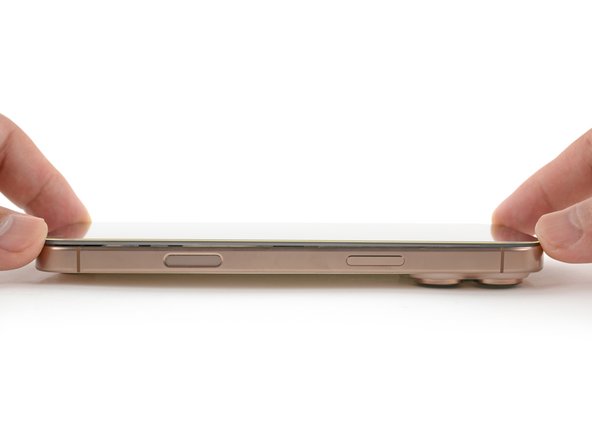
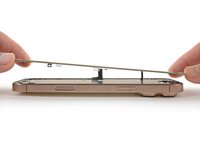
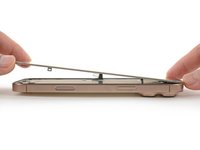
Carefully lift the screen upwards until the clips along the long edges clear the frame.
-
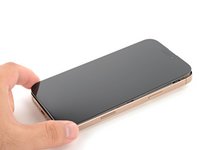
Swing open the screen over the left edge of the iPhone and lay it flat on your work surface.
-
-
-
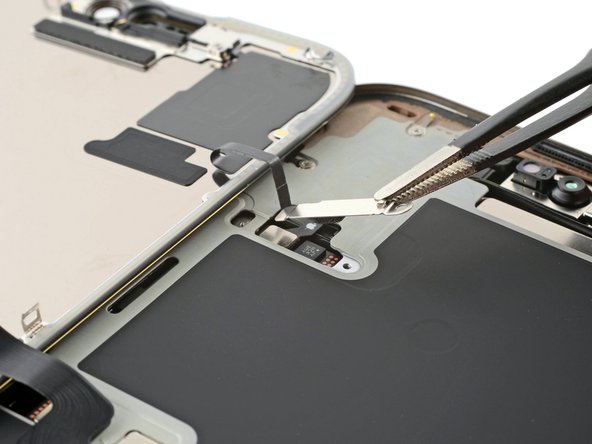
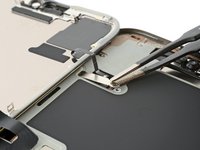
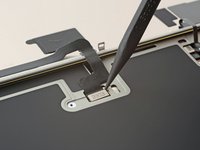
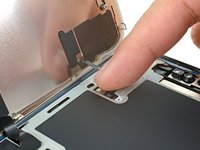
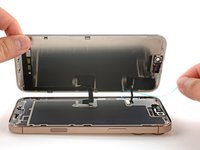
Use a tri-point Y000 driver to remove the two 1.3 mm‑long screws securing the front sensor and display connector covers.
-
-
-
-
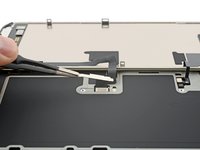
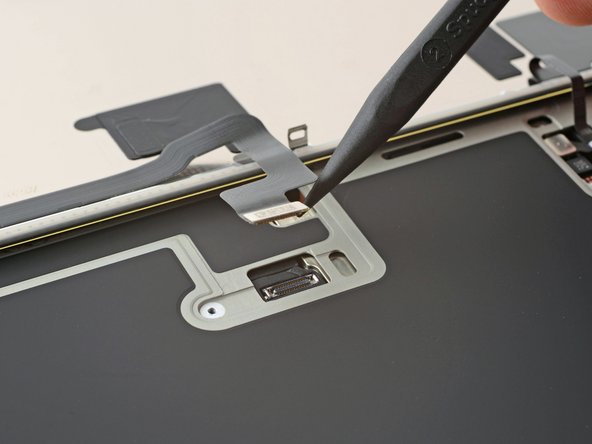
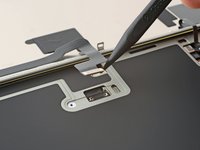
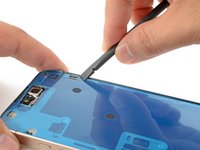
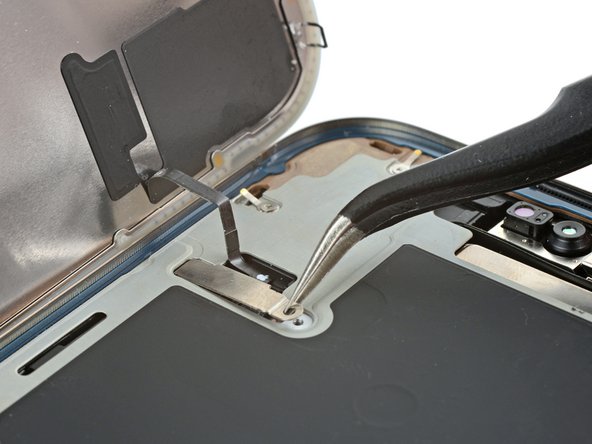
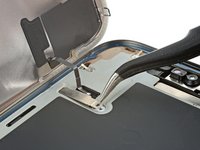
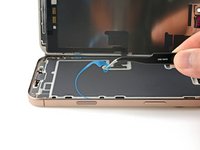
Use the tip of a spudger to pry up and disconnect the display press connector.
-
Repeat for the front sensor press connector.
-
-
-
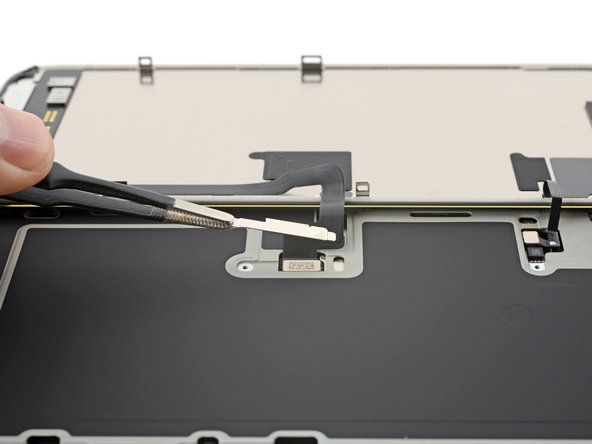
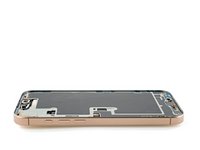
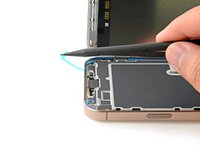
Use a spudger or tweezers to remove the adhesive chunks from the iPhone's frame.
-
-
-
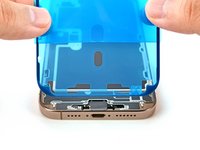
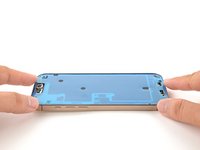
Lay the adhesive sheet over the frame to determine its proper orientation.
-
-
-
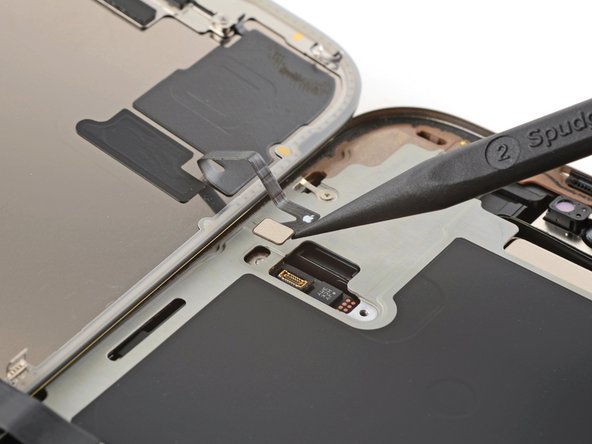
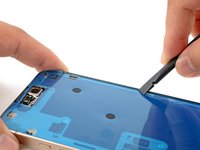
Use your finger to press down and connect the display connector.
-
Press down and connect the front sensor connector.
-
-
-
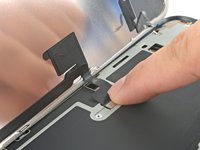
Tuck the display connector cover's tab into its frame cutout and lay the cover in place.
-
Repeat with the front sensor connector cover.
-
-
-
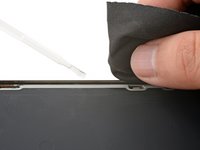
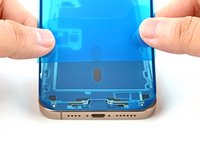
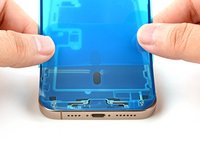
While supporting the screen, use your fingers or a spudger to peel away all perimeter liners, exposing the adhesive.
-
Check the frame and screen for any stray liners and remove them. There should be no liners remaining.
-
-
-
Carefully align the screen's top clips with their frame cutouts.
-
-
-
Use a hair dryer, heat gun, or an iOpener to heat the screen perimeter until it's slightly too hot to touch.
-
-
-
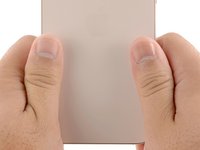
Use your fingers to firmly squeeze around the perimeter of the iPhone.
-
-
-
Use a P2 pentalobe driver to install the two 7.4 mm-long screws on either side of the charge port.
-


After your repair, calibrate a genuine replacement screen using Apple's Repair Assistant. Navigate to Settings → General → About → Parts & Service History, tap Restart & Finish Repair, and follow the onscreen prompts.
Take your e-waste to an R2 or e-Stewards certified recycler.
Repair didn’t go as planned? Try some basic troubleshooting, or ask our Answers community for help.
Cancel: I did not complete this guide.
One other person completed this guide.


2 Comments
Greetings. Is it true that viewing with a magnifying glass under the light of the house ruins the screen? On the iPhone 16 Pro Max
That's a good question! I would say that under normal house lights, you're very unlikely to damage the screen with a magnifying glass.
I haven't tried it, but it's theoretically possible to damage the screen with a magnifying glass if you're in direct sunlight.