Introduction
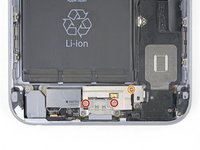
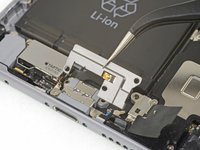
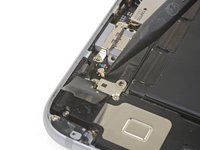
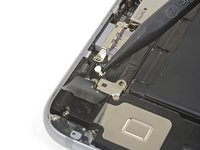
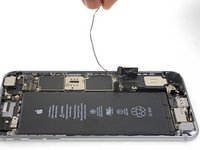
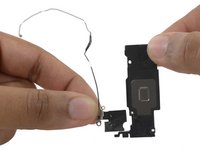
Follow the steps in this guide to replace the Wi-Fi diversity antenna in your iPhone 6s Plus.
What you need
-
-
Insert a SIM eject tool into the hole in the SIM tray.
-
Press to eject the SIM tray.
-
-
-
Power off your iPhone before beginning disassembly.
-
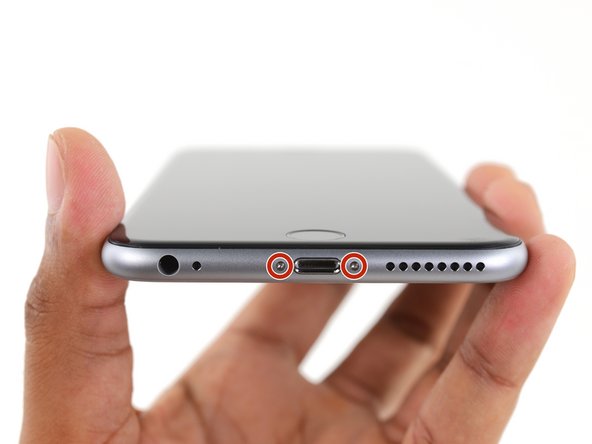
Remove the two 3.4 mm Pentalobe screws on either side of the Lightning port.
-
-
Tool used on this step:Clampy - Anti-Clamp$24.95
-
Pull the blue handle backwards to unlock the Anti-Clamp's arms.
-
Slide the arms over either the left or right edge of your iPhone.
-
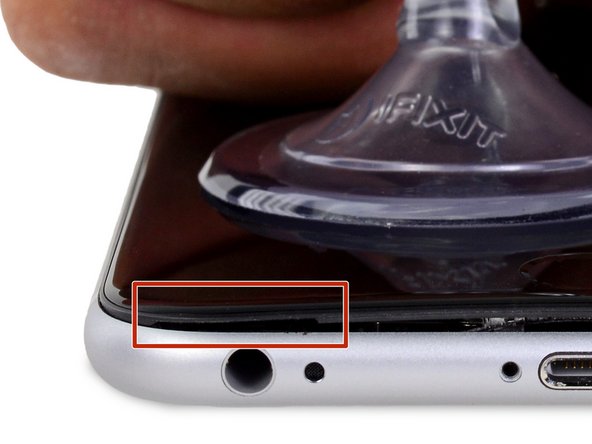
Position the suction cups near the bottom edge of the iPhone just above the home button—one on the front, and one on the back.
-
Squeeze the cups together to apply suction to the desired area.
-
-
Tool used on this step:Clampy - Anti-Clamp$24.95
-
If you don't have an Anti-Clamp, follow the next three steps to use a suction handle.
-
Apply mild heat to the lower edge of the iPhone using an iOpener or hair dryer for about a minute.
-
-
-
-
Gently grasp the display assembly and lift it up to open the phone, using the clips at the top of the front panel as a hinge.
-
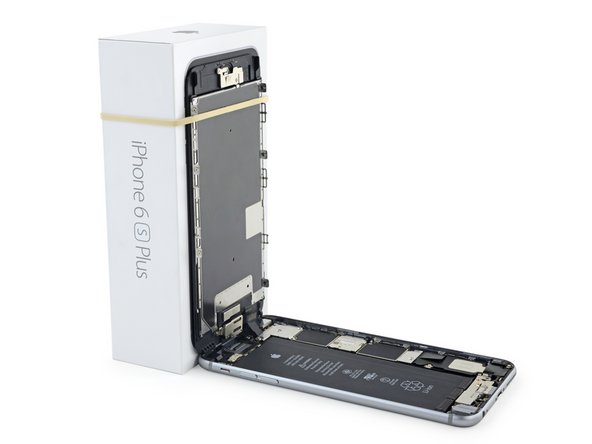
Open the display to about a 90º angle, and lean it against something to keep it propped up while you're working on the phone.
-
Add a rubber band to keep the display securely in place while you work. This prevents undue strain on the display cables.
-
-
Tool used on this step:Magnetic Project Mat$19.95
-
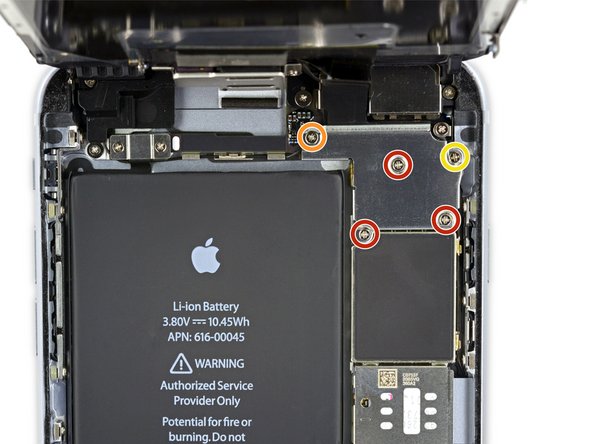
Remove two Phillips screws securing the battery connector bracket to the logic board, of the following lengths:
-
One 2.9 mm screw
-
One 2.3 mm screw
-
-
-
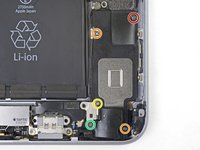
Remove the following Phillips screws:
-
Three 1.3 mm screws
-
One 1.6 mm screw
-
One 3.0 mm screw
-
-
-
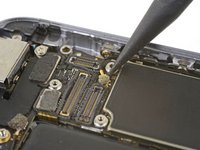
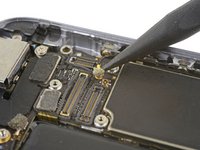
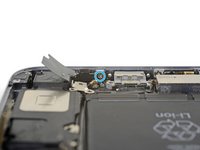
Use the point of a spudger to pry up and disconnect the antenna cable from the bottom of the logic board.
-
-
Tool used on this step:Tweezers$4.99
-
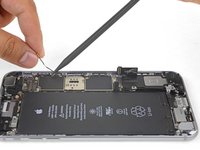
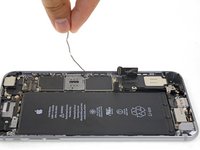
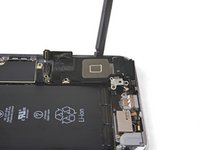
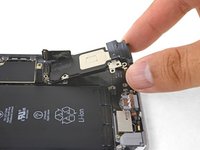
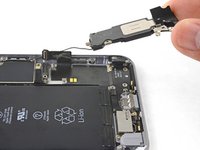
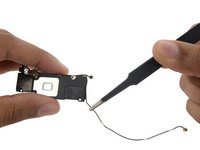
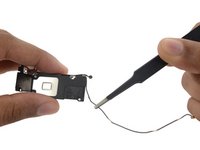
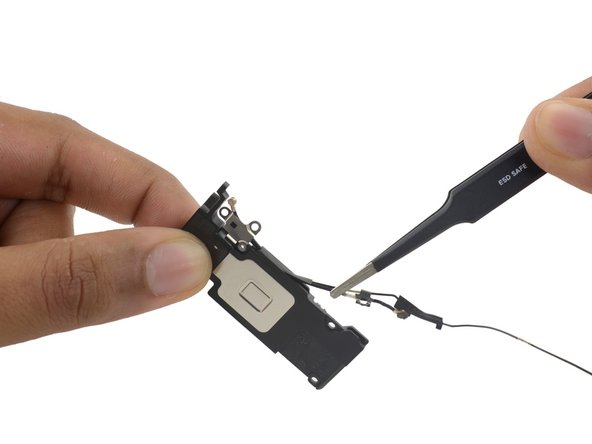
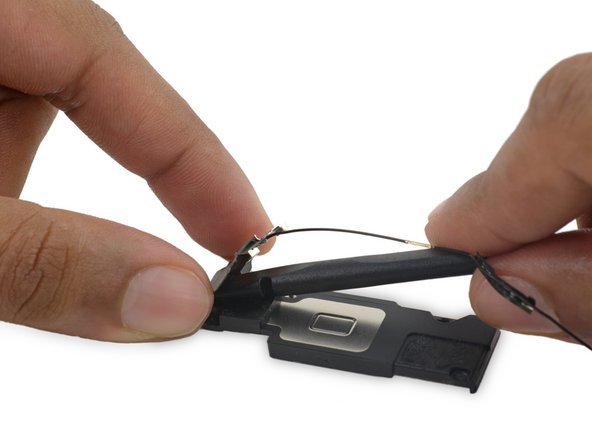
Use a pair of tweezers to begin peeling the antenna cables off of the speaker.
-
Compare your new replacement part to the original part. You may need to transfer remaining components or remove adhesive backings from the new part before installing.
To reassemble your device, follow these instructions in reverse order.
Take your e-waste to an R2 or e-Stewards certified recycler.
Repair didn’t go as planned? Check out our iPhone 6s Plus Answers community for troubleshooting help.
Cancel: I did not complete this guide.
24 other people completed this guide.


