Introduction
If your LCD Display has stopped working on your Ipod Touch 2nd Generation, then here's an easy-to-follow guide to fixing it.
What you need
-
Step 1 Front Panel
Careful: steps 1-4 are sourced from a guide that's marked as in-progress.
-
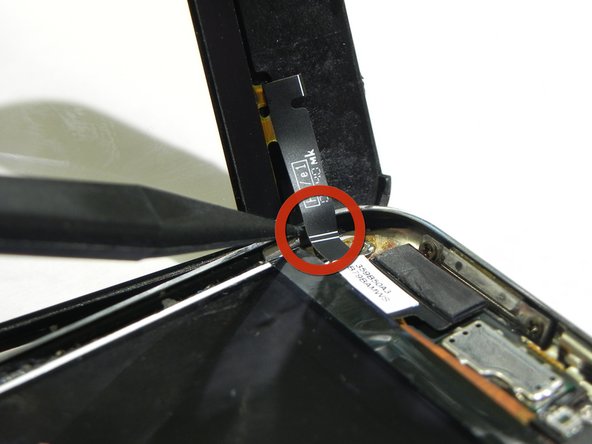
Wedge the PX 3688 plastic opening tool between the glass front panel and the plastic frame. Start near the top where the volume control buttons are located and stay on one side of iPod.
-
Turn the tool in a hinge-like rotation away from the iPod and pry the glass panel out of its case.
-
Be careful to work at a slow and gentle pace. Avoid breaking anything inside the iPod, especially the screen.
-
-
-
-
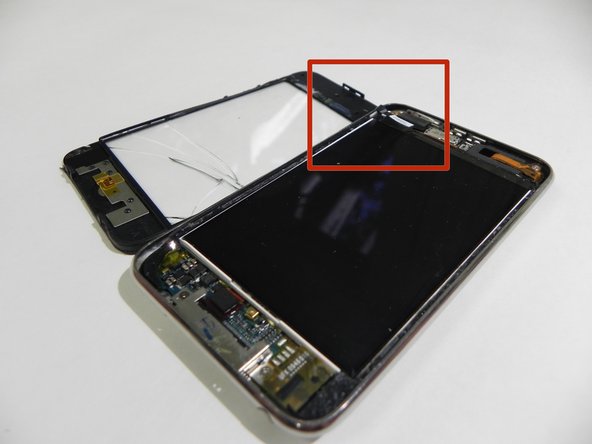
Remove the Phillips screw in the top left corner attaching the metal tray to the rear panel.
-
-
-
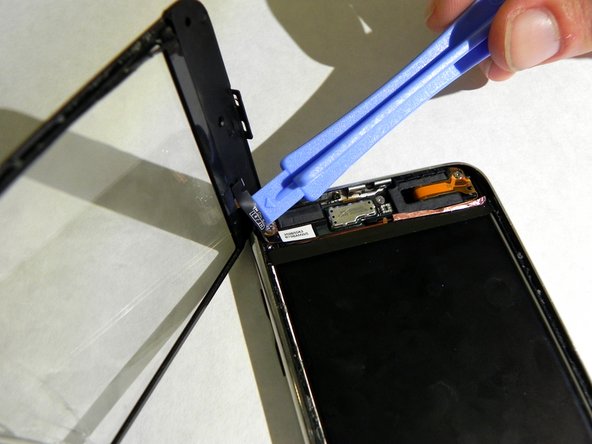
Insert a PX 3688 plastic opening tool with the edge angled up, toward the underside of the display, between the white plastic backlight and the metal beneath it.
-
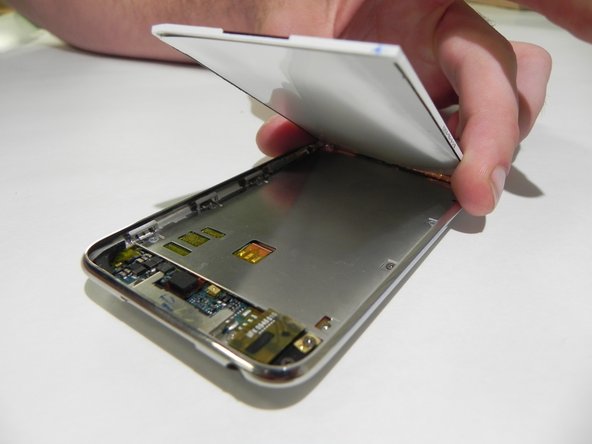
Pry the lower edge of the display up until it's at about a 45 degree angle with the rest of the iPod.
-
Hold the display in this position with one hand for the next step to avoid damaging the display ribbon cable.
-


Now your replacement screen is on. Just follow these instructions in reverse to reassemble!
Cancel: I did not complete this guide.
2 other people completed this guide.
Team

Cal Poly, Team 15-16, Forte Spring 2012 Member of Cal Poly, Team 15-16, Forte Spring 2012
CPSU-FORTE-S12S15G16
5 Members
3 Guides authored