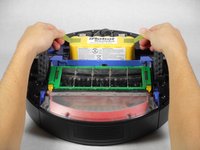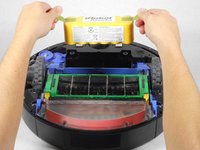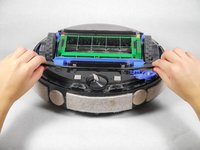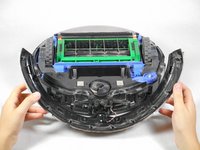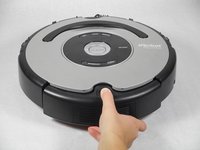
iRobot Roomba 560 Handle Replacement
Introduction
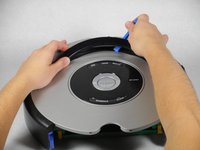
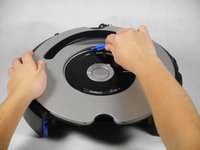
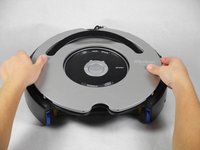
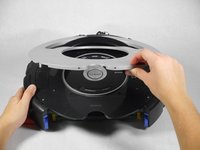
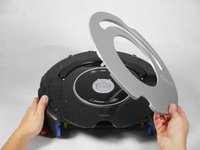
Go to step 1The handle helps you carry the device, so replacing it is necessary when it is damaged. This replacement is challenging due to the intensive work that must be done to access the panel that holds the handle in place. Once you reach the panel, all that remains is to simply pop the handle out of its hinges.
What you need
-
-
Flip the Roomba upside down.
-
Unscrew the single 5 mm screw on the yellow side sweeper using the Phillips #2 driver.
-
-
-
Using the Phillips #2 driver, remove the four 10 mm screws that hold the back panel in place.
-
-
-
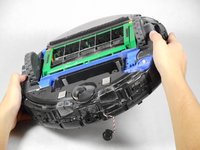
Turn the device over so that it is face up with the vacuum bin in front of you .
-
Press the button of the vacuum bin and pull out the bin from the device.
-
-
-
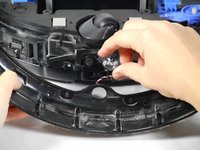
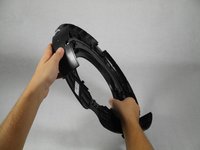
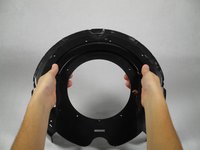
Hold the black panel in front of you with the handle facing the other side.
-
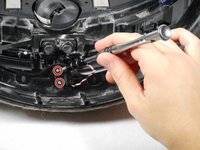
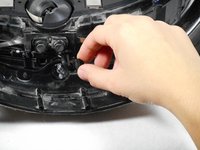
Locate the two hinges that will be pressed in the next step.
-
To reassemble your device, follow these instructions in reverse order.
To reassemble your device, follow these instructions in reverse order.
Cancel: I did not complete this guide.
3 other people completed this guide.
One Comment
Pour avoir terminé, je préciserai qu'il y a un sens pour remonter la lentille sinon le pare chocs ne coulisse pas.
De même, il n´est pas nécessaire de changer la lentille. Remettre celle d'origine (si elle n´est pas abîmée) convient très bien.
Excellent tutoriel !


