Notice: You are editing a prerequisite guide. Any changes you make will affect all 2 guides that include this step.
Translating step 1
Step 1

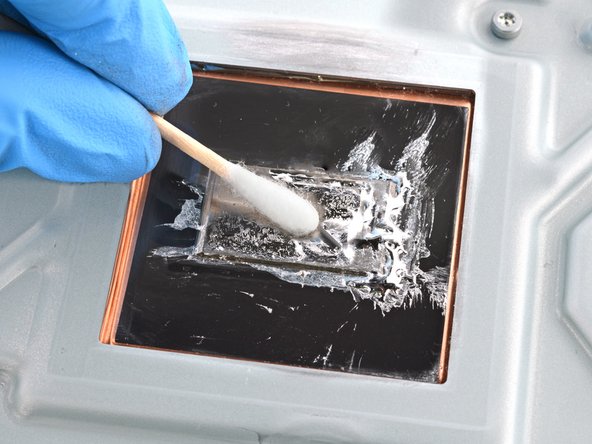


Remove the old liquid metal from the heatsink
-
If you have a disposable syringe, you can use it to suck up any large pools of liquid metal. Don't use the syringe containing your new liquid metal.
-
Starting with the heatsink: apply a few drops of highly-concentrated (greater than 90%) isopropyl alcohol to a cotton swab and carefully clean up all of the liquid metal from the heatsink surface.
-
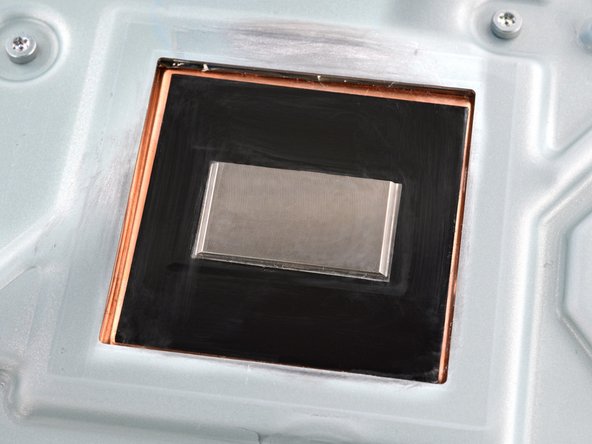
Use the same cleaning process to thoroughly clean up all of the liquid metal residue.
-
Let the heatsink dry completely.
Your contributions are licensed under the open source Creative Commons license.