Notice: You are editing a prerequisite guide. Any changes you make will affect the guide that includes this step.
Translating step 3
Step 3

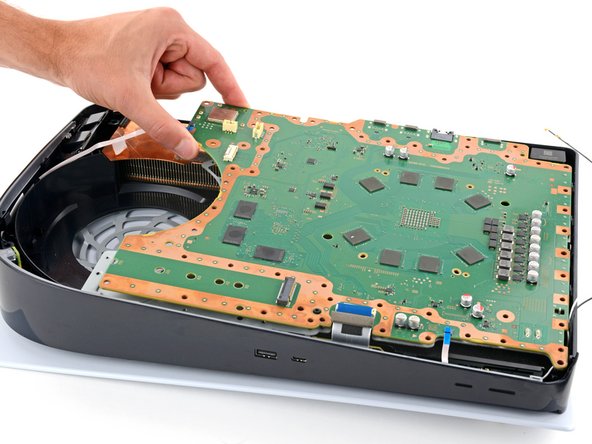


Separate the main board
-
Gently lift the edge of the motherboard with the large cutout to partially separate it from the bottom shield plate.
-
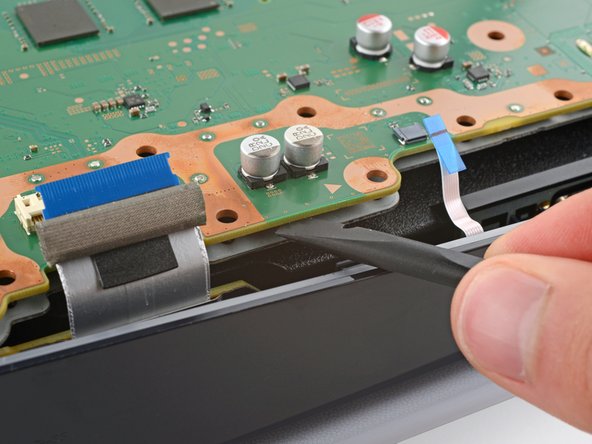
With the board lifted, insert the flat end of a spudger between the board and the bottom shield plate and gently twist to separate them. Work your way around the perimeter of the board.
Your contributions are licensed under the open source Creative Commons license.