Notice: You are editing a prerequisite guide. Any changes you make will affect all 4 guides that include this step.
Translating step 3
Step 3

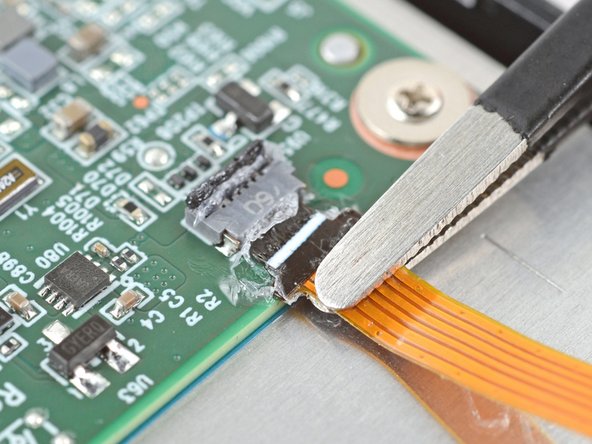


Disconnect the power button
-
Use blunt nose tweezers to grip the cable close to the head and pull it away from its ZIF connector slowly and steadily to separate the coating.
-
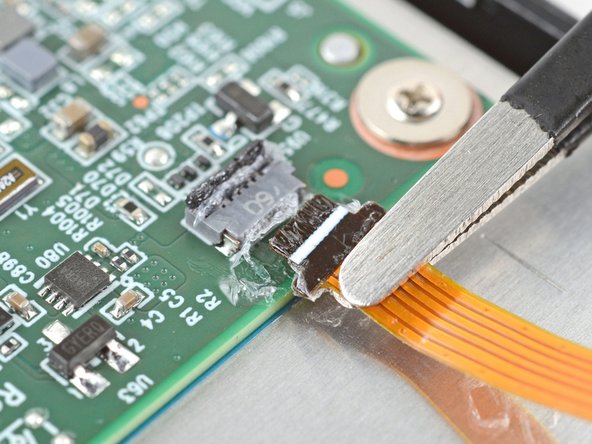
Keep pulling on the cable until the cable comes completely out of its socket.
-
Inspect the head of the cable and the ZIF connector for any remaining coating that could prevent a good connection.
-
Peel off the coating—heating the cable and the ZIF connector when the coating becomes too brittle.
Your contributions are licensed under the open source Creative Commons license.