Notice: You are editing a prerequisite guide. Any changes you make will affect all 76 guides that include this step.
Translating step 23
Step 23


-
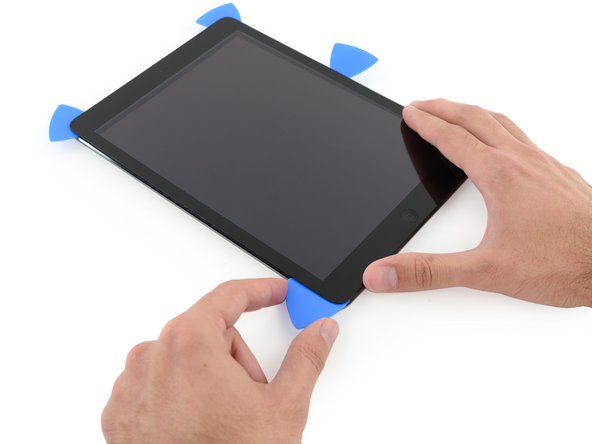
Slide the lower left pick to the lower left corner to cut the adhesive on that corner.
-
Leave the pick at the corner. Do not pry any farther, and do not remove the pick from the iPad.
-
The following steps will direct you where to pry to avoid damage to these components. Only apply heat and pry where directed.
Your contributions are licensed under the open source Creative Commons license.