
Sostituzione case superiore del MacBook Pro 15" Retina Display Late 2013

Notice: You are editing a prerequisite guide. Any changes you make will affect the guide that includes this step.

English
Italian

Translating step 1

Step 1
MacBook Pro 15" Retina Display Late 2013 Upper Case Assembly Replacement: step 0, image 1 of 3 MacBook Pro 15" Retina Display Late 2013 Upper Case Assembly Replacement: step 0, image 2 of 3 MacBook Pro 15" Retina Display Late 2013 Upper Case Assembly Replacement: step 0, image 3 of 3
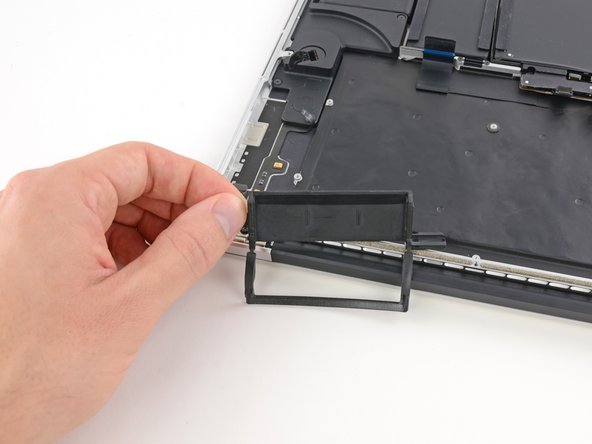
  • Remove the single 2.6 mm T5 Torx screw securing the left rubber hinge cover in place.

  • Slide the hinge cover out of its bezel, then lift it up and out of the device.

  • The screw in the right hinge cover should already have been removed.

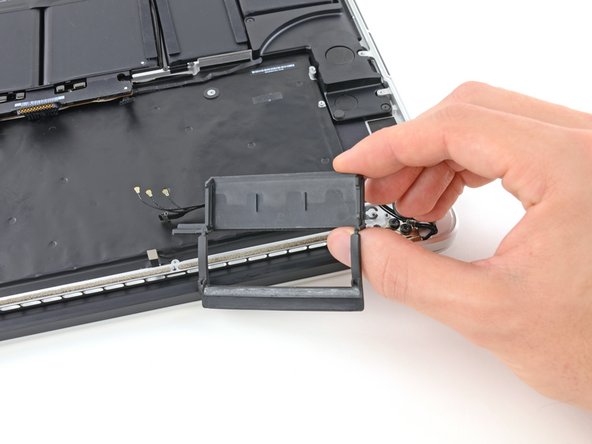
  • Slide the right cover out of its bezel, then lift it out of the device.

Rimuovi la vite T5 Torx da 2,6 mm che tiene in posizione la copertura in gomma della cerniera sinistra.

Fai scorrere fuori la cerniera dalla sua cornice, poi sollevala e rimuovila dal dispositivo.

La vite della cover della cerniera di destra dovrebbe essere già stata rimossa.

Fai scorrere la cover di destra fuori dal suo alloggiamento, quindi sollevala e tirala fuori dal dispositivo.

Your contributions are licensed under the open source Creative Commons license.