Translating step 4
Step 4


-
The lack of visible screws had us a little worried, but not for long thanks to these handily-labeled clips.
-
Removing the display assembly is simply a matter of flipping the switches and sliding the panel out.
-
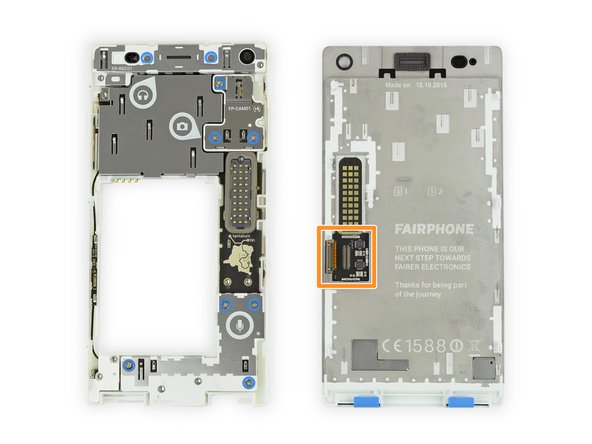
On the midframe we find an array of pogo pins, their counter parts are on the back of the display assembly.
-
Immediately below the contact pads on the display assembly we take off the metal shield and see where the display connects to the breakout board.
Your contributions are licensed under the open source Creative Commons license.