Mac Mini Mid 2011 Hard Drive Replacement

Notice: You are editing a prerequisite guide. Any changes you make will affect all 9 guides that include this step.

English
Dutch

Translating step 1

Step 1
Mac Mini Mid 2011 Hard Drive Replacement: step 0, image 1 of 2 Mac Mini Mid 2011 Hard Drive Replacement: step 0, image 2 of 2
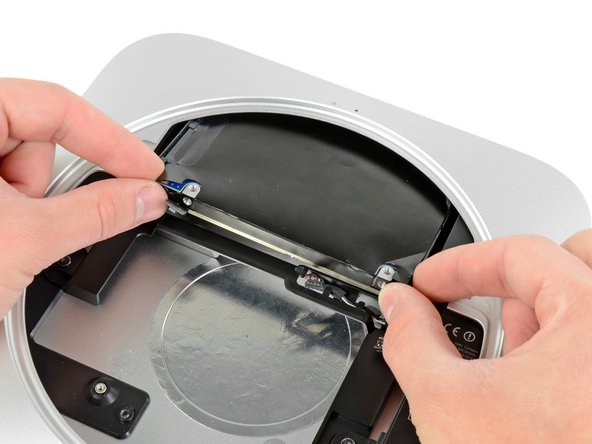
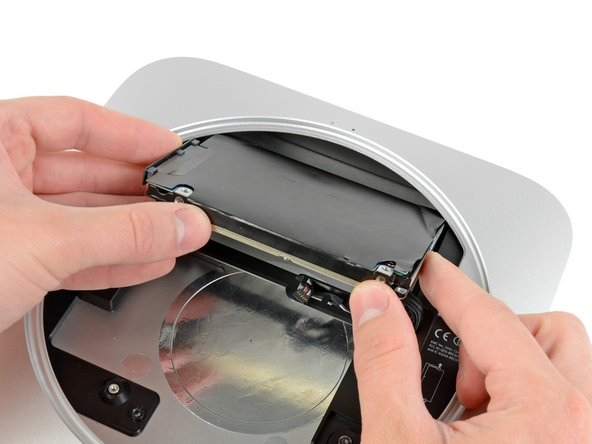
  • Pull the hard drive away from the front edge of the mini and remove it from the outer case.

  • During reassembly, there are two pins on the inside edge of the hard drive that fit into the case. The holes have rubber grommets around them, so it may be difficult to tell when you have seated the hard drive correctly.

  • There are two pairs of holes in the case. Insert the pins into the holes closest to the bottom of the case.

Insert translation here

Insert translation here

Insert translation here

Your contributions are licensed under the open source Creative Commons license.