
iPhone 4S Screen Replacement

Notice: You are editing a prerequisite guide. Any changes you make will affect all 4 guides that include this step.

English
Dutch

Translating step 11

Step 11
iPhone 4S Screen Replacement, Display Assembly Installation (Cont'd): step 0, image 1 of 3 iPhone 4S Screen Replacement, Display Assembly Installation (Cont'd): step 0, image 2 of 3 iPhone 4S Screen Replacement, Display Assembly Installation (Cont'd): step 0, image 3 of 3
Display Assembly Installation (Cont'd)
  • Whether installing a replacement display assembly or re-using the existing display assembly, note the following:

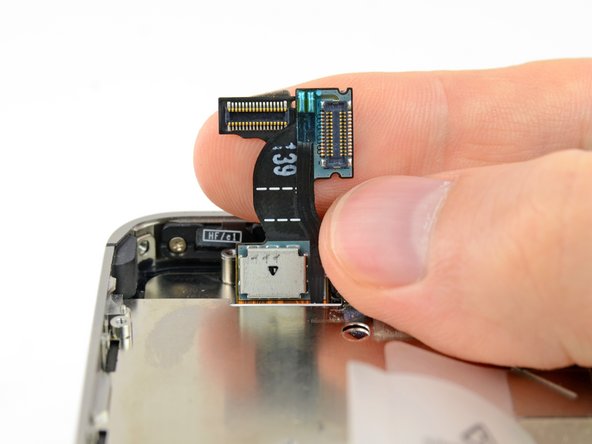
  • Carefully straighten the digitizer and LCD data cables, and feed them through the slot cut in the outer case.

  • The middle photo shows the digitizer cable being correctly fed through to its full length.

  • This photo shows the display assembly being installed incorrectly, with too much slack in the digitizer cable, which then forms a bend/loop that gets caught in the slot. The third photo also shows this loop.

  • If the digitizer cable has been installed incorrectly, it will not reach its socket on the logic board. Do not attempt to pull it through by force, or it will be cut by the sharp edge of its slot in the enclosure. Remove the display assembly, straighten the cable, and re-feed the cable through completely and correctly.

Insert translation here

Insert translation here

Insert translation here

Insert translation here

Insert translation here

Your contributions are licensed under the open source Creative Commons license.