Introduction
My Cycliq Fly6 CE Gen3 is less than 1.5 years old and about a month ago its battery stopped taking a charge. When plugged into power, the Fly6 LEDs illuminate red like it is charging, but it refused to charge itself to 100%. When checking the battery charge using the Cycliq app, it shows the Fly6's battery charge is stuck at 18%. Now 17 months old and barely off warranty, I logged a ticket with Cycliq and the best they would offer was 20% off a new replacement unit. Why would I reward Cycliq by purchasing another light at full retail price if I can only expect 17 months of usage? With that, I decided I was going in and I found the repair effort was rather easy.
What you need
-
-
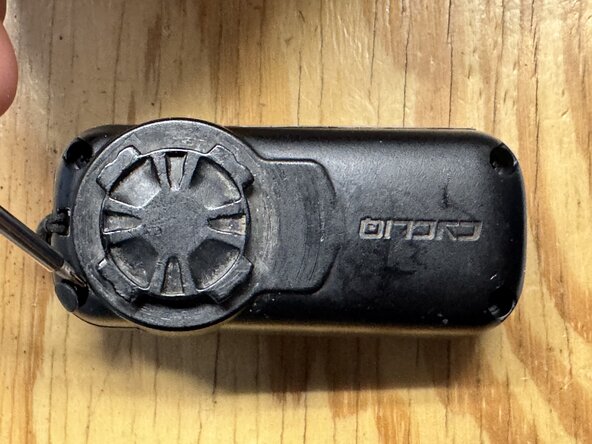
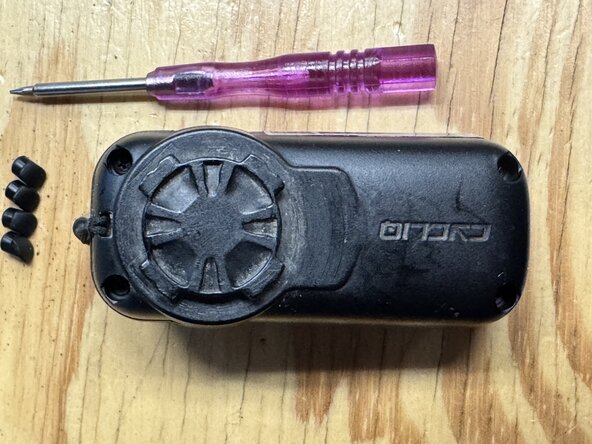
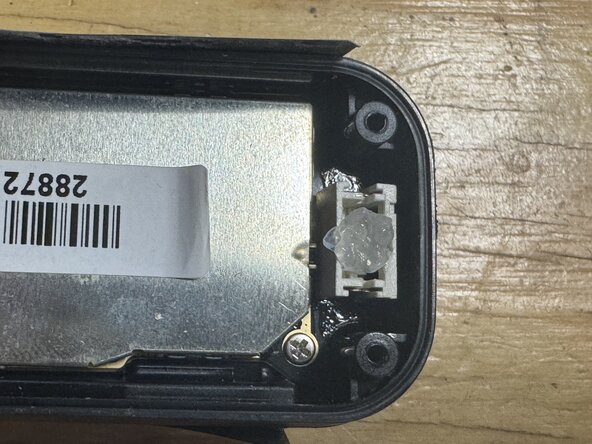
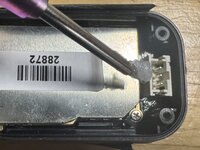
The housing is held closed with four crosshead screws, each hidden behind little rubber bungs that ensure the unit is watertight. Screw locations are shown in picture 1, dig out screws using a spare pentalobe screwdriver (picture 2), and remove screws using a Philips #00 screwdriver. A paper clip could also work for picture 2.
-
-
-
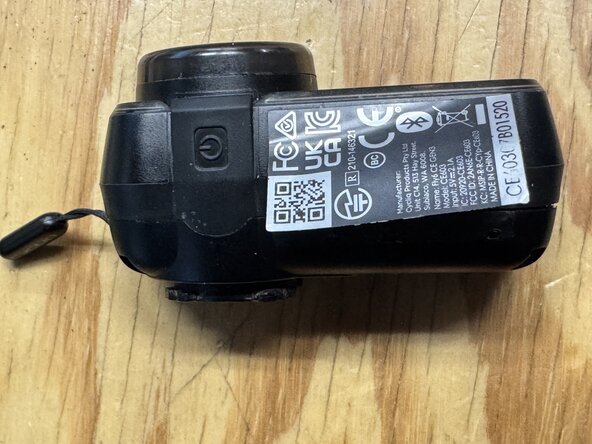
Turn the light on it's side (picture 1), peel back the sticker (picture 2), and open the housing (picture 3).
-
-
-
-
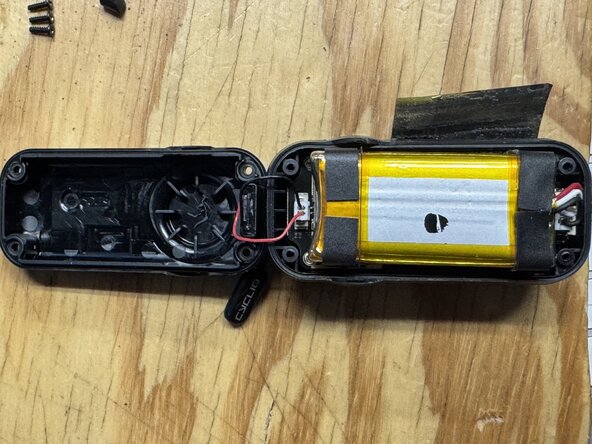
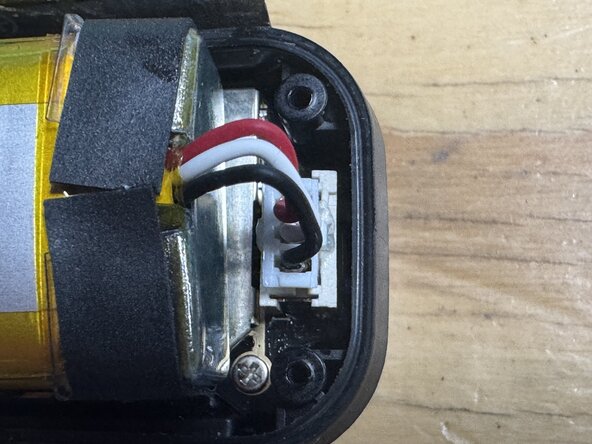
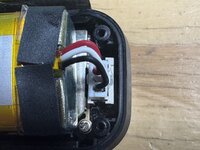
Unplug the battery and set aside (picture 1) to test its voltage.
-
Rather than test the voltage, the first time I unplugged the battery I immediately plugged it back in, powered it up, and found it had 100% charge.
-
Seconds prior to completing the above task, the battery had been stuck near 18% charge for weeks. Exposure to cold weather and potentially moisture at the battery connectors potentially played a role in this light's temporary demise.
-
-
-
Place some dielectric silicone compound with a pentalobe tool (picture 1), place grease on top of female battery connector leads (picture 2), and press male battery connector on to female leads.
-
If detaching/reattaching the battery connectors or greasing the battery connectors improved your light's function, repeat steps 1 through 3 in reverse. If not, consider replacing your battery as shown in step 5.
-
-
-
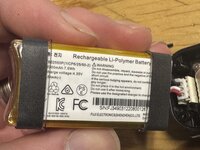
Remove foam covered plastic caps from ends of battery and save for later (picture 1). Replace existing battery (picture 2) with equivalent. To install new battery, you may need to cut wiring harness from existing battery and solder it to new battery.
-