This teardown is not a repair guide. To repair your Geek Bar Pulse, use our service manual.

  1. Geek Bar Pulse Teardown, Loosen clear cover: step 1, image 1 of 1
    • Use a wood chisel (~1 inch) along the seam to break loose the clear cover. The cover snaps into place but may be lightly glued.

  2. Geek Bar Pulse Teardown, Pull out the internals: step 2, image 1 of 1
    • Pull out the internals. You will need to push in the on/off switch at bottom of unit to get the insides to slide out.

  3. Geek Bar Pulse Teardown, Detach tank: step 3, image 1 of 1
    • Detach tank. Note location of wiring if you are going to reassemble unit.

  4. Geek Bar Pulse Teardown, Disassemble tank: step 4, image 1 of 3 Geek Bar Pulse Teardown, Disassemble tank: step 4, image 2 of 3 Geek Bar Pulse Teardown, Disassemble tank: step 4, image 3 of 3
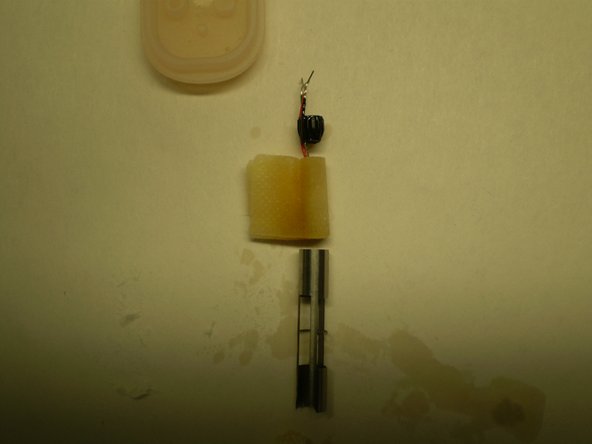
    • Pull off top of tank.

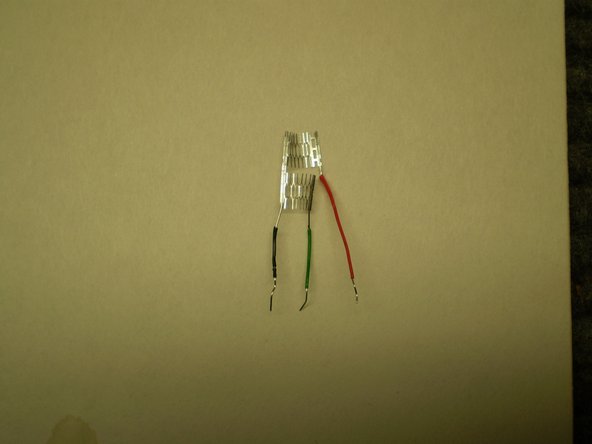
    • Pull heater unit out of steel sleeve.

    • Remove flat wick from heater

    • Observe basket style heater unit. Resistance readings: blk-grn: 1.1 ohms; blk-red: 1.1 ohms; red-grn: 2.2 ohms

  5. Geek Bar Pulse Teardown, Disassemble electronics: step 5, image 1 of 2 Geek Bar Pulse Teardown, Disassemble electronics: step 5, image 2 of 2
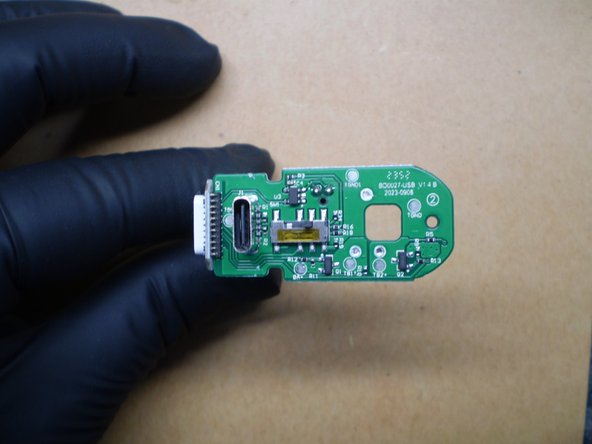
    • Unsnap the circuit board from the L-shaped plastic holder.

    • View board.

  6. Geek Bar Pulse Teardown, Remove lip piece: step 6, image 1 of 1
    • The lip piece can be unsnapped from the inside, pulled out from the top and disassembled as shown.

Greg

Member since: 08/23/20

235 Reputation

2 Guides authored

0 Comments

Add Comment

View Statistics:

Past 24 Hours: 3

Past 7 Days: 53

Past 30 Days: 117

All Time: 117