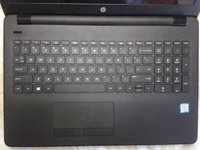
Introduction
I teach you how to open the laptop to access and change the RAM, hard drive or whatever you need.
Video Overview
-
-
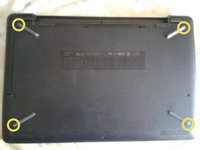
Put the laptop facing down
-
Move the left battery safe lock to the right
-
-
-
Slide the right battery safe lock to the left
-
This lock is harder than the previous, with this the battery should pop-up.
-
-
-
-
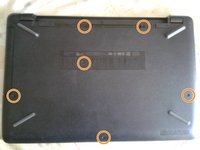
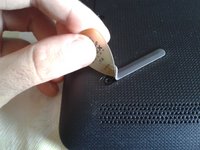
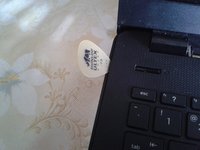
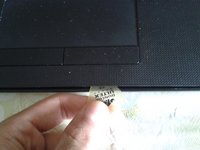
Use a straw to take off just enough of the rubber feet of the 4 corners
-
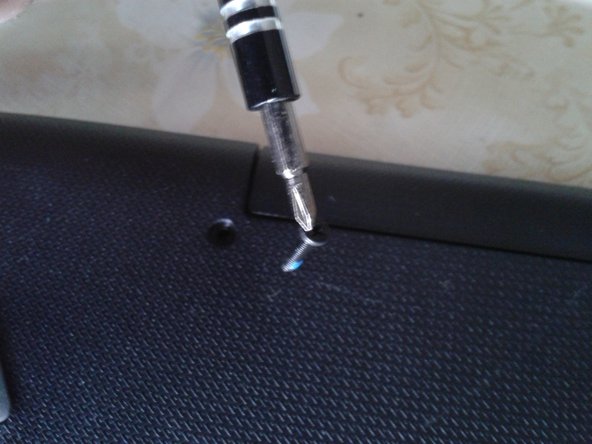
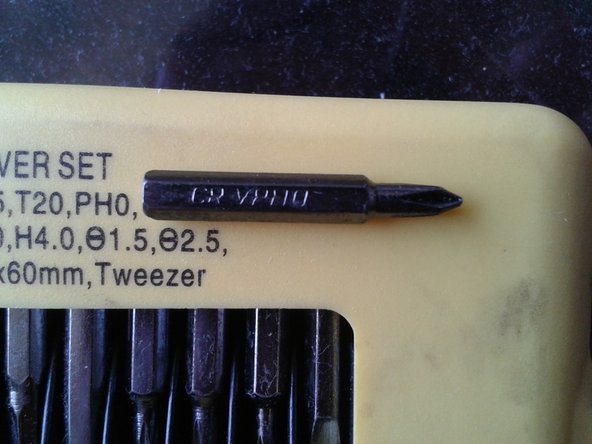
Use a Phillips screwdriver 0
-
Replace each rubber foot in place after removing the screws
-
You will have a total of 10 screws
the 2 bottom screws are stripped 😭 what do i doo
You would need to use a drill set to reverse. Also, you need drill bits meant to remove screws. You can try "screw extractors" or other keywords to search for such online.
-
-
-
It will go out easily with or without a straw
-
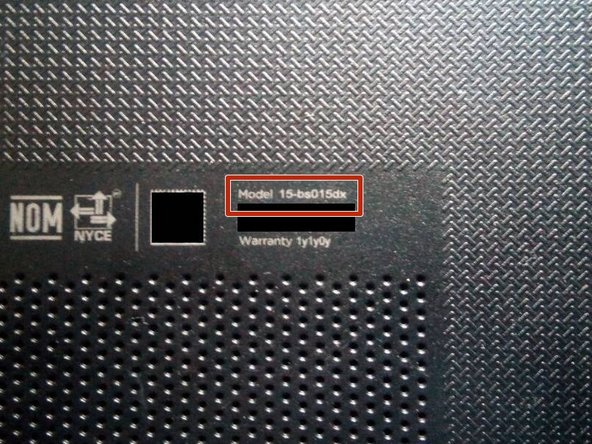
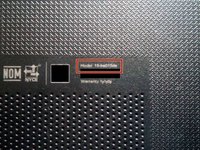
You can check the model number
-
-
-
Flip the laptop and open it
-
Use a plastic tool or a straw to separate the pieces of the chassis
-
-
-
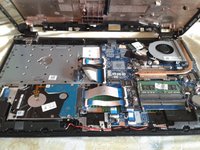
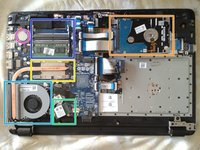
Flip the laptop and separate the inferior cover of the chassis
-
Hard Drive 2.5" SATA
-
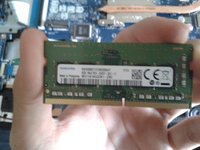
2 RAM memory slots type DDR4 SO-DIMM
-
CPU Intel 7th generation
-
Active heat sink (fan)
-
Wireless card
-
Watch battery, 3V. CR2030
Se puede sacar su procesador?
No. En este caso, el CPU es un core i5-7200u, el cual usa un zócalo tipo BGA, es decir, usa soldadura para pegarse a la placa base.
Any info on how to swap out a non-backlit keyboard for a backlit keyboard for the 15-bs015DX? Thanks.
In this case, it looks like the whole plastic around the keyboard comes with it.
I can't be sure, since I no longer have the laptop. Try to disassemble it and look if they sell a drop-in keyboard replacementWhat type of m.2 it support, and what type of m.2 socket it have. Thank you.
M.2 SATA-3. But I don't see a space to put on the m.2 screw. I recommend you open it up and double check.
Me sirvió mucho muchas gracias
-


To reassemble your device, follow these instructions in reverse order.
To reassemble your device, follow these instructions in reverse order.
Cancel: I did not complete this guide.
42 other people completed this guide.
Special thanks to these translators:
100%

These translators are helping us fix the world! Want to contribute?
Start translating ›

21 Comments
Se me rompio las bisagras … como se reemplazan ?
No tengo la laptop a mano para tomarle fotos, aunque en el paso 7 se puede ver algo. Depende de la rotura, lo típico que se rompe es la rosca para los tornillos, hay que crear un nueva rosca con material adicional, sin embargo, desconozco el procedimiento. En todo caso, puedes contactarme a mis RRSS que están en mi perfil de ifixit.
Your step by step guide is apt. Thanks
Perebowei Titus Otoru Nigeria
Saludos, ya entregué la laptop al cliente.
Hola tengo una HP 15-bs038dx funciona un disco SSD M2 NVMe en ella o solo SATA? Muchas Gracias
Saludos, es difícil decirlo sin abrirla. La que tengo en fotos no tiene slot para m.2, por ejemplo.
es fijo, pero puede limpiarlo con una brocha fina y pasarle una aspiradora
Yes! As long as it is a SATA 2.5" SSD
Comprehensive explanation (especially for guitarists :-)))
Ou je peu trouvé la batterie
hi I have this laptop, and there was a power failure during a BIOS update, is there anything I can do to unbrick it?
Try to search for HP guides, on its website about the topic. Also contact HP customer services.
Hola Marcos muy buena tu guía.
Estoy trabado en el paso 6 porque no se abrió totalmente.
Se levantan la parte del teclado pero en la parte superior queda como fijo pegado.
Tengo miedo forzar y romper lago,
Estoy en Argentina y la verdad no se que podría ser un pajuela. Probé con un elemento de plástico duro pero no puedo pasar de se paso y visualizar el interior d la laptop
Espero me puedas ayudar.
Gracias.
Gabriel
Revisa que no te falten tornillos ocultos. Usa 2 o más pajuelas, para sostener varias partes a la vez, son baratas.
como se llama la cinta que va del boton de encendido a la placa?
Normalmente es un "ribbon cable", o "flex cable". Eso como nombre genérico. En la fotos se pueden apreciar varios flex, para diferentes componentes.
Mann wir sind nicht in England oder wo wir sind in Deutschland dann möchte ich alles auf Deutsch und nicht auf Englisch
Merci. Tuto Top