Introduction

Go to step 1

For our reverse engineering project, we chose to use the smoke detector. This smoke detector consists of a sensor to detect smoke and a loud electronic buzzer to alert people within the building.

What you need

Parts

Tools

Show more…

This teardown is not a repair guide. To repair your Gas and Smoke Detector, use our service manual.

  1. Smoke Detector Teardown, Smoke Detector Teardown: step 1, image 1 of 2 Smoke Detector Teardown, Smoke Detector Teardown: step 1, image 2 of 2
    • Use a screwdriver to pry open the plastic enclosure. It might be easier to push the buzzer through the hole, if you need extra leverage.

  2. Smoke Detector Teardown: step 2, image 1 of 1
    • The buzzer is unhooked from the PCB board, by hands.

  3. Smoke Detector Teardown: step 3, image 1 of 2 Smoke Detector Teardown: step 3, image 2 of 2
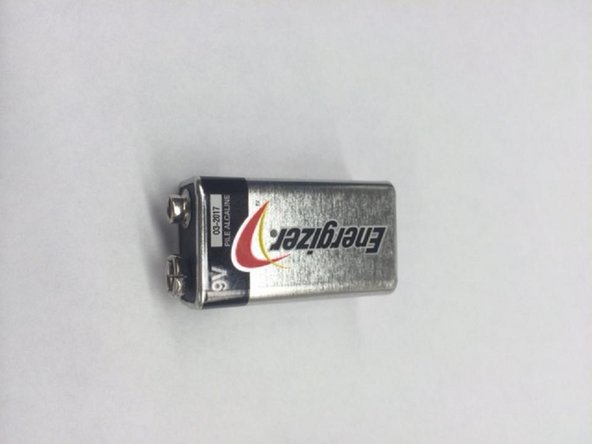
    • This is the circuit for the smoke detector. It is powered by a 9V battery. The 3 metal leafs are contacts for the buzzer and the bigger leaf is for the test button.

  4. Smoke Detector Teardown: step 4, image 1 of 1
    • The metal cap is removed to reveal a, MC145017, driver chip and americium sensor. Do not remove americium from the sensor!

    why did you do this do you know how dangerous that is americium 231 is a highly radioactive metal you could HAVE KILLED YOURSELVES

    Alex Matthiessen - Reply

    Americium 231 hasn't been confirmed. Ionization smoke alarms contain tiny amounts of americium 241, which is relatively harmless unless you ingest/inhale it, and even then it's potentially carcinogenic, but not carcinogenic enough to cause immediate ill effects.

    River Saxton -

Ari Dubinsky

Member since: 03/04/14

253 Reputation

1 Guide authored

One Comment

Thanks bro 👍

BrunostNoodles - Reply

Add Comment

View Statistics:

Past 24 Hours: 1

Past 7 Days: 7

Past 30 Days: 39

All Time: 8,548