Introduction
Go to step 1The Ubiquiti Unifi Dream Machine (UDM) is a powerful all-in-one networking device that combines a router, switch, access point, and security gateway into a sleek, compact unit. While Ubiquiti is widely used and recommended by IT Professionals, like any electronic device, the UDM isn’t immune to failure.
In this teardown, I'll be looking inside the UDM, identifying key components, potential failure points, and walking you through step-by-step disassembly with detailed photos and insights.
⚠️ Warning: Disassembling your UDM will void any remaining warranty, so proceed with caution. If your device is still under warranty, check with Ubiquiti Support before attempting any repairs.
What you need


-
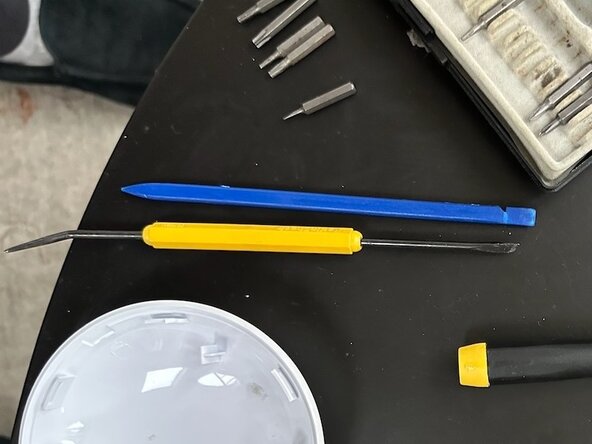
Tool used on this step:Spudger$3.99
-
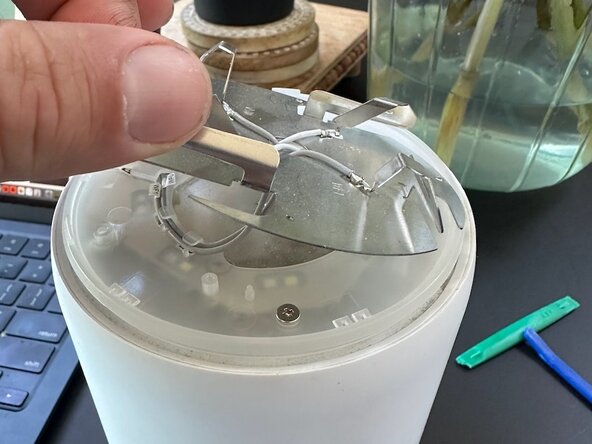
Using a spudger, gently pry off the top dome cap.
-
-
-
Using a small PZ0 Philips Screwdriver Bit, remove the 3 screws.
-
Lift the WiFi antenna and remove the remaining screw
-
-
Tool used on this step:iFixit Opening Tool$1.99
-
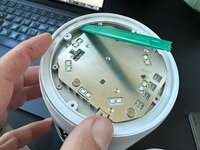
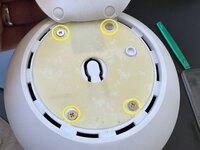
Insert the iFixit Opening Tool under the ring lift and pop off the white plastic ring
-
Remove the ring
-
-
-
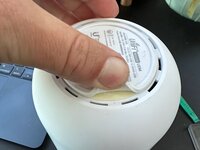
Gently remove the bottom rubber pad
-
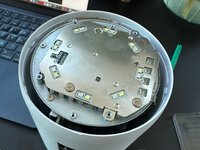
Remove the 4 screws underneath the rubber pad using PH1 Philips Screwdriver Bit
-
-
-
This is the hard part, be patient
-
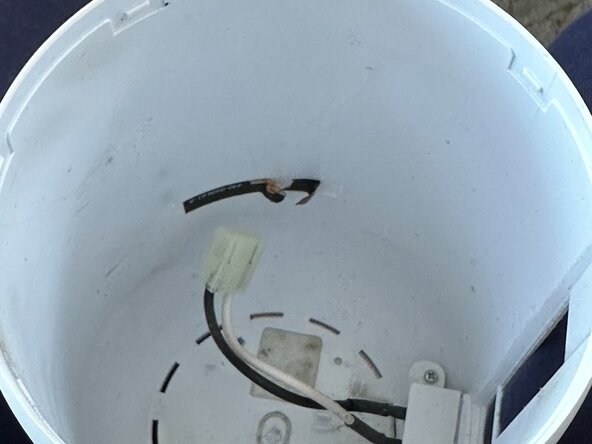
The power supply pin clip and RF grounding wire are keeping the shell connected to the core
-
Using a spudger or pick, gently pry off the RF grounding wire tape.
-
Once the RF grounding wire tape is removed, slowly twist and pull to release the power supply pin clip
-
-
-
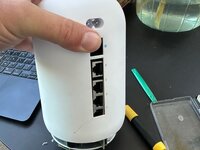
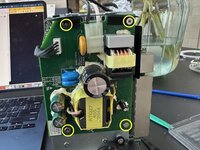
If you want to test the PSU, you can reconnect the power connector
-
-
-
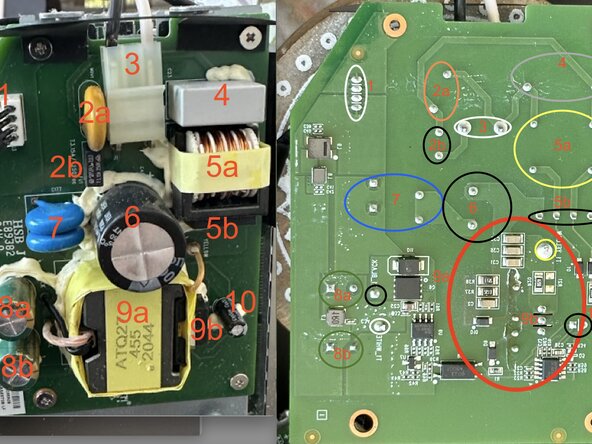
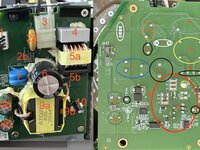
In my case, the power was making it to the board, but wasn't being to converted from AC input to DC output
-
You can see in the red circle that likely there appears to be some discoloration. My guess, with this tight design, it overheated
-