After about a 18 months of use, my Mug 2 stopped holding a charge at all, dying as soon as it was lifted off the base. After contacting support, the best Ember could do was offer to sell me a replacement mug for $99 dollars.
Not wanting to just buy a new mug which would likely face the same fate eventually, I figured I would at least try to repair my mug myself.
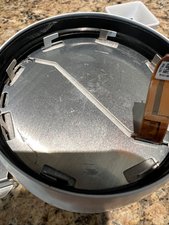
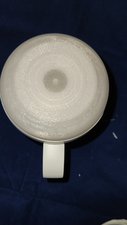
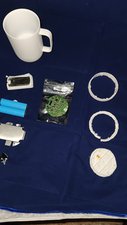
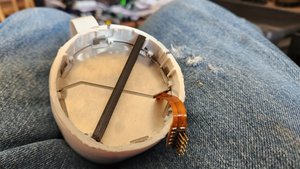
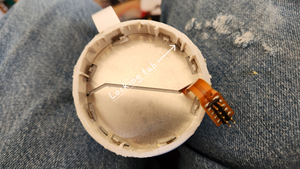
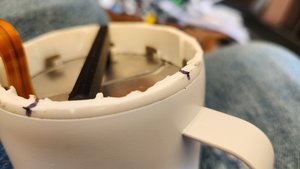
Thanks to the tips in this thread, I was able to get my Mug 2 apart using a couple of strap wrenches: one wrench wrapped around the main body of the mug and the other wrapped as best I could around the base. This allowed me to get enough friction and torque to turn the base the 15 degrees that Propeller Head mentioned. I was then able to carefully pry apart the base from the mug without damaging the ribon cable connecting the two pieces.
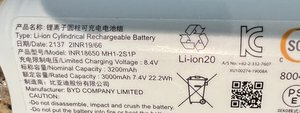
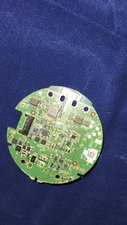
As others have mentioned, the 18650 batteries in the battery pack can be replaced if you have the tools and expertise/confidence to weld new batteries to the existing, proprietary BMS board.
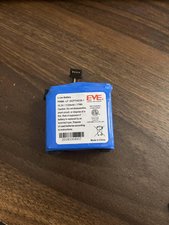
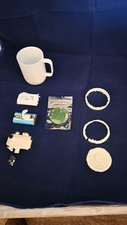
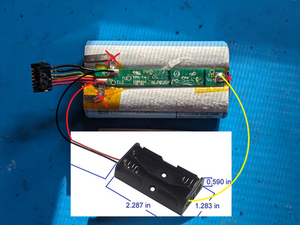
I don't have a spot welder so what I ended up doing instead was using 2 high capacity/high discharge 14500 batteries ($9) in a AA battery holder ($5) soldered to the old BMS like so:
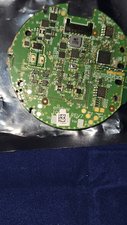
The BMS seems to handle the 14500 batteries just fine as long as everything is connected correctly.
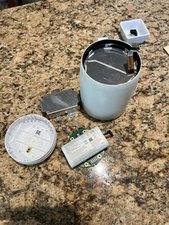
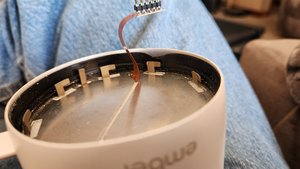
With the BMS tucked between the bottom board and the battery holder (with some electrical/conformal tape to prevent any shorts), everything fits snugly underneath the shield and the mug can be reassembled using the strap wrenches.
Even with the highest capacity 14500 batteries, this mod does reduce the battery life of the mug by about 20-30% (compared to new 18650 batteries) but does allow you to (somewhat) easily replace the batteries if they ever start to degrade.


7 Comments
I am unable to find a B0664-LF replacement battery
by Splint
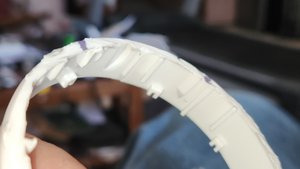
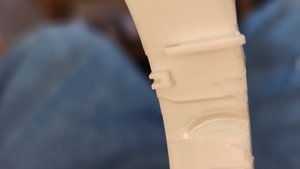
The Ember mug cannot be serviced as there is an anti-tamper locking pin on the metal base lip. The pin could be released by drilling a 2 mm hole at a very acute angle that intercepts the pin. Then pushing the pin out of the way and rotating the bottom section 10 degrees. I have photos 1agkirk2@gmail.com
by Alan Kirk
@alankirk50251 That is something that I was concerned about when doing my teardown; I noted that pin but couldn't be sure of its function due to the head damage to the plastic. If that's the case, they deserve some major negative points for deliberately booby trapping the base so the battery can't be replaced.
by Jerry Wheeler
@alankirk50251 Can you create an answer to this question and post your pictures? I'm sure we'd all love to see what you found.
Adding images to an existing question
by Jerry Wheeler
I've had this problem too. Bought this cup for my wife for Christmas in Dec 2017. Still have original cup. She drinks two cups in the morning every morning. About half the time the cup will glow steady red by the end of the second cup, otherwise it will still pulse white. When done, she then charges the cup. When charged, we take it off the charger and wash the inside and then place it on the dish rack until the next day.
If you think you have a dead cup, first, be sure the problem is not the charger as I've had to replace a copper pin twice over the past seven years.
by Mark Ennes
Show 2 more comments