
Canon PowerShot G7X Flash Replacement
Introduction
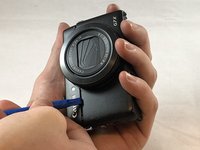
Go to step 1This guide will help you replace the flash for your camera. Caution should be used because a capacitor is attached to the flash which may cause harm if handled carelessly.
What you need


-
-
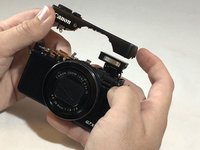
Remove the two 3mm Phillips #000 screws under the AV-out digital flap.
-
Remove the two 3 mm Phillips #000 screws from the side of the camera.
-
-
-
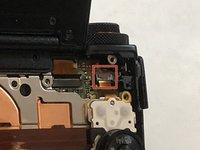
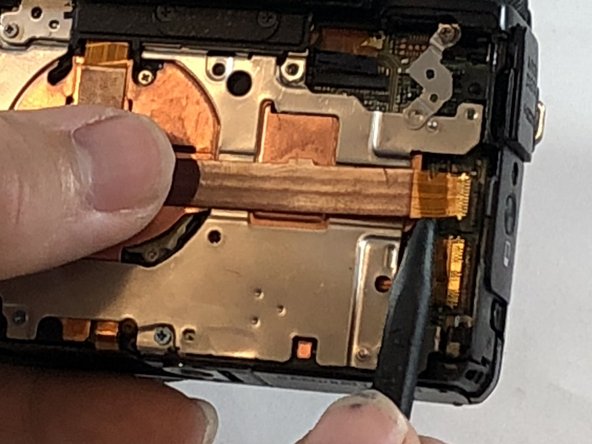
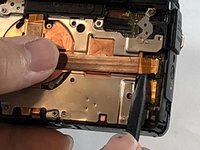
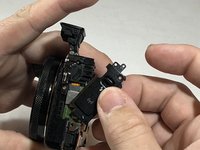
Using the nylon spudger, gently lift the ZIF tab.
-
Disconnect the ribbon cable that connects the dial to the motherboard.
-
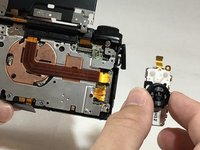
Remove the dial from the device.
-
-
-
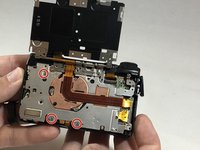
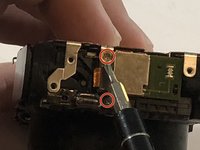
Remove the three, blue 5 mm Phillips screws from the back plate.
-
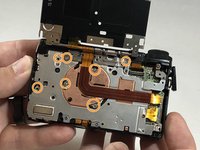
Remove seven 2 mm Phillips #000 screws.
-
-
-
Using the black nylon spudger, gently lift the ribbon cable connected to the LCD screen housing until it comes out then remove the housing.
-
-
-
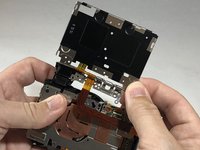
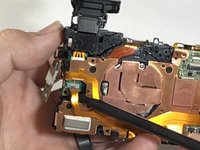
Using the spudger, gently lift the ribbon cable from underneath the front plate.
-
Remove the front plate.
-
-
-
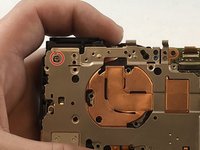
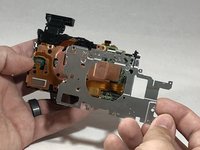
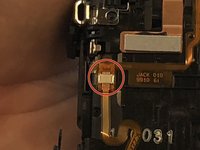
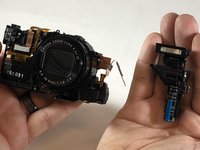
Using the black nylon spudger, gently lift the ribbon cable that connects the flash to motherboard and remove the flash from the device.
-


Team

Eastern Washington University, Team S1-G3, Carnegie Spring 2018 Member of Eastern Washington University, Team S1-G3, Carnegie Spring 2018
EWU-CARNEGIE-S18S1G3
4 Members
6 Guides authored