Introduction
This repair guide was authored by the iFixit staff and hasn’t been endorsed by Google. Learn more about our repair guides here.
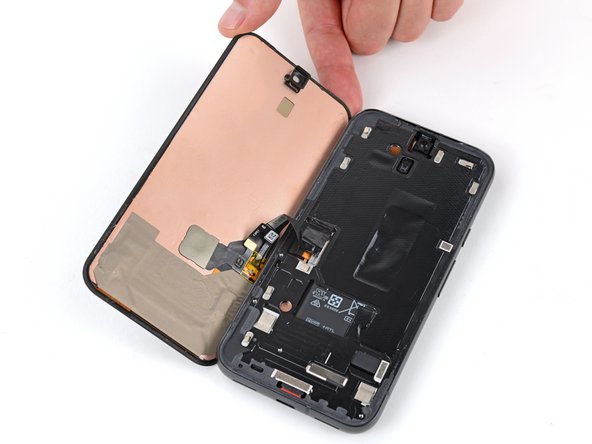
Follow this guide to replace a broken, cracked, or unresponsive screen on your Google Pixel 8a.
To calibrate the display’s fingerprint reader, follow this guide. Genuine Google replacement screens come with the fingerprint reader already attached. If your replacement screen doesn’t have a pre-installed fingerprint reader, you’ll need to transfer the original fingerprint reader to your new screen and recalibrate it to retain functionality.
You'll need replacement screen adhesives in order to complete this repair.
Note: Any repair can compromise the water resistance of your phone. Retaining water resistance after the repair will depend on how well you reapply the adhesive.
What you need
-
-
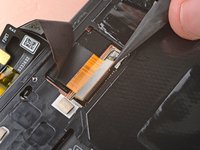
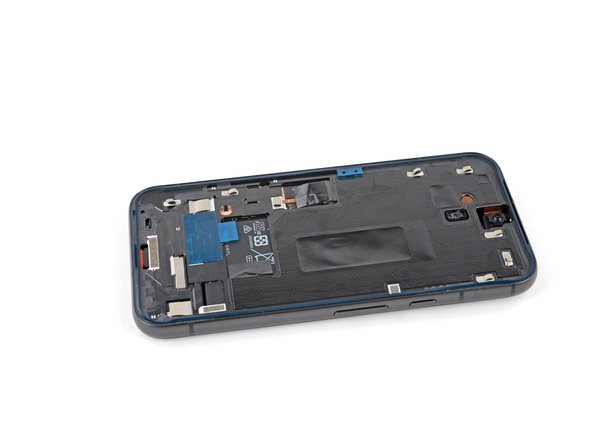
Unplug all cables from your phone.
-
Completely power off your phone.
-
-
-
Apply overlapping strips of packing tape to the cracked glass until the whole screen is covered—this will allow the suction cup to stick to the screen.
-
Consider wearing safety glasses to protect your eyes from any glass shaken free during the repair.
-
-
-
Use a hair dryer, heat gun, or hot plate to heat the top edge of the screen until it's almost too hot to touch.
-
-
-
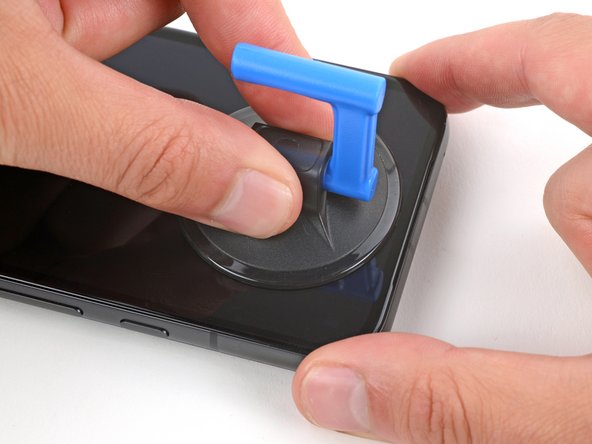
Apply a suction handle to the center of the top edge of the screen.
-
-
Tool used on this step:Jimmy$7.95
-
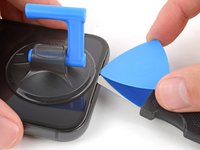
Insert the tip of a Jimmy into the left side of the earpiece speaker cutout.
-
Pull up on the suction handle with a strong, steady force.
-
Firmly press the Jimmy into the cutout and lower it until the tip slides under the glass.
-
-
-
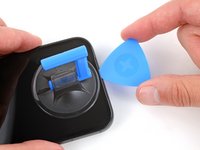
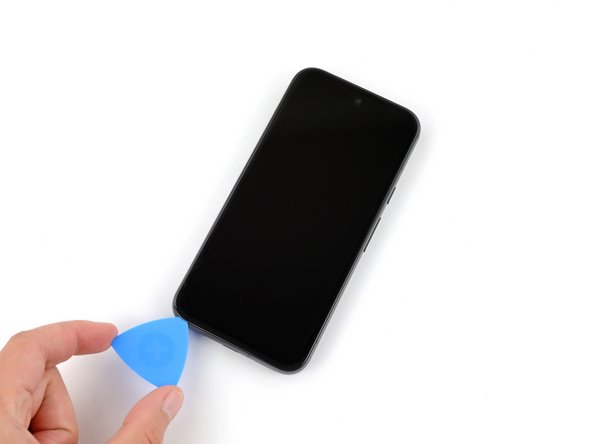
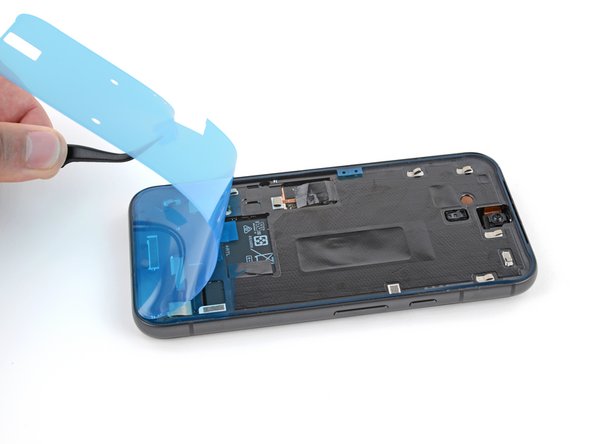
Slide your pick back and forth across the top edge of the screen to separate the adhesive.
-
-
-
-
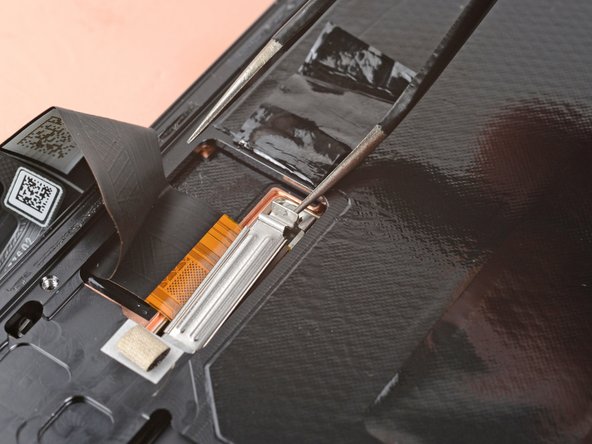
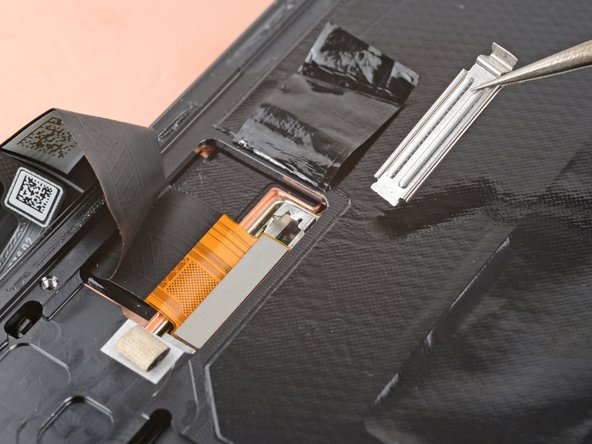
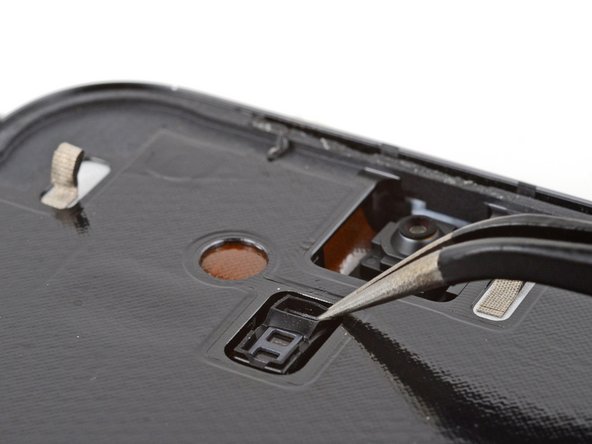
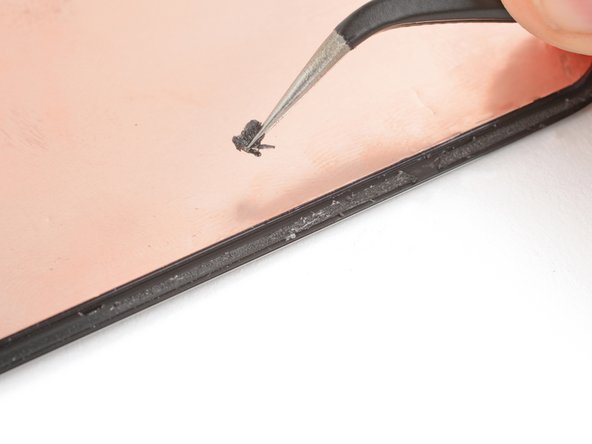
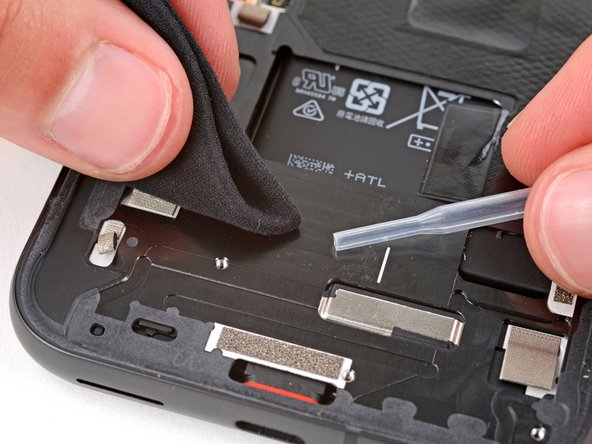
Use tweezers and a spudger to scrape up and remove any remaining pieces of adhesive below the battery cutout.
-
-
Tool used on this step:Microfiber Cleaning Cloths$3.99
-
Use a pipette or syringe to apply a few drops of highly-concentrated isopropyl alcohol (over 90%) to the perimeter of the frame and the area below the battery cutout.
-
Wipe the residue away using a lint-free or microfiber cloth.
-
-
-
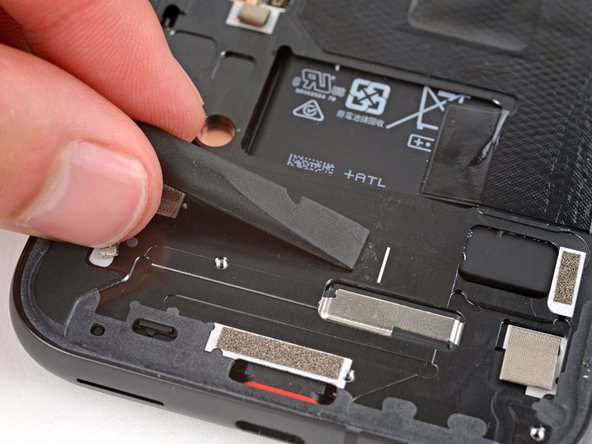
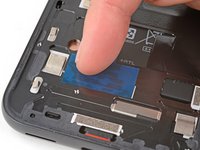
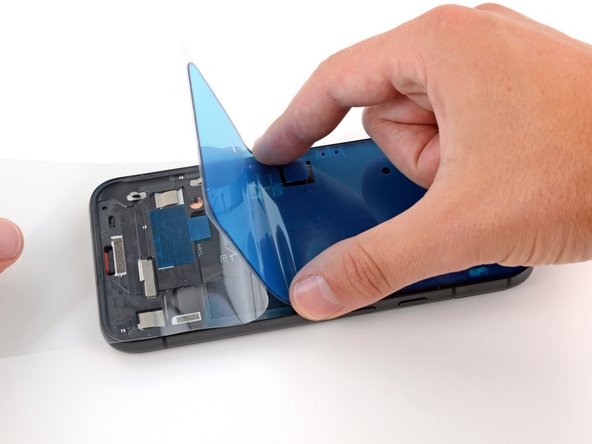
Peel the rectangular display enclosure adhesive from its large liner.
-
Apply the adhesive to the frame in the same location as the old adhesive, just below the battery cutout.
-
Use your fingers to press down and secure the adhesive to the frame—don't remove the top liner yet.
-
-
-
Apply a suction handle to the left side of the replacement screen, with the handle facing left.
-
Prop up your screen on the left side of the frame.
-
-
-
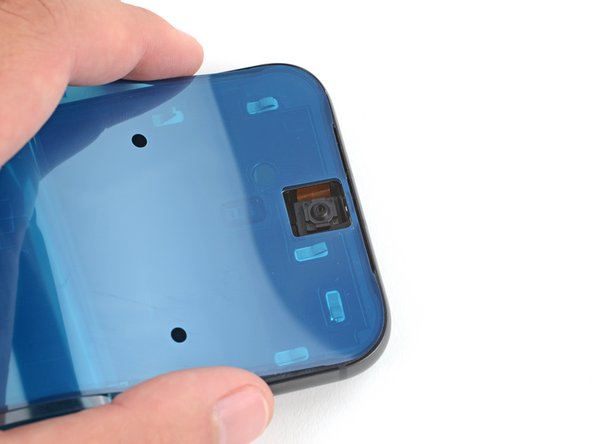
Remove any liners from the front camera housing on the top edge of the screen.
-
-
-
Hold the screen just above the frame by the suction handle.
-
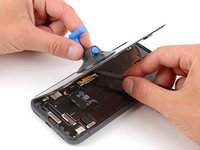
Use a spudger to fold the flap of graphite film back over the screen cable.
-
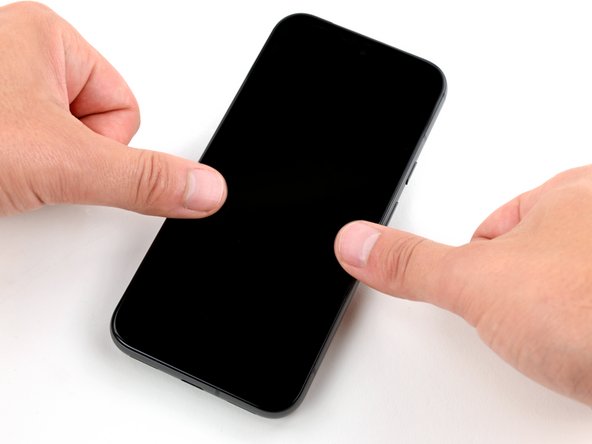
Press the screen into place.
-


To calibrate the display’s fingerprint reader, use Google’s Pixel Update and Software Repair tool.
Take your e-waste to an R2 or e-Stewards certified recycler.
To run a diagnostics test with the built-in Pixel Diagnostic tool, click here.
Repair didn’t go as planned? Try some basic troubleshooting, or ask our Answers community for help.
Cancel: I did not complete this guide.
62 other people completed this guide.


28 Guide Comments
so where is the replacement screens??
You can purchase a new screen from iFixit here.
I think my screen was defective. It shows the boot up animation extremely yellowed out and dim/dark. Then it shows my lockscreen with the time for less than a second and goes complete black. I can still make my phone vibrate with the buttons, and do a reset to get the boot up animation again. It's just so frustrating because I really needed this to work and did so much of the hard work to get to the final steps, to find out... that the replacement screen is defective!!!!
Hi John. I'm sorry to hear you're having issues with the replacement screen—that's very frustrating after taking the time to do the repair. My first thought is that the screen connector may not be fully seated (this connector in particular can be quite tricky to reconnect). If that's not the case, you can contact our customer support (support@ifixit.com) about a defective screen.