
HTC Vive Pro 2 Daughterboard Replacement

Introduction
Go to step 1Use this guide to replace the daughterboard in your HTC Vive Pro 2 headset.
Some photos in this guide are from a different model and may contain slight visual discrepancies, but they won't affect the procedure.
Power off and unplug your headset before you begin your repair.


-
-
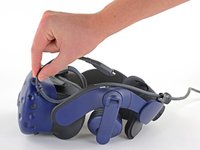
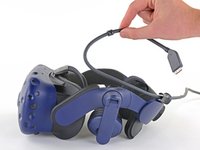
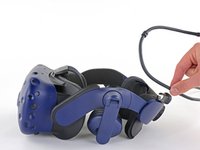
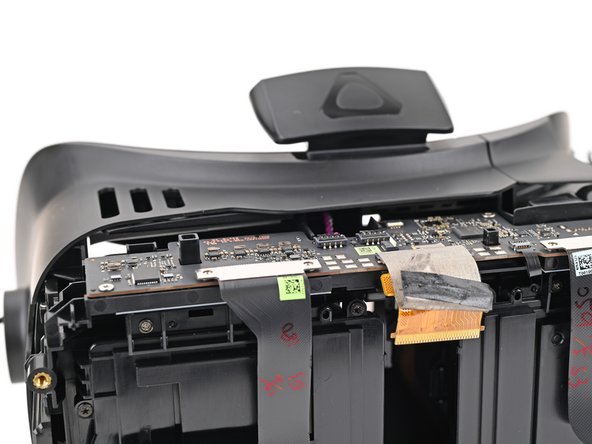
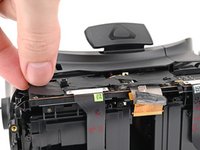
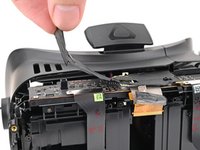
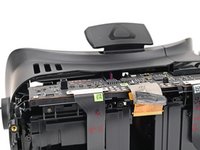
Remove the All-In-One Cable from the cable guides along the left side of the head strap.
-
-
-
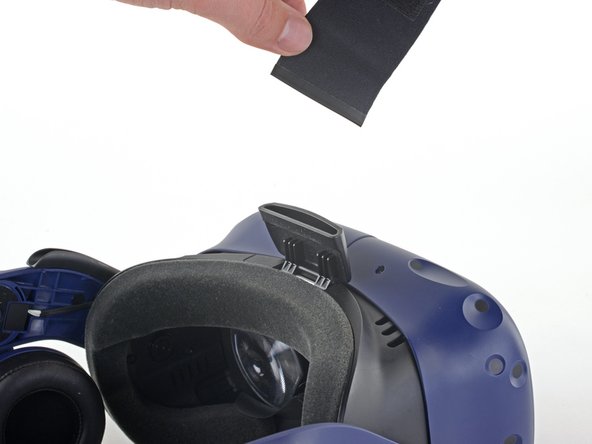
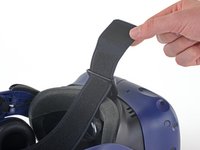
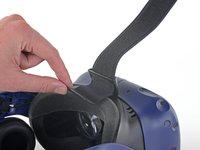
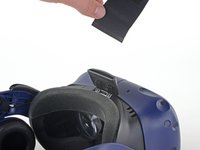
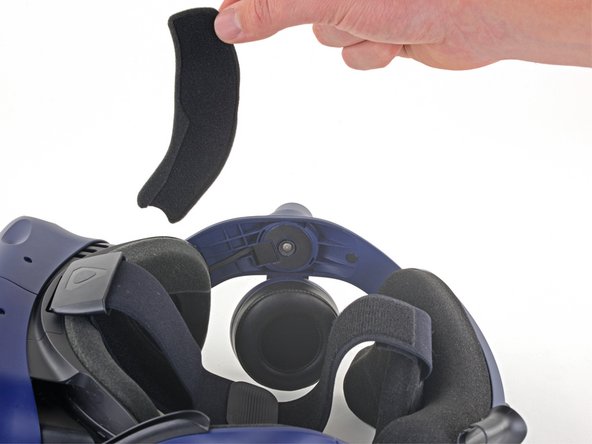
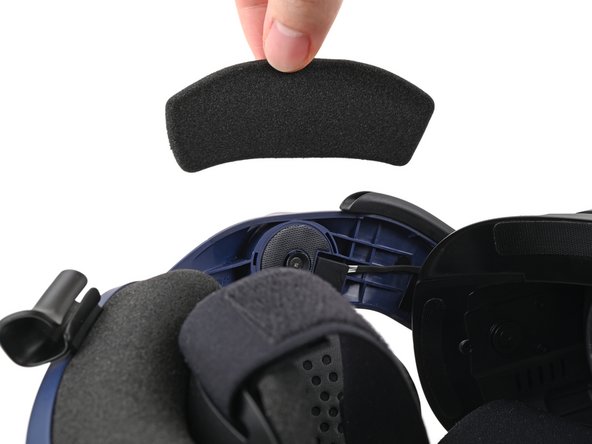
Peel off both front side foam pads to uncover the speaker wires.
-
-
-
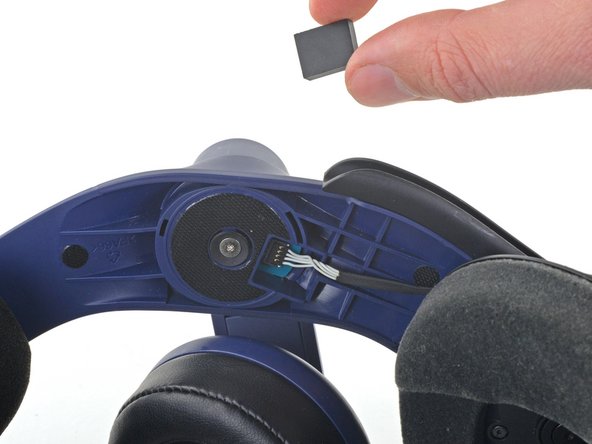
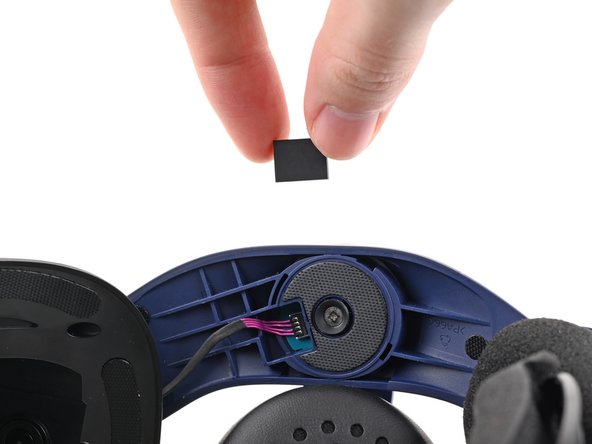
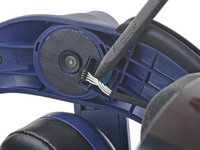
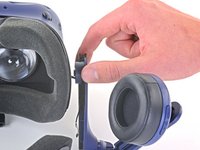
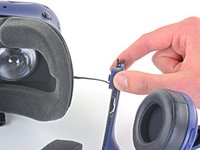
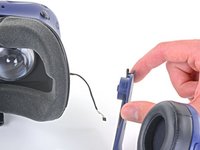
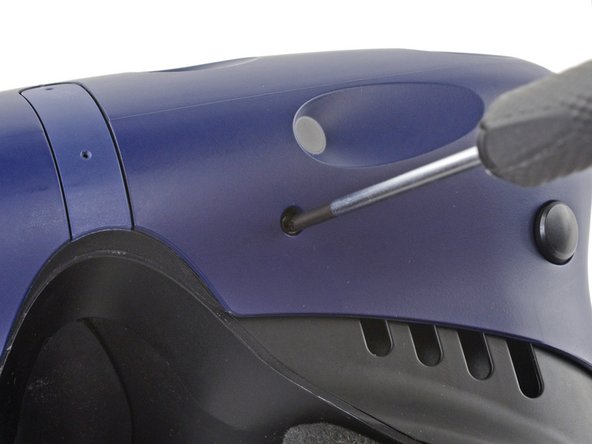
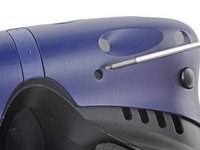
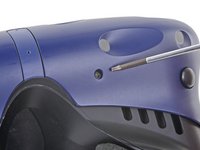
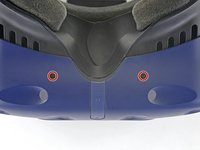
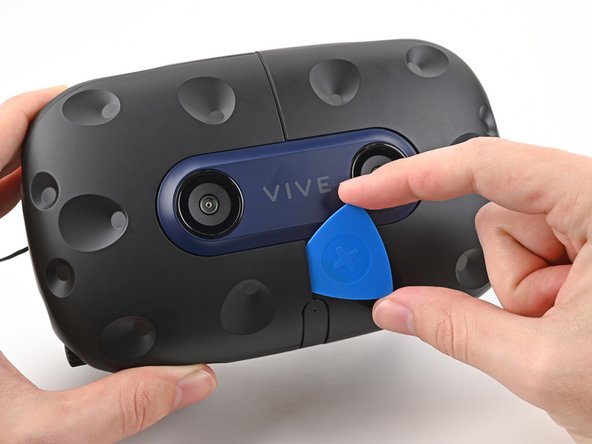
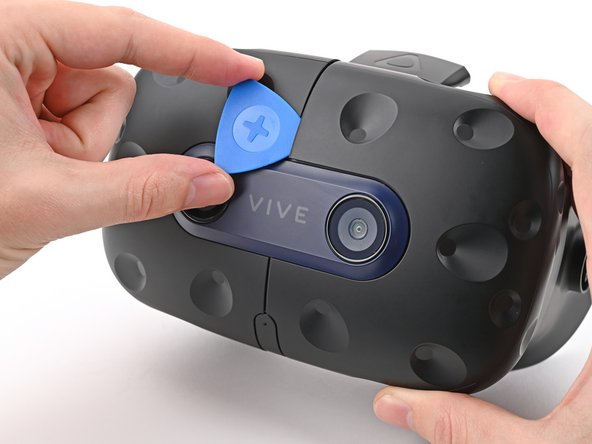
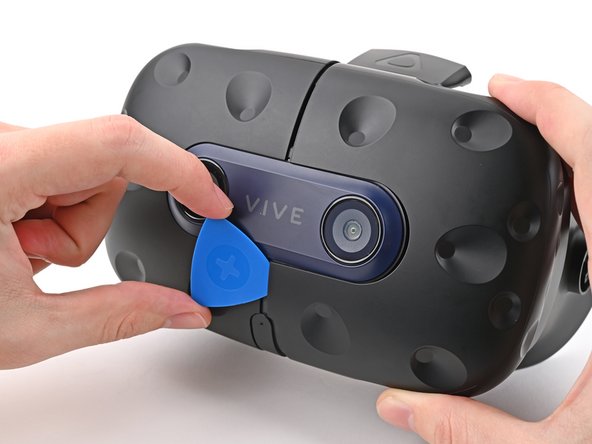
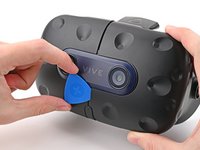
Use the point of your spudger to pry out the two rubber spacers next to the headphone screws.
-
-
-
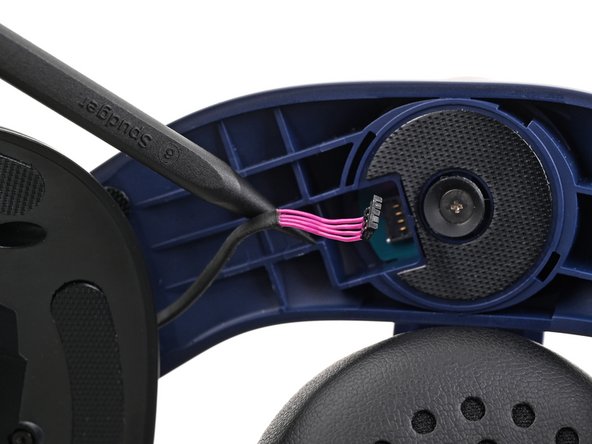
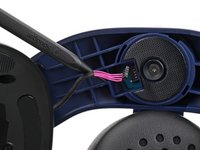
Use the point of your spudger to pry up and disconnect both the left and right headphone speaker wires.
-
-
-
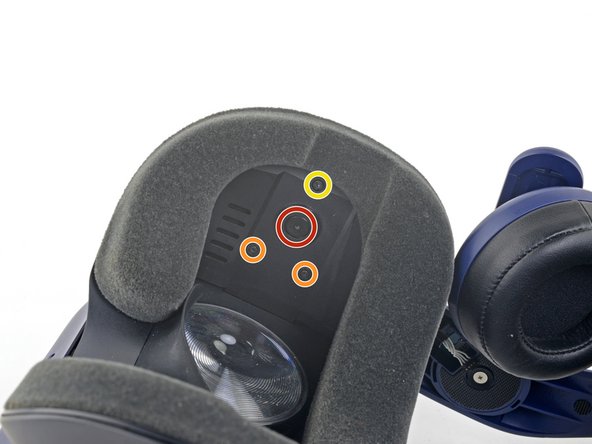
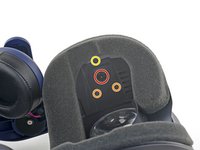
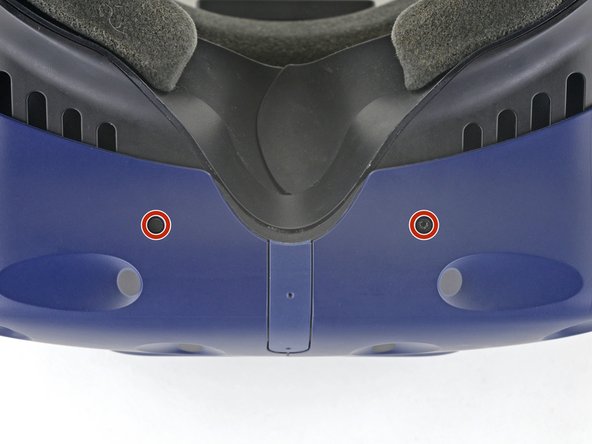
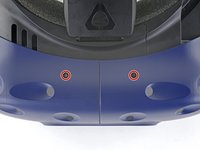
Use a T6 Torx screwdriver to remove the two 12.1 mm screws (one on each side) securing the head strap to the headset.
-
Use a T5 Torx screwdriver to remove the following screws securing the head strap to the headset:
-
Four 3.9 mm screws (two on each side)
-
Two 4.1 mm screws (one on each side)
-
-
-
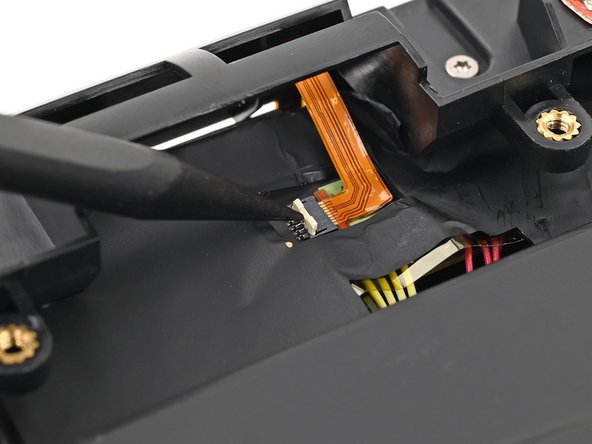
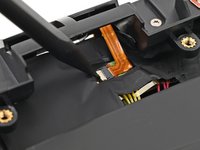
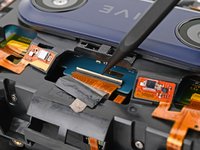
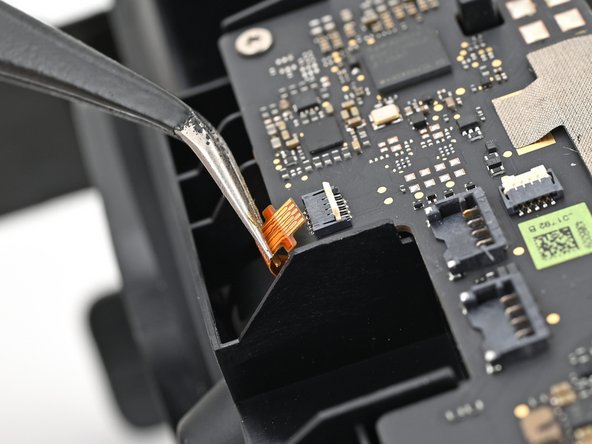
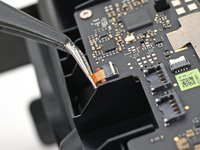
Use the point of your spudger, or a clean fingernail, to flip up the locking tab on the microphone ZIF connector on the daughterboard.
-
-
-
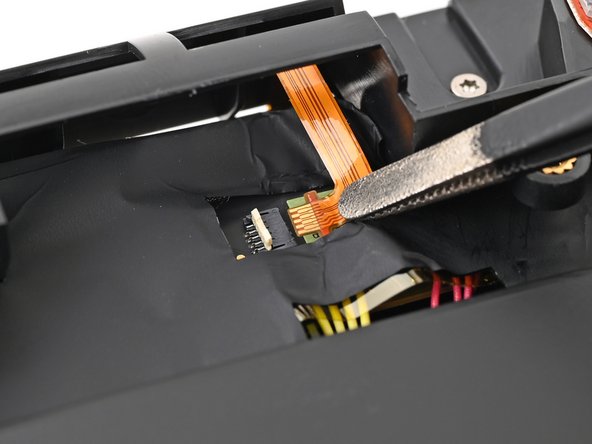
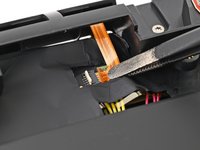
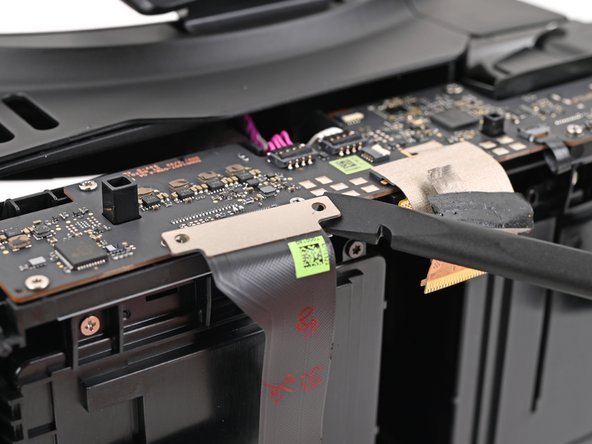
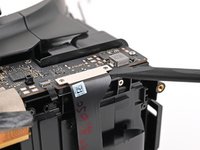
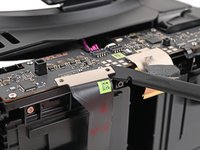
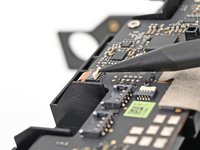
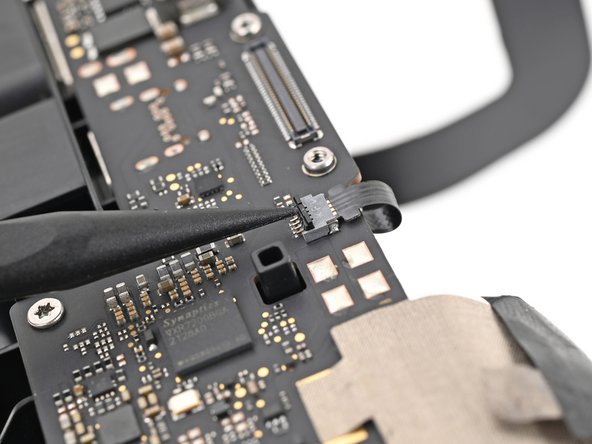
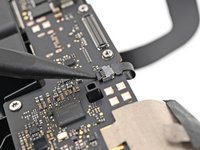
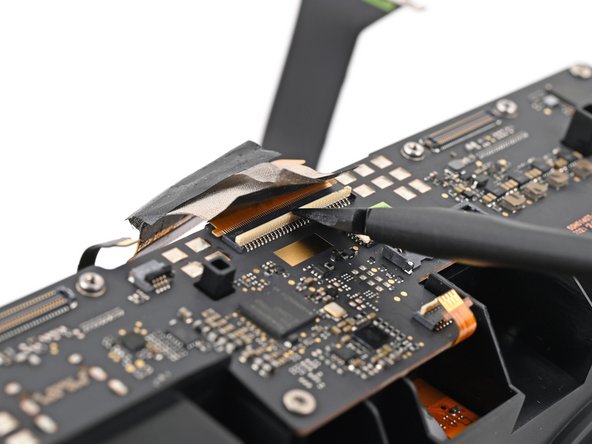
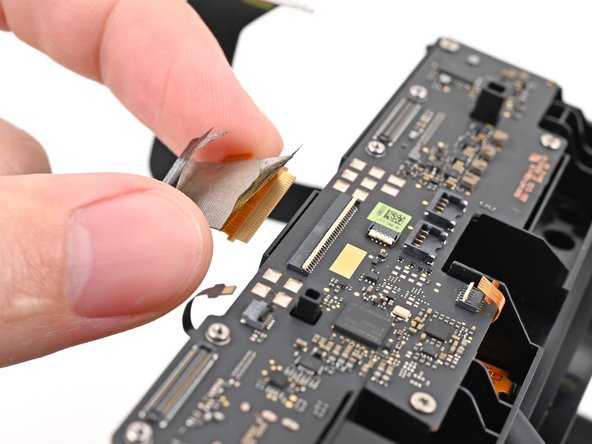
Use tweezers, or your fingers, to peel the conductive fabric off the sensor array ZIF connector on the motherboard.
-
-
-
Use a T5 Torx screwdriver to remove the four 3.0 mm‑long screws securing the top of the sensor array.
-
-
-
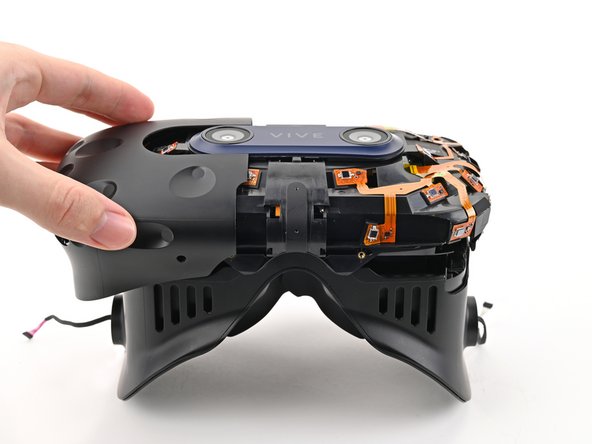
Lift the sensor array straight off the lens assembly and remove it, making sure you thread the cable through its slot.
-
-
-
Use your fingers to peel up the thermal pad covering the daughterboard.
-
-
-
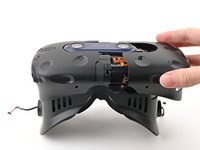
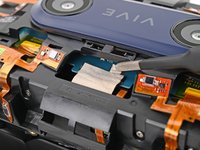
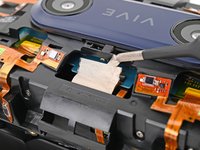
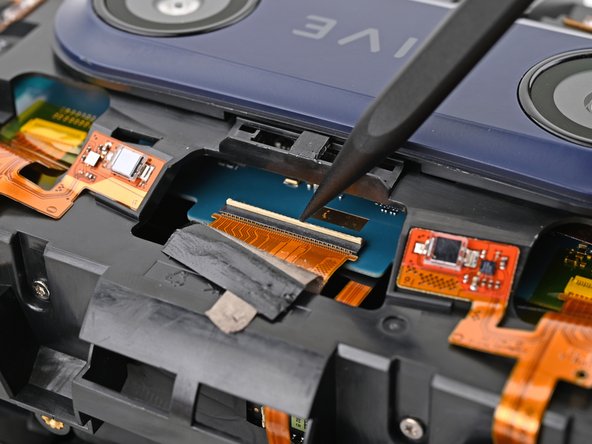
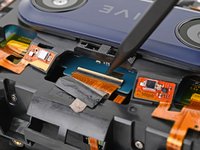
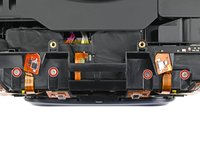
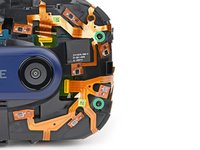
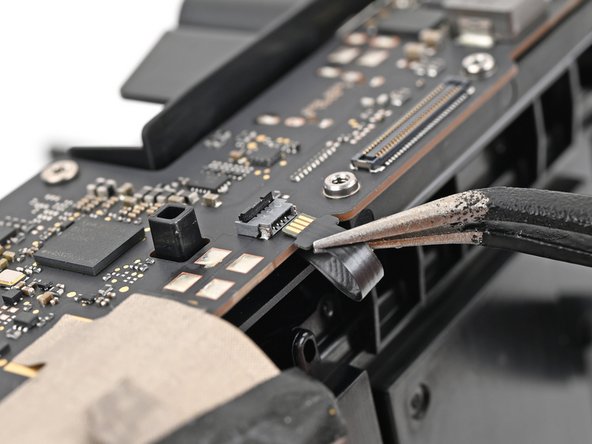
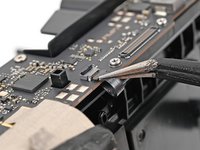
Insert the flat end of a spudger under a corner of the lens assembly press connector.
-
Twist the spudger to lift the press connector up and disconnect it.
-
Repeat the same process to disconnect the other lens assembly press connector.
-
-
-
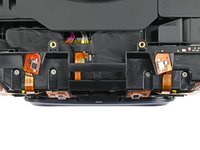
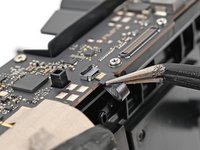
Use the point of a spudger to lift up the locking tab on the IPD sensor ZIF connector.
-
-
-
Use the point of a spudger to lift up the locking tab on the proximity sensor ZIF connector.
-
-
-
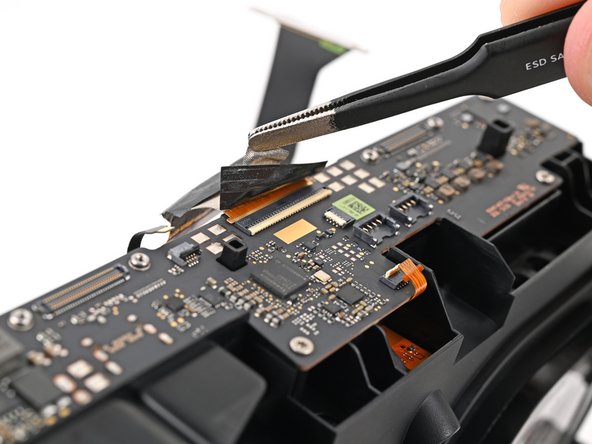
Use tweezers, or your fingers, to peel the conductive fabric off the sensor array ZIF connector on the daughterboard.
-
-
-
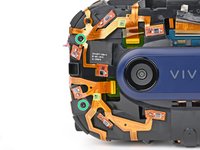
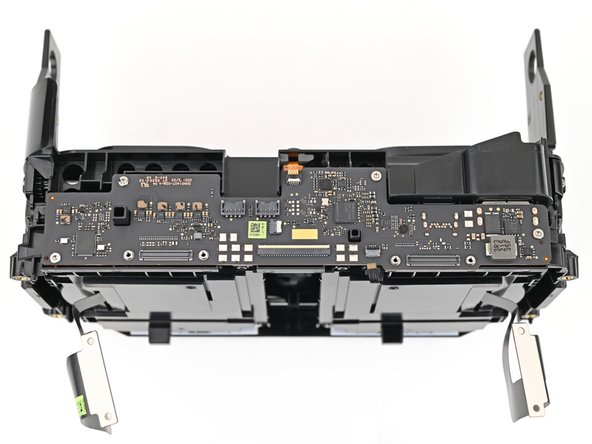
Use a T5 Torx screwdriver to remove the four 3.0 mm‑long screws securing the daughterboard.
-
-
-
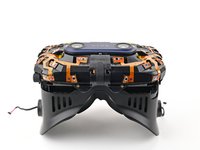
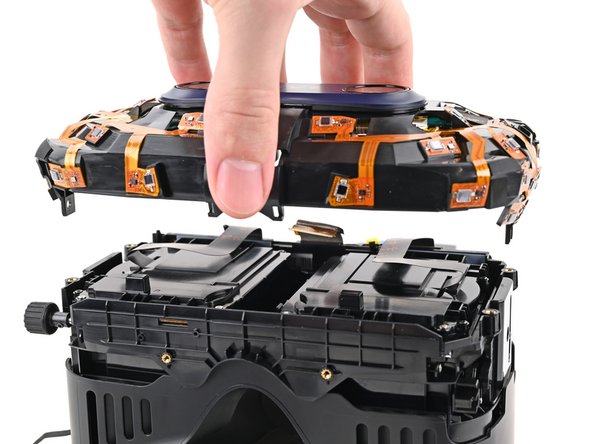
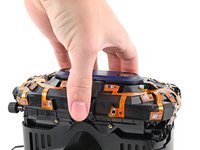
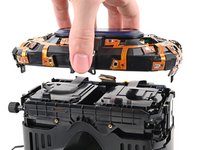
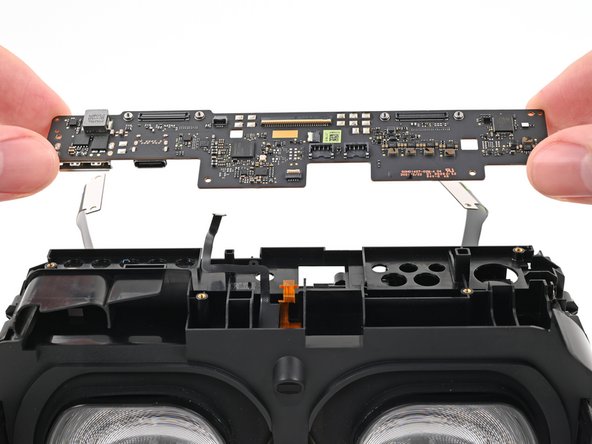
Lift the daughterboard straight off the lens assembly and remove it.
-


Compare your new replacement part to the original part—you may need to transfer remaining components or remove adhesive backings from the new part before installing.
To reassemble your device, follow the above steps in reverse order.
Take your e-waste to an R2 or e-Stewards certified recycler.
Repair didn’t go as planned? Try some basic troubleshooting, or ask our Answers community for help.

