
Revise the Saeco Minuto support valve
Introduction
Go to step 1Hot fresh water flows into the brewing unit through the support valve, it is heavily loaded. The seals should be replaced from time to time. It also happens that lime deposits clog the valve. The valve is easy to remove and revise.
Note: the pictures show a Saeco Odea and differ slightly. However, the valve is quite similar.
These instructions may also help with other Saeco models and with coffee makers from Philips and Gaggia—they are all made by the same manufacturer and have a very similar design.


-
-
Open the side flap and remove the brew group and coffee grounds container.
-
Unscrew the three Torx T10 screws on the cover above the support valve.
-
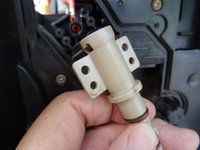
Take the lid off, now the support valve is open.
-
-
-
The seals on the support valve must be closed tightly with each brewing process and are heavily loaded. Replace them.
-
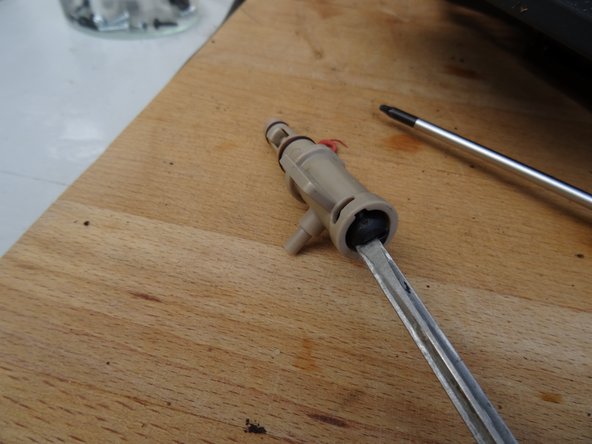
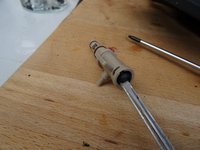
The support valve is closed with a cover with a bayonet lock. Using a flat screwdriver, turn the lid a few degrees counterclockwise and lift it out with a pair of pliers.
-
Check whether the inner parts (sliding piece, valve stem, and spring) can move freely and close tightly. Replace them if necessary.
-


UFollow the steps in reverse order to reassemble your device.
UFollow the steps in reverse order to reassemble your device.
Special thanks to these translators:
100%

These translators are helping us fix the world! Want to contribute?
Start translating ›
Team

Repair is War on Entropy Member of Repair is War on Entropy
Community
29 Members
1,755 Guides authored